
Understanding the Drywall Installation Process: A Step-by-Step Guide for Minneapolis Residents


Introduction to Drywall Installation
For Minneapolis residents looking to enhance their home's interior, understanding the drywall installation process is essential. Drywall, also known as gypsum board, offers a smooth surface for painting and decorating, making it a popular choice for modern homes. In this guide, we will walk you through the step-by-step process of drywall installation, ensuring you have all the knowledge needed to undertake this project successfully.
Gathering the Necessary Tools and Materials
Before diving into the installation, it's crucial to gather all the necessary tools and materials. Here is a list of items you'll need:
- Drywall sheets
- Utility knife
- Measuring tape
- T-square
- Drill and screws
- Joint compound
- Drywall tape
- Sanding block or sponge
Having these tools on hand will ensure a smooth and efficient installation process.
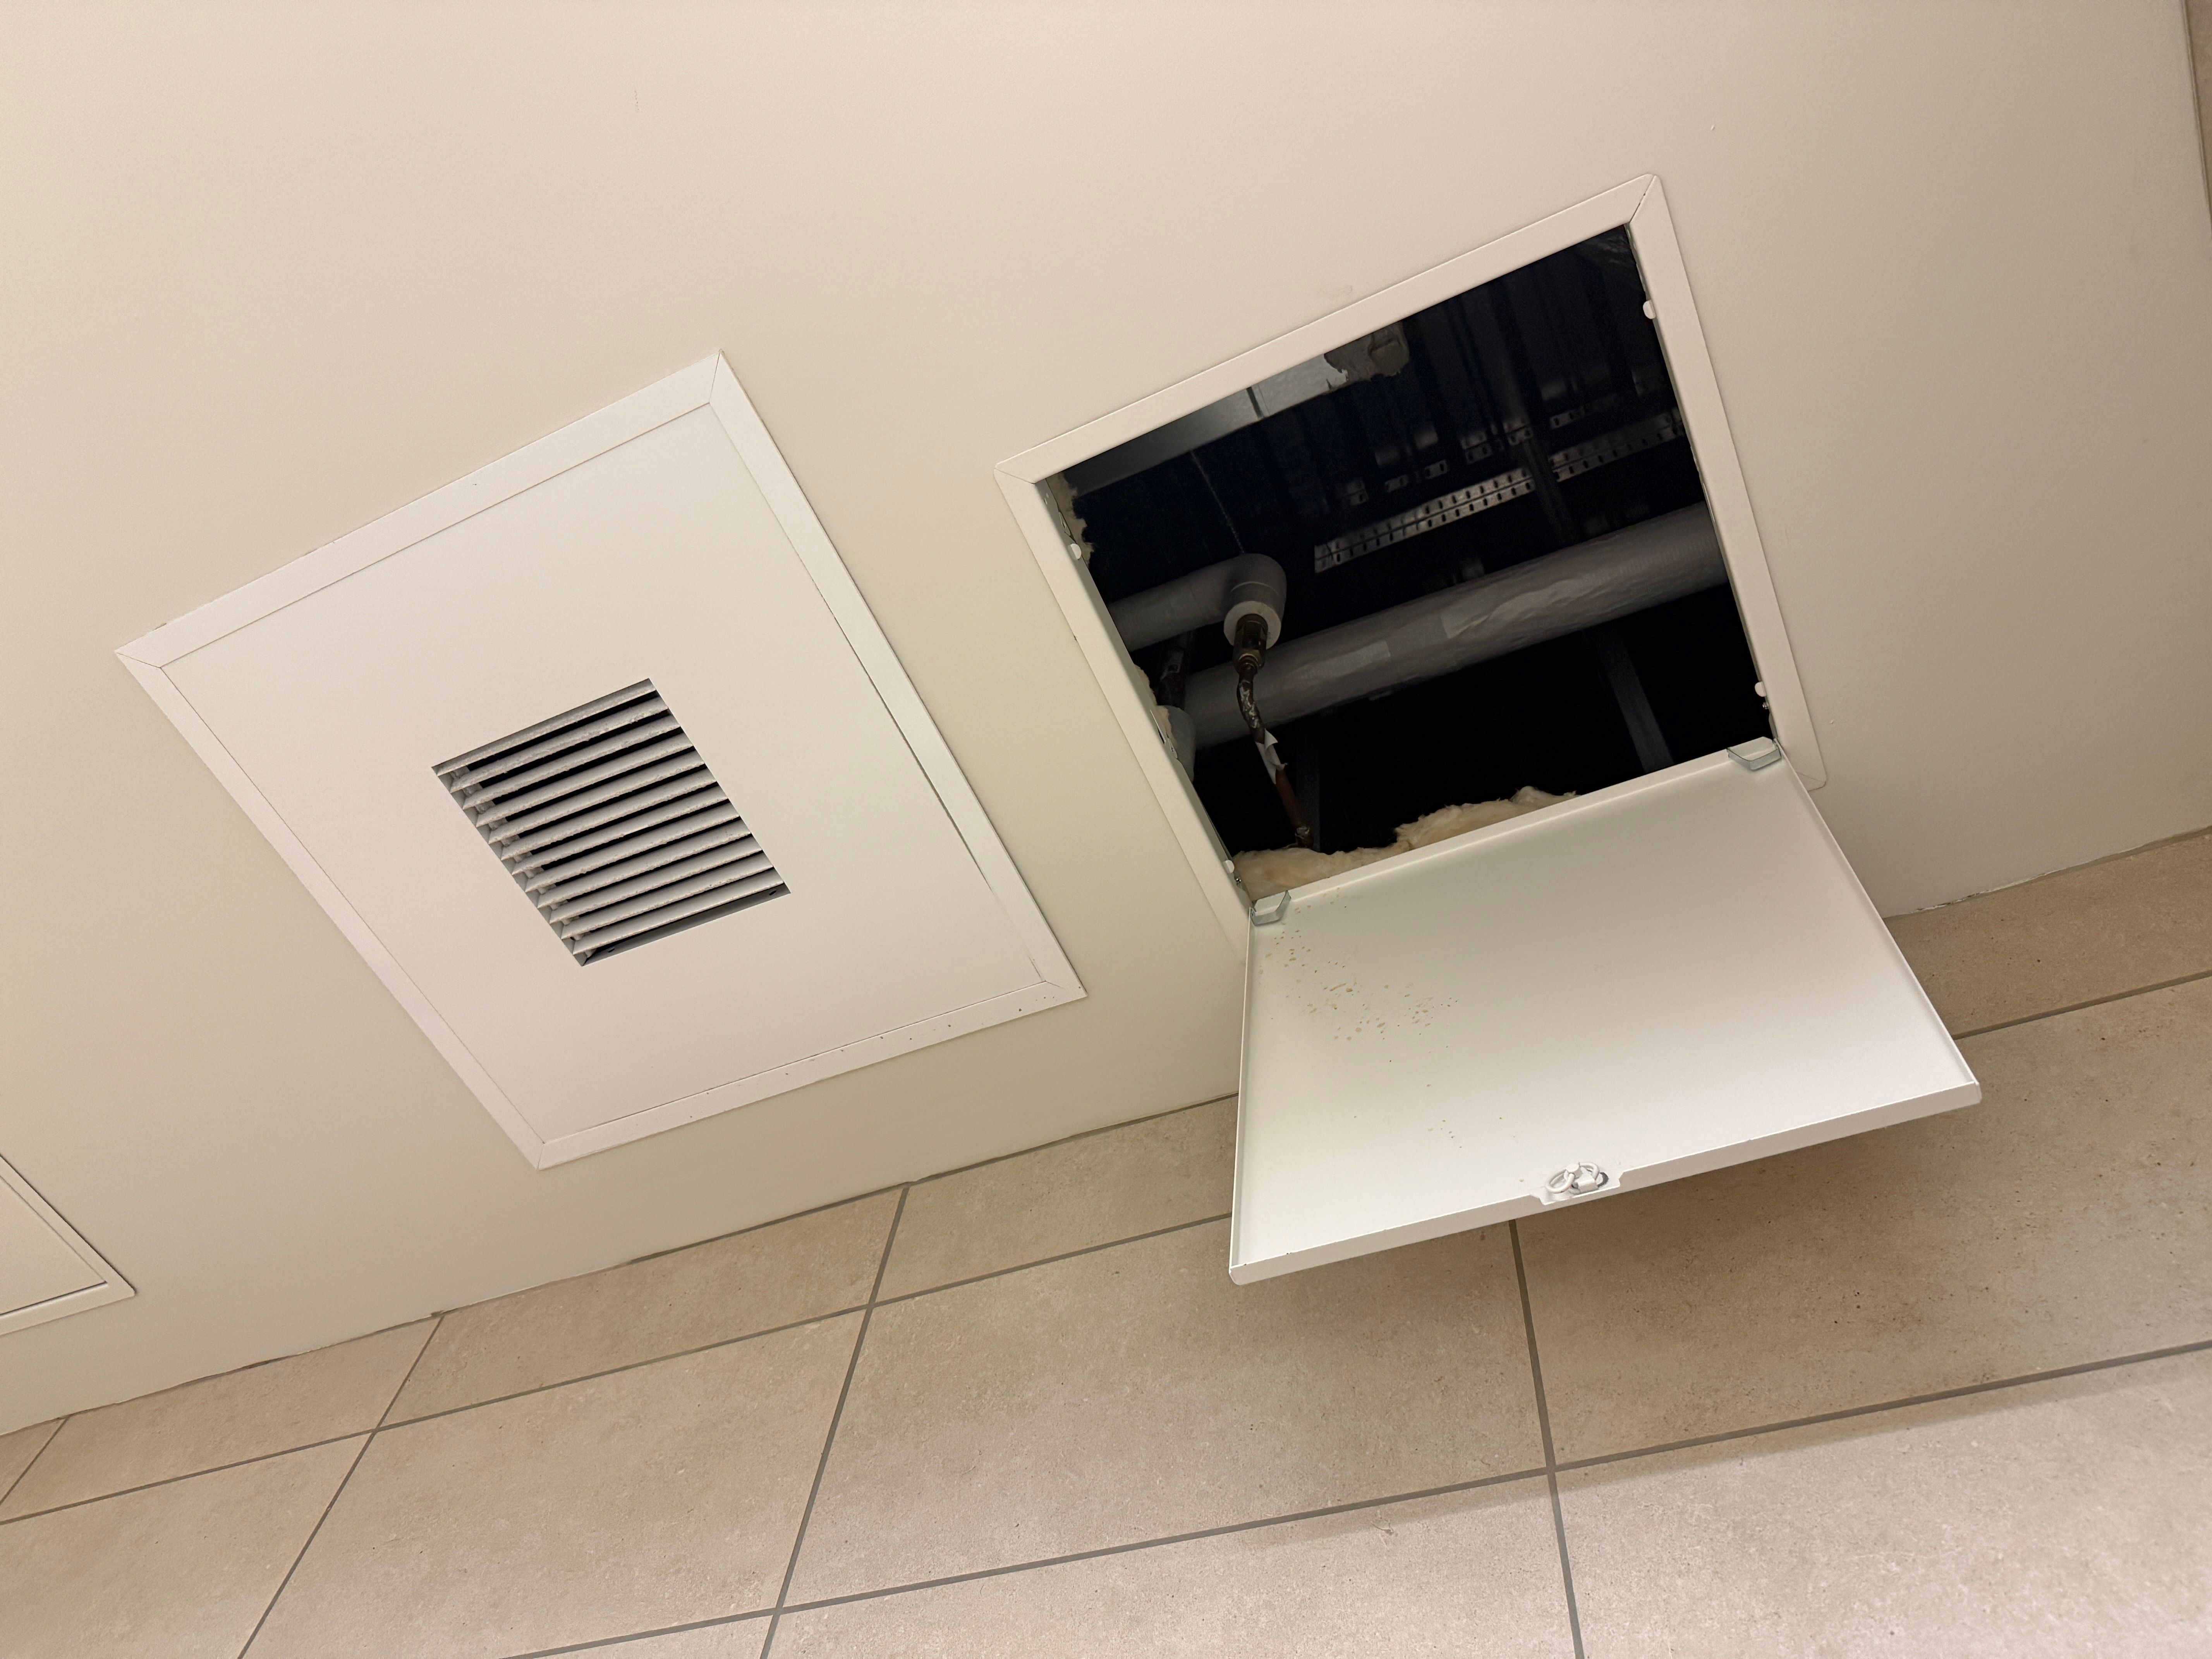
Preparing the Area for Installation
Before starting the drywall installation, it's important to prepare the space. Begin by removing any existing wall coverings or obstacles that may impede your progress. Ensure that the wall studs are exposed and in good condition. It's also advisable to check for any electrical wires or plumbing that may need to be adjusted or rerouted before hanging the drywall.

Measuring and Cutting the Drywall
The next step involves measuring and cutting the drywall sheets to fit the dimensions of your walls. Use a measuring tape and T-square to mark the measurements accurately on the drywall sheets. A utility knife will help score and snap the sheets along the marked lines. Always double-check your measurements to avoid any unnecessary waste of materials.
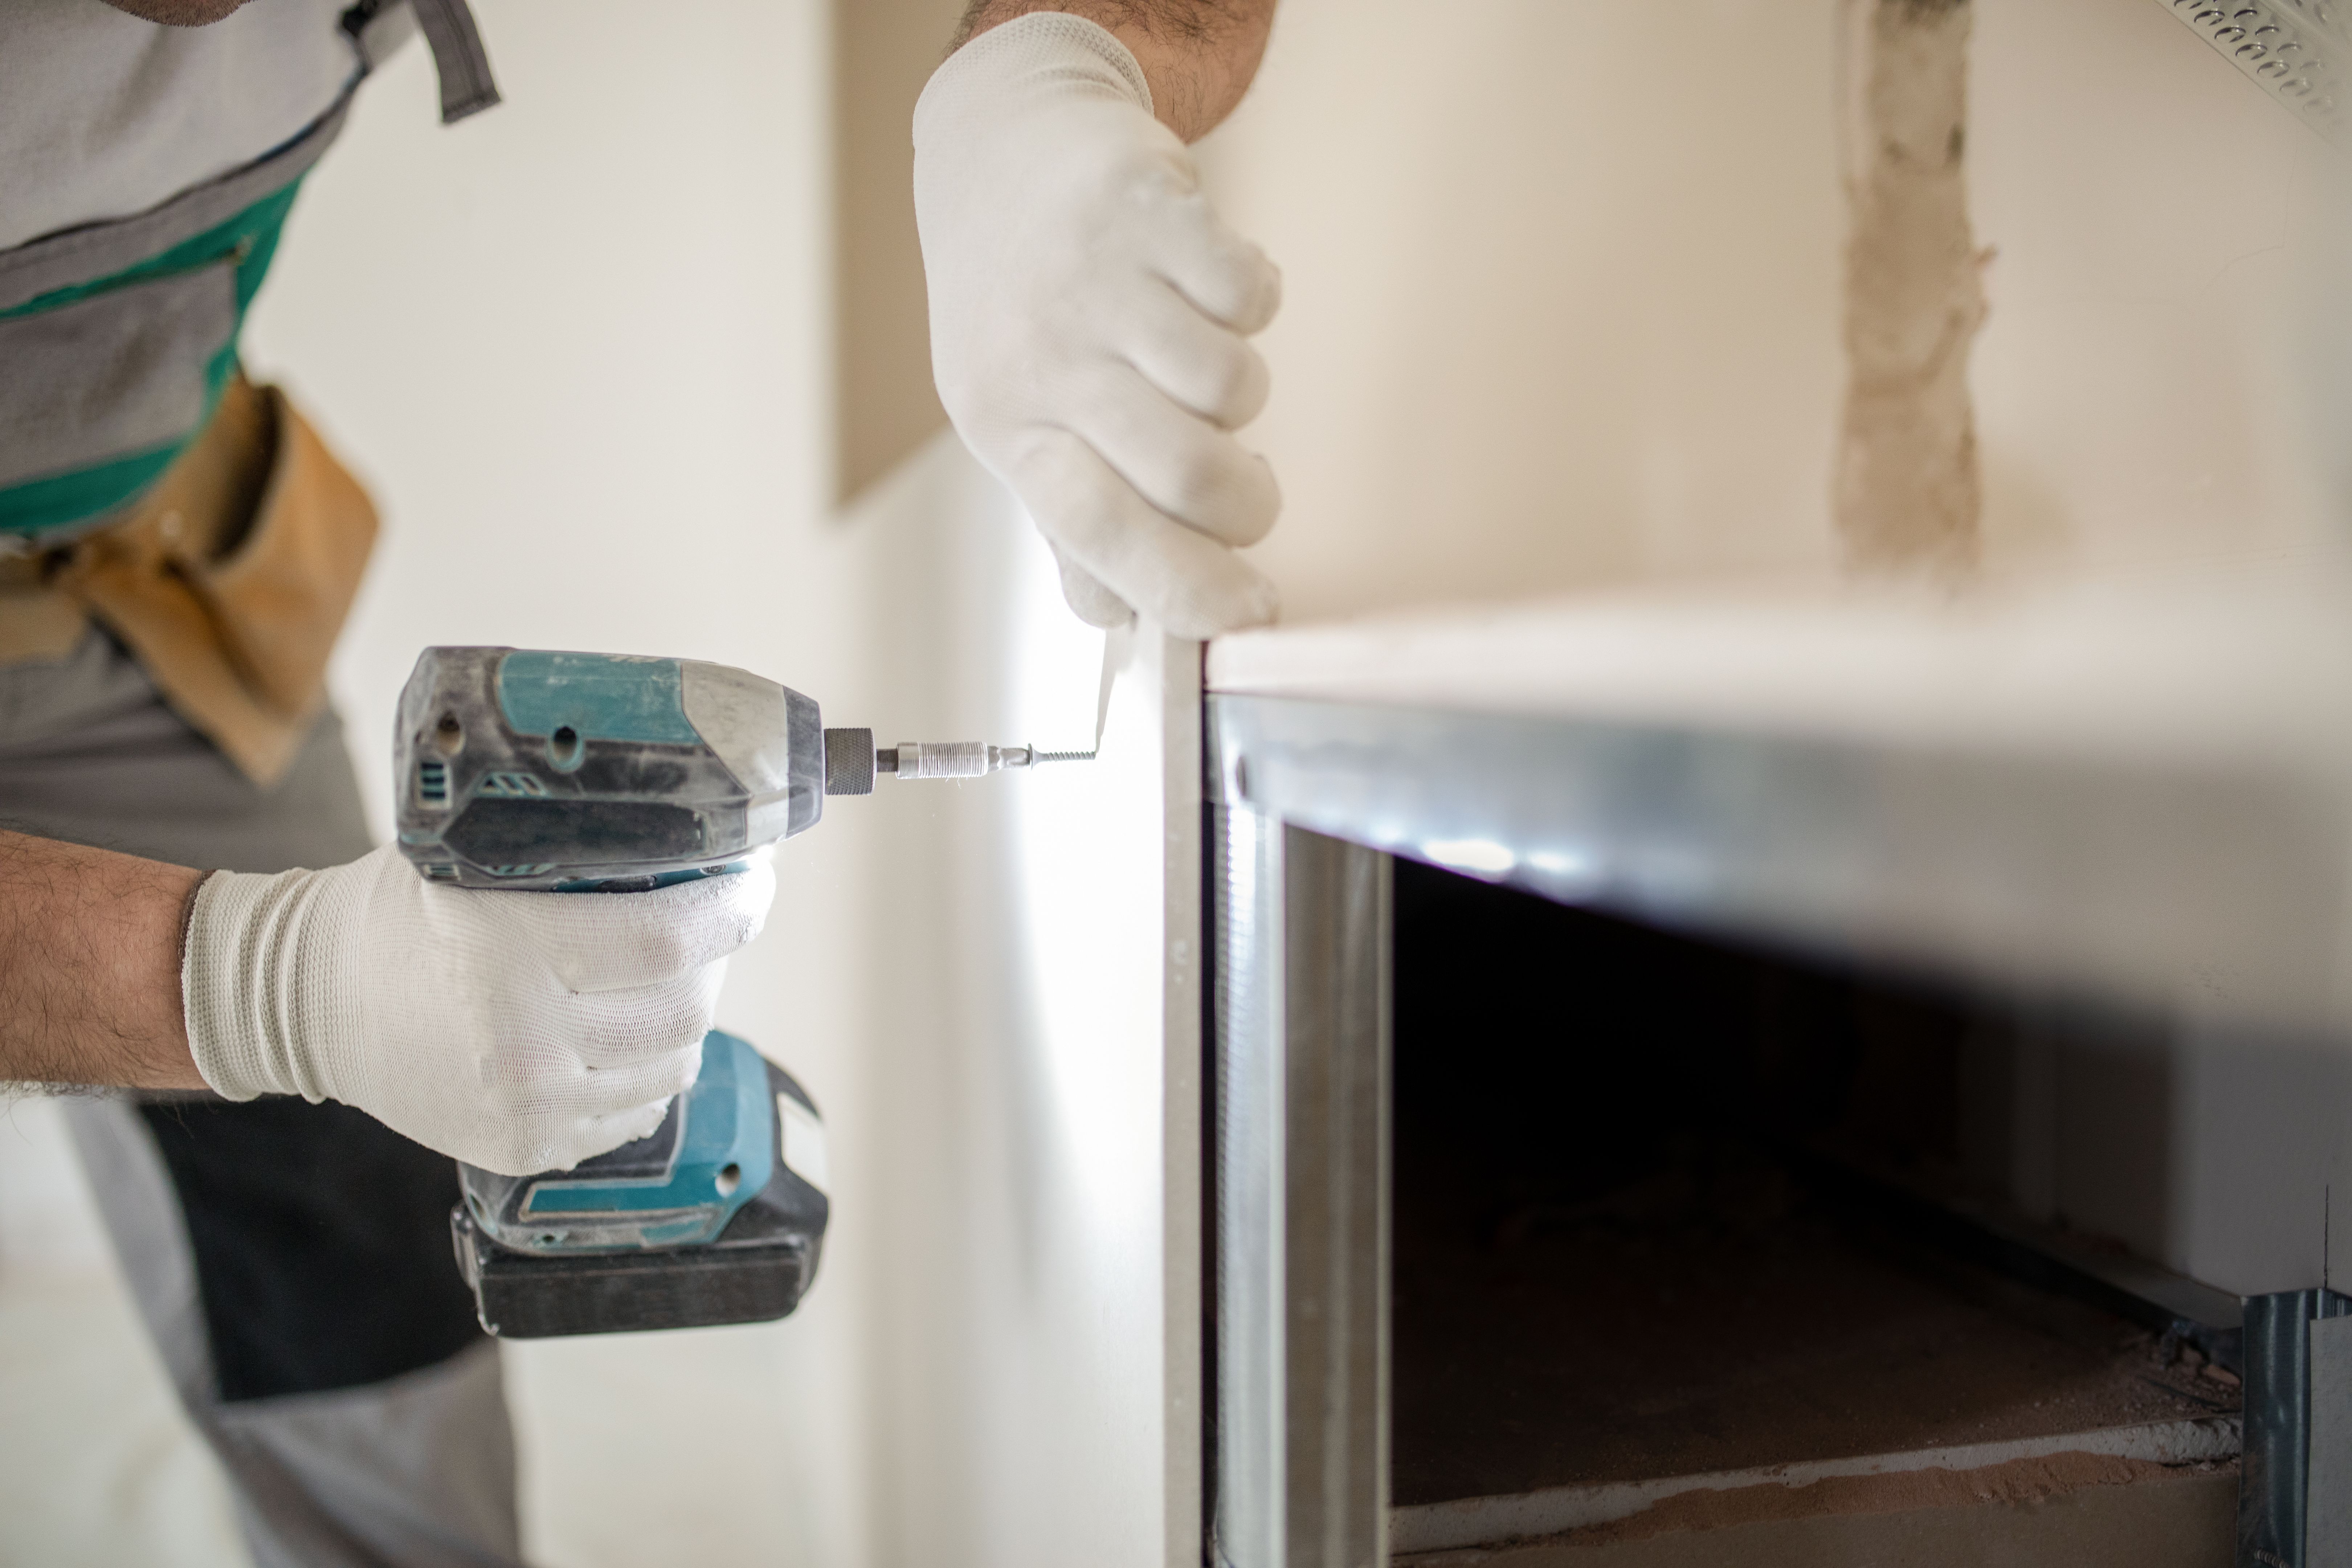
Hanging the Drywall
With the drywall sheets cut to size, it's time to hang them on the wall. Start by attaching the sheets horizontally to the wall studs using a drill and screws. Ensure that each screw is driven slightly below the surface of the drywall but not so deep that it breaks through the paper face. This will provide a flat surface for finishing later.
Taping and Applying Joint Compound
Once all the drywall sheets are securely hung, the next step is to tape and apply joint compound to the seams. Begin by applying a thin layer of joint compound over the seams, then place drywall tape over it. Smooth out any air bubbles with a putty knife and apply another layer of joint compound on top. Allow it to dry completely before proceeding.
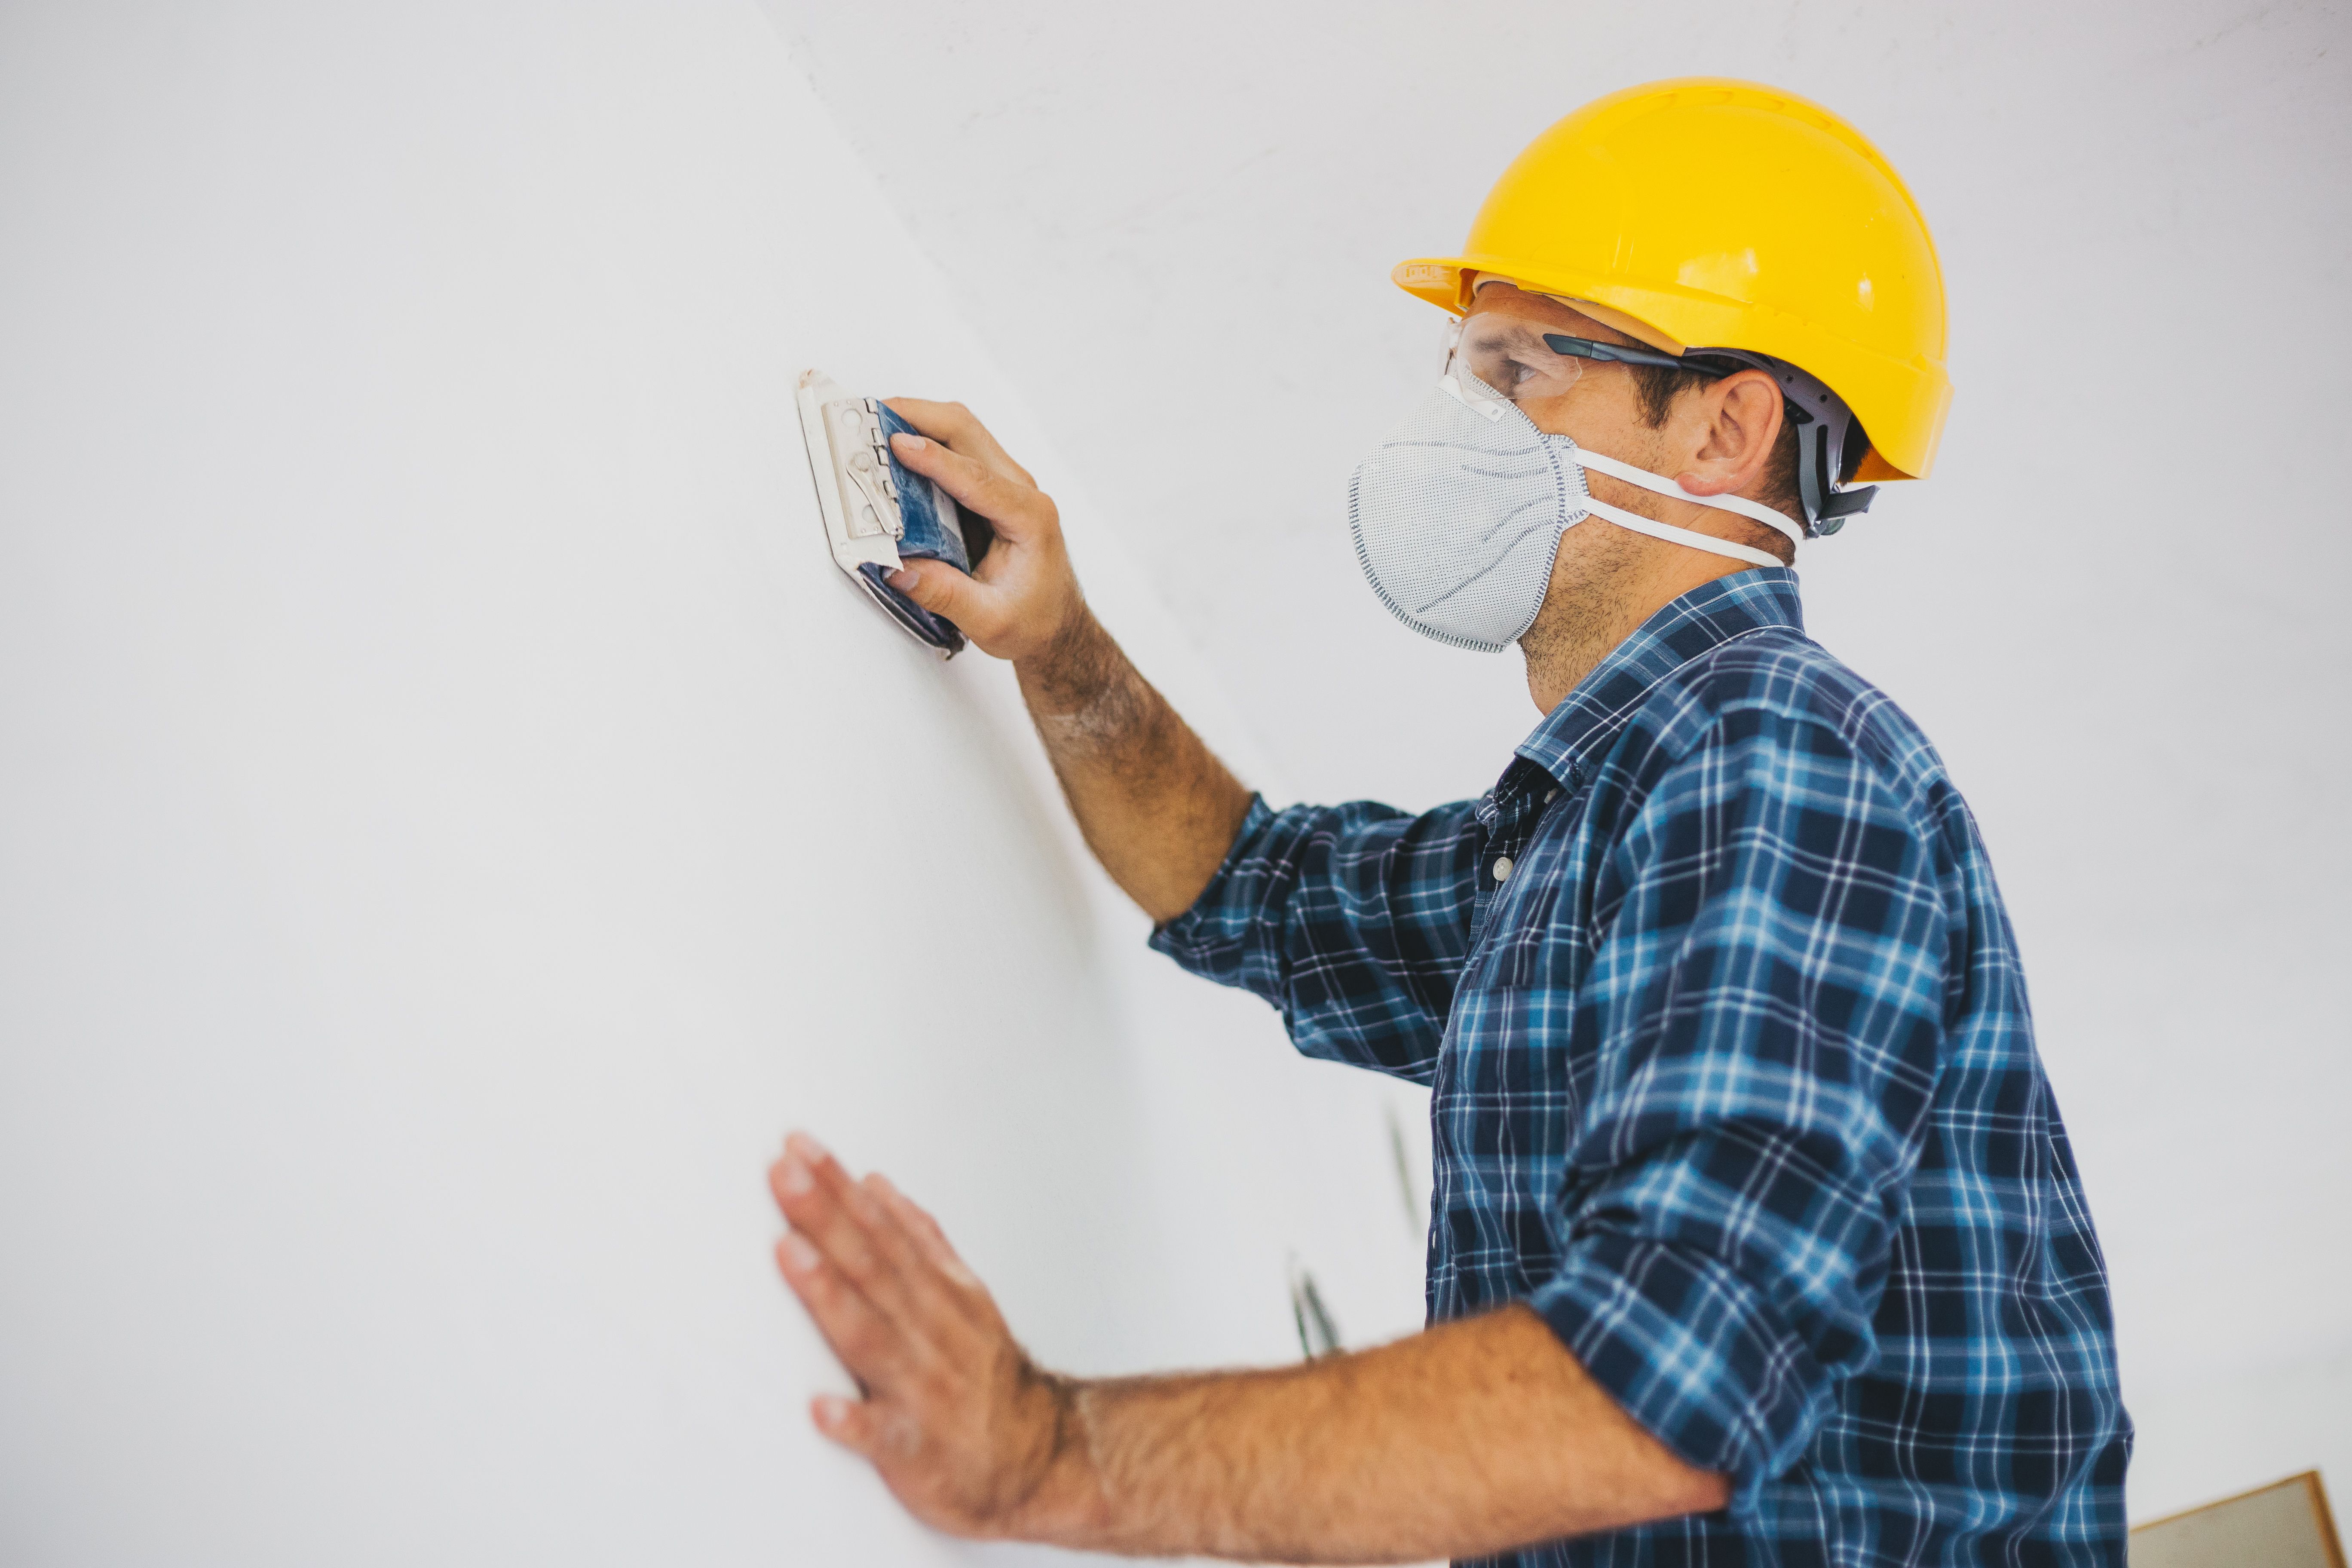
Sanding and Finishing Touches
After the joint compound has dried, use a sanding block or sponge to smooth out any rough areas. This step is crucial for achieving a seamless finish. Once sanding is complete, inspect the walls for any imperfections and apply additional compound if necessary. When satisfied with the surface, you can move on to painting or decorating as desired.
Conclusion: Enjoy Your New Walls
Completing a drywall installation project can be a rewarding experience for Minneapolis residents looking to enhance their home's interior. By following these steps, you can achieve professional-looking results that provide a perfect canvas for your design ideas. Whether you're renovating a single room or an entire home, understanding the drywall installation process will help you create beautiful, smooth walls that stand the test of time.