
Transform Your Space: Expert Drywall Installation Tips from Top Rated Installers


Transforming your space with a professional drywall installation can breathe new life into your home or office. Whether you're renovating a single room or tackling a complete overhaul, expertly installed drywall is key to achieving a smooth, polished look. Here are some tips from top-rated installers to ensure your project is successful.
Choose the Right Drywall
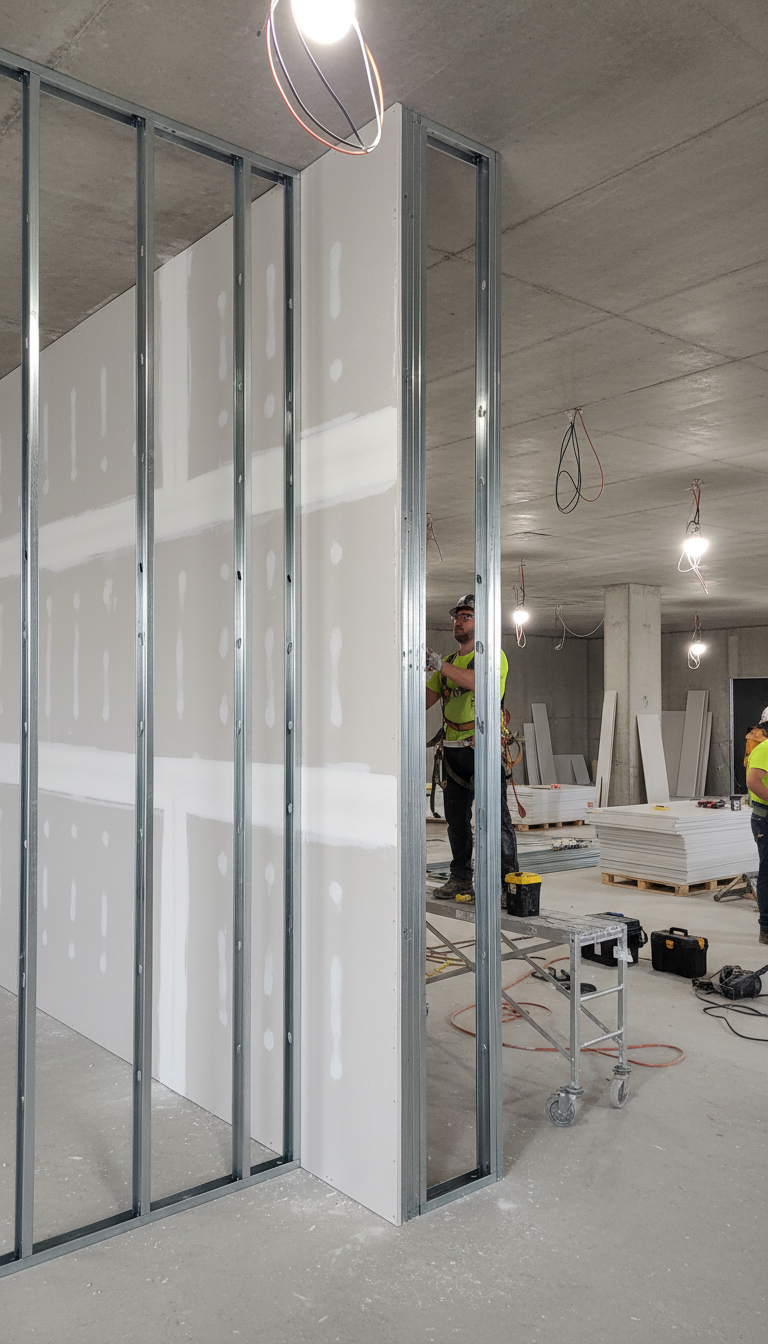
The first step in any drywall project is selecting the appropriate type of drywall for your needs. Consider factors such as moisture resistance, fire rating, and thickness. For areas like bathrooms or kitchens, moisture-resistant drywall is essential. Fire-rated drywall is ideal for garages and utility rooms, providing extra safety.
Standard drywall thickness is 1/2 inch, which is suitable for most residential walls. For ceilings or areas requiring extra durability, opt for 5/8 inch drywall. Consulting with a professional can help you make the best choice for your specific requirements.
Calculate the Materials Needed
Accurate measurement is crucial to avoid wastage and ensure a seamless installation. Measure the height and width of each wall or ceiling, and then calculate the total square footage. Add 10% to your total to account for errors and waste. Don't forget to include necessary materials such as joint compound, drywall tape, and screws.
Prepare Your Space
Before beginning installation, prepare your workspace by clearing out furniture and covering floors with drop cloths. Ensure you have all necessary tools on hand, including a utility knife, T-square, and power drill. Proper preparation will make the installation process smoother and more efficient.
Check for any existing issues, such as moisture or mold, and address them before proceeding. This preventive step helps to maintain the integrity of your new drywall and extends its lifespan.
Installation Techniques
Begin by affixing the drywall sheets to the framing using screws, starting from the top and working your way down. This method ensures a tight fit and minimizes gaps. Use a T-square to ensure straight cuts and precise measurements. Always stagger seams to increase the strength and stability of the walls.

Finish with Precision
A well-executed finish is what sets a professional installation apart. Apply joint compound over the seams and screw holes, then cover them with drywall tape. Apply additional layers of joint compound as needed, sanding between each layer to achieve a smooth surface.
Once the final coat of joint compound is dry, sand the surface thoroughly to remove any imperfections. This step is crucial for a flawless paint application and overall appearance.
Final Touches
With the drywall installed and finished, it's time to add the final touches. Clean the area of any dust and debris, and prepare for painting or wallpapering. Selecting the right paint or wall covering can further enhance the transformation of your space.
Remember, a professional touch can make all the difference. If you’re not confident in your skills, hiring a top-rated installer can ensure a high-quality result that you’ll enjoy for years to come.