
The Ultimate Guide to Ceiling Texture Removal in Minnesota Homes


Why Consider Ceiling Texture Removal?
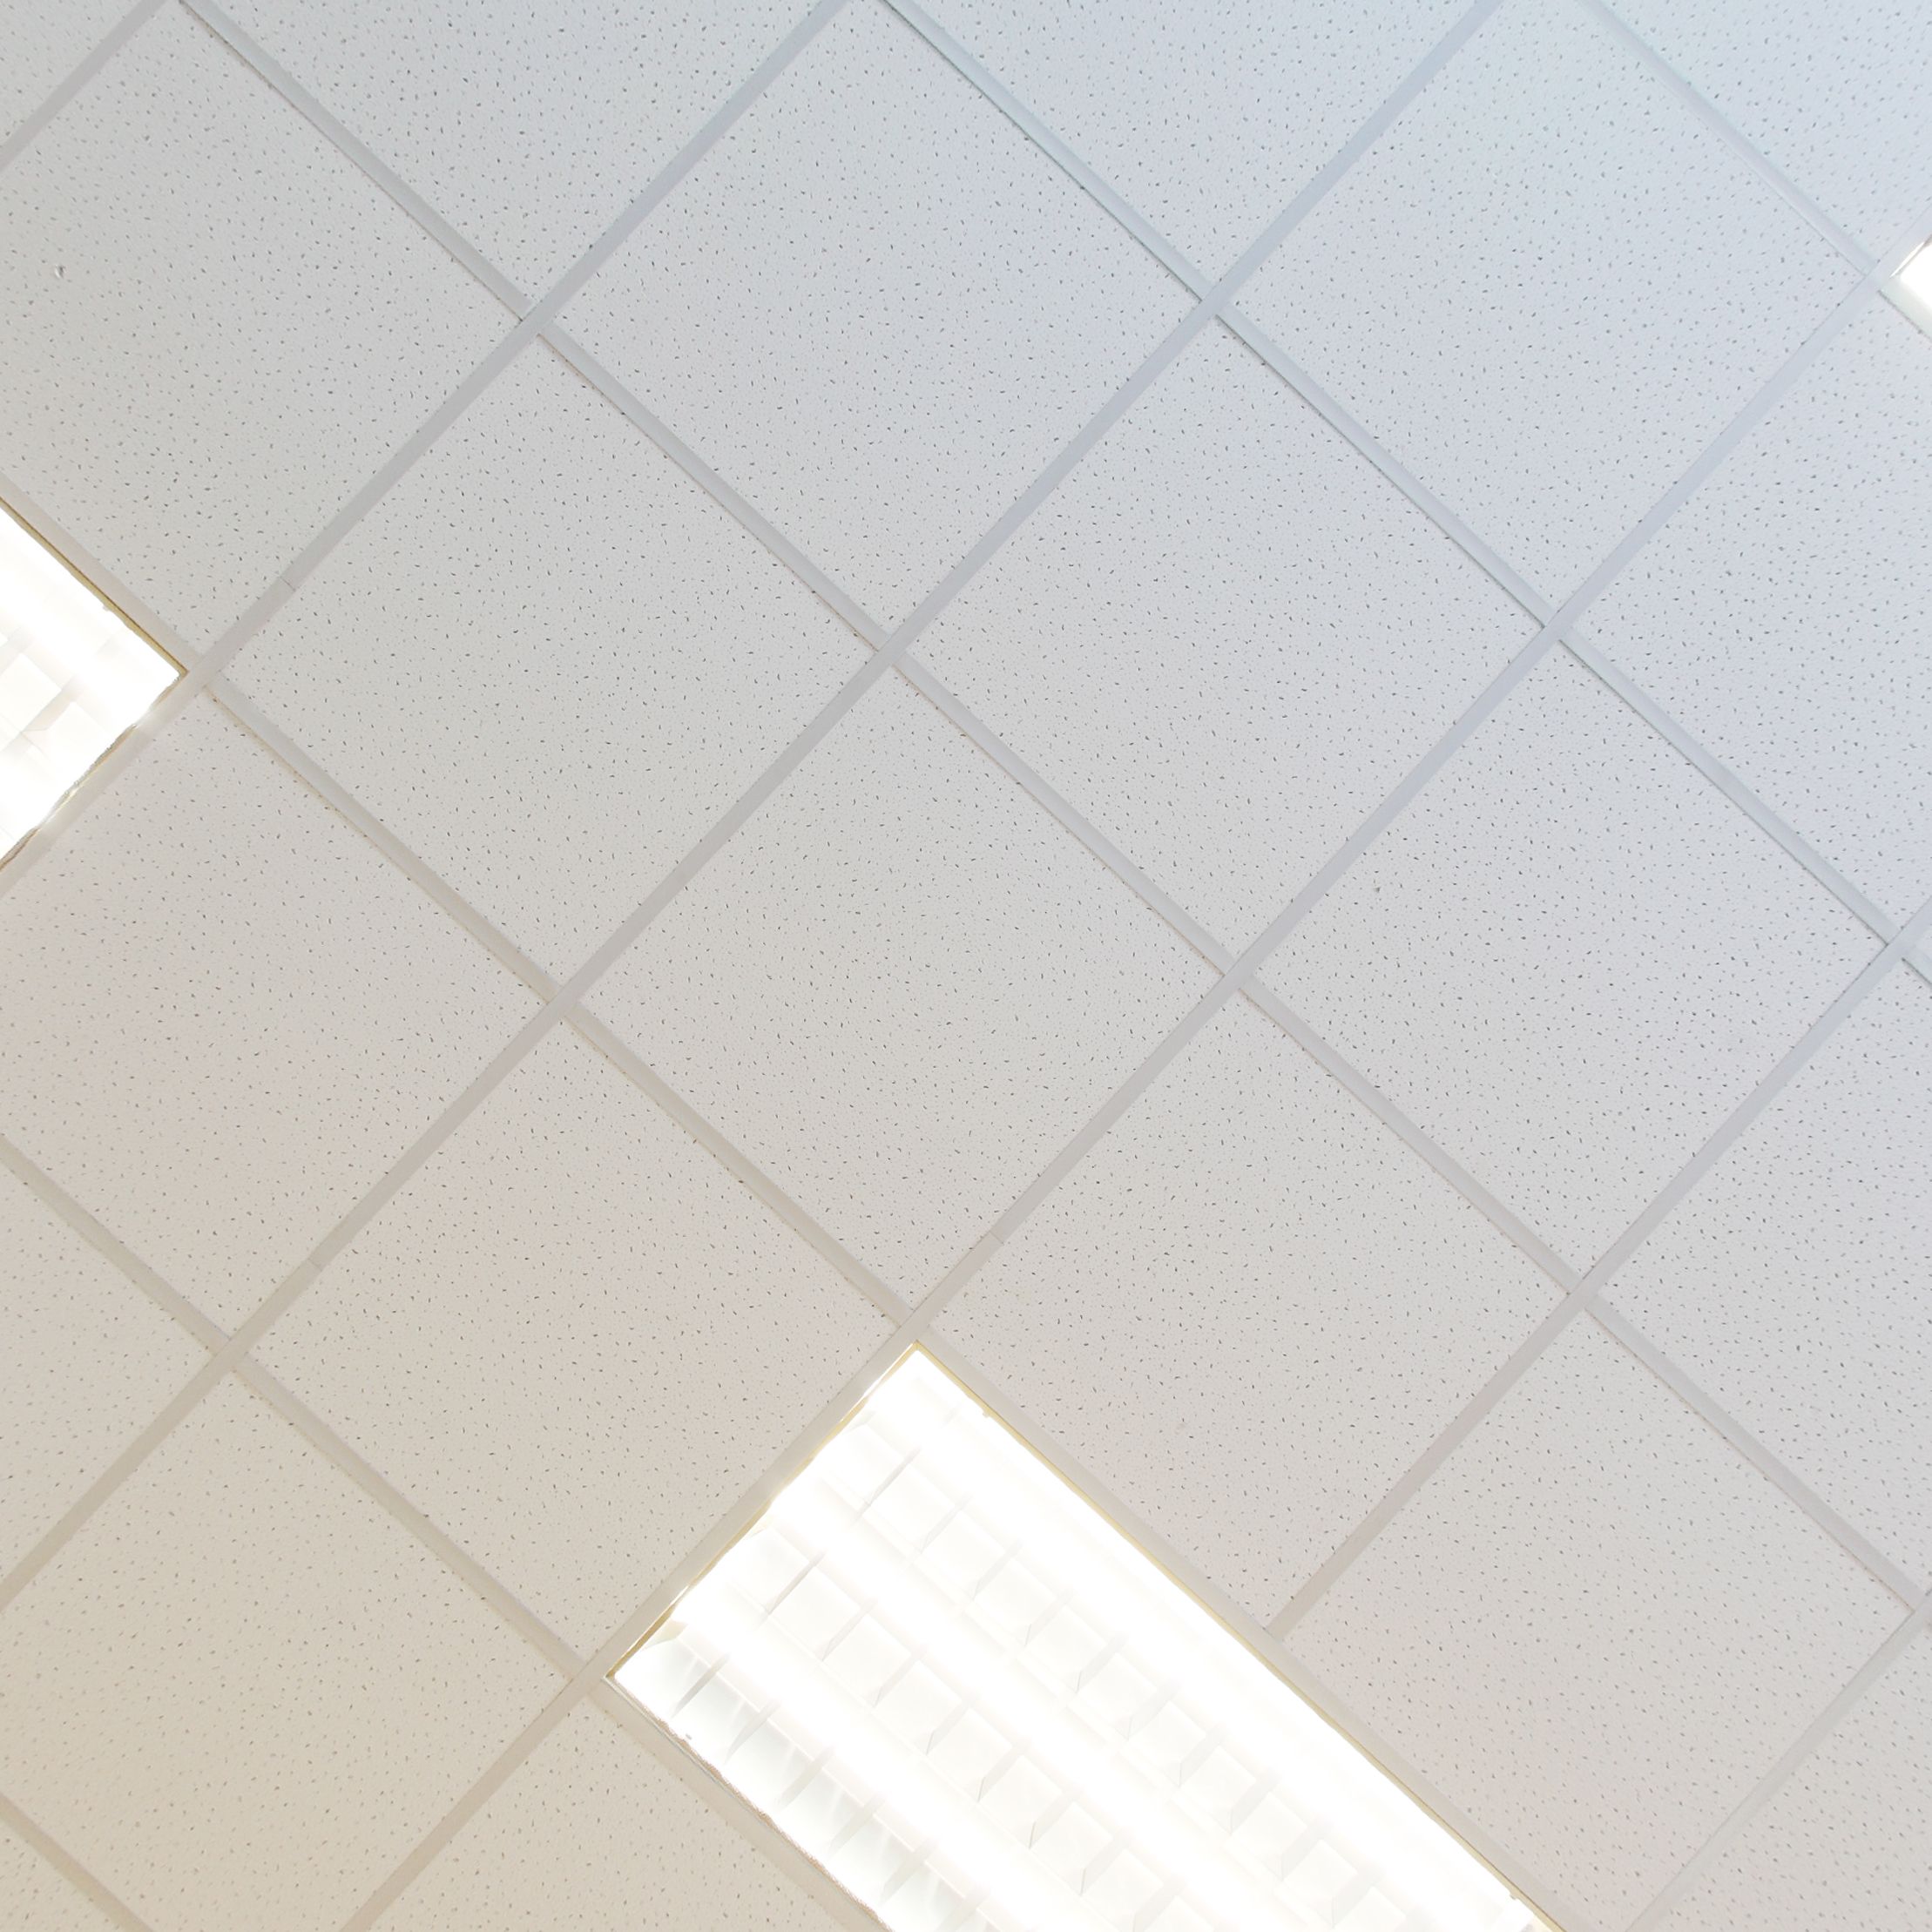
Ceiling texture removal can transform the look and feel of your home, providing a modern and clean appearance. In Minnesota, many homes have textured ceilings that were popular in the past but now feel outdated. Removing these textures can increase your home's value and appeal, especially if you're planning to sell.
Textured ceilings, often referred to as popcorn or stucco ceilings, were initially used to hide imperfections and absorb sound. However, they can collect dust and are difficult to clean. By removing them, you can improve air quality and create a healthier living environment.
Preparing for Ceiling Texture Removal
Gathering Necessary Tools
Before you begin, it's essential to gather the necessary tools for ceiling texture removal. You will need a ladder, plastic sheeting, painter's tape, a scraper, a spray bottle, and joint compound. Safety gear like goggles and a dust mask is also crucial to protect yourself from debris and dust.
Prepping the Room
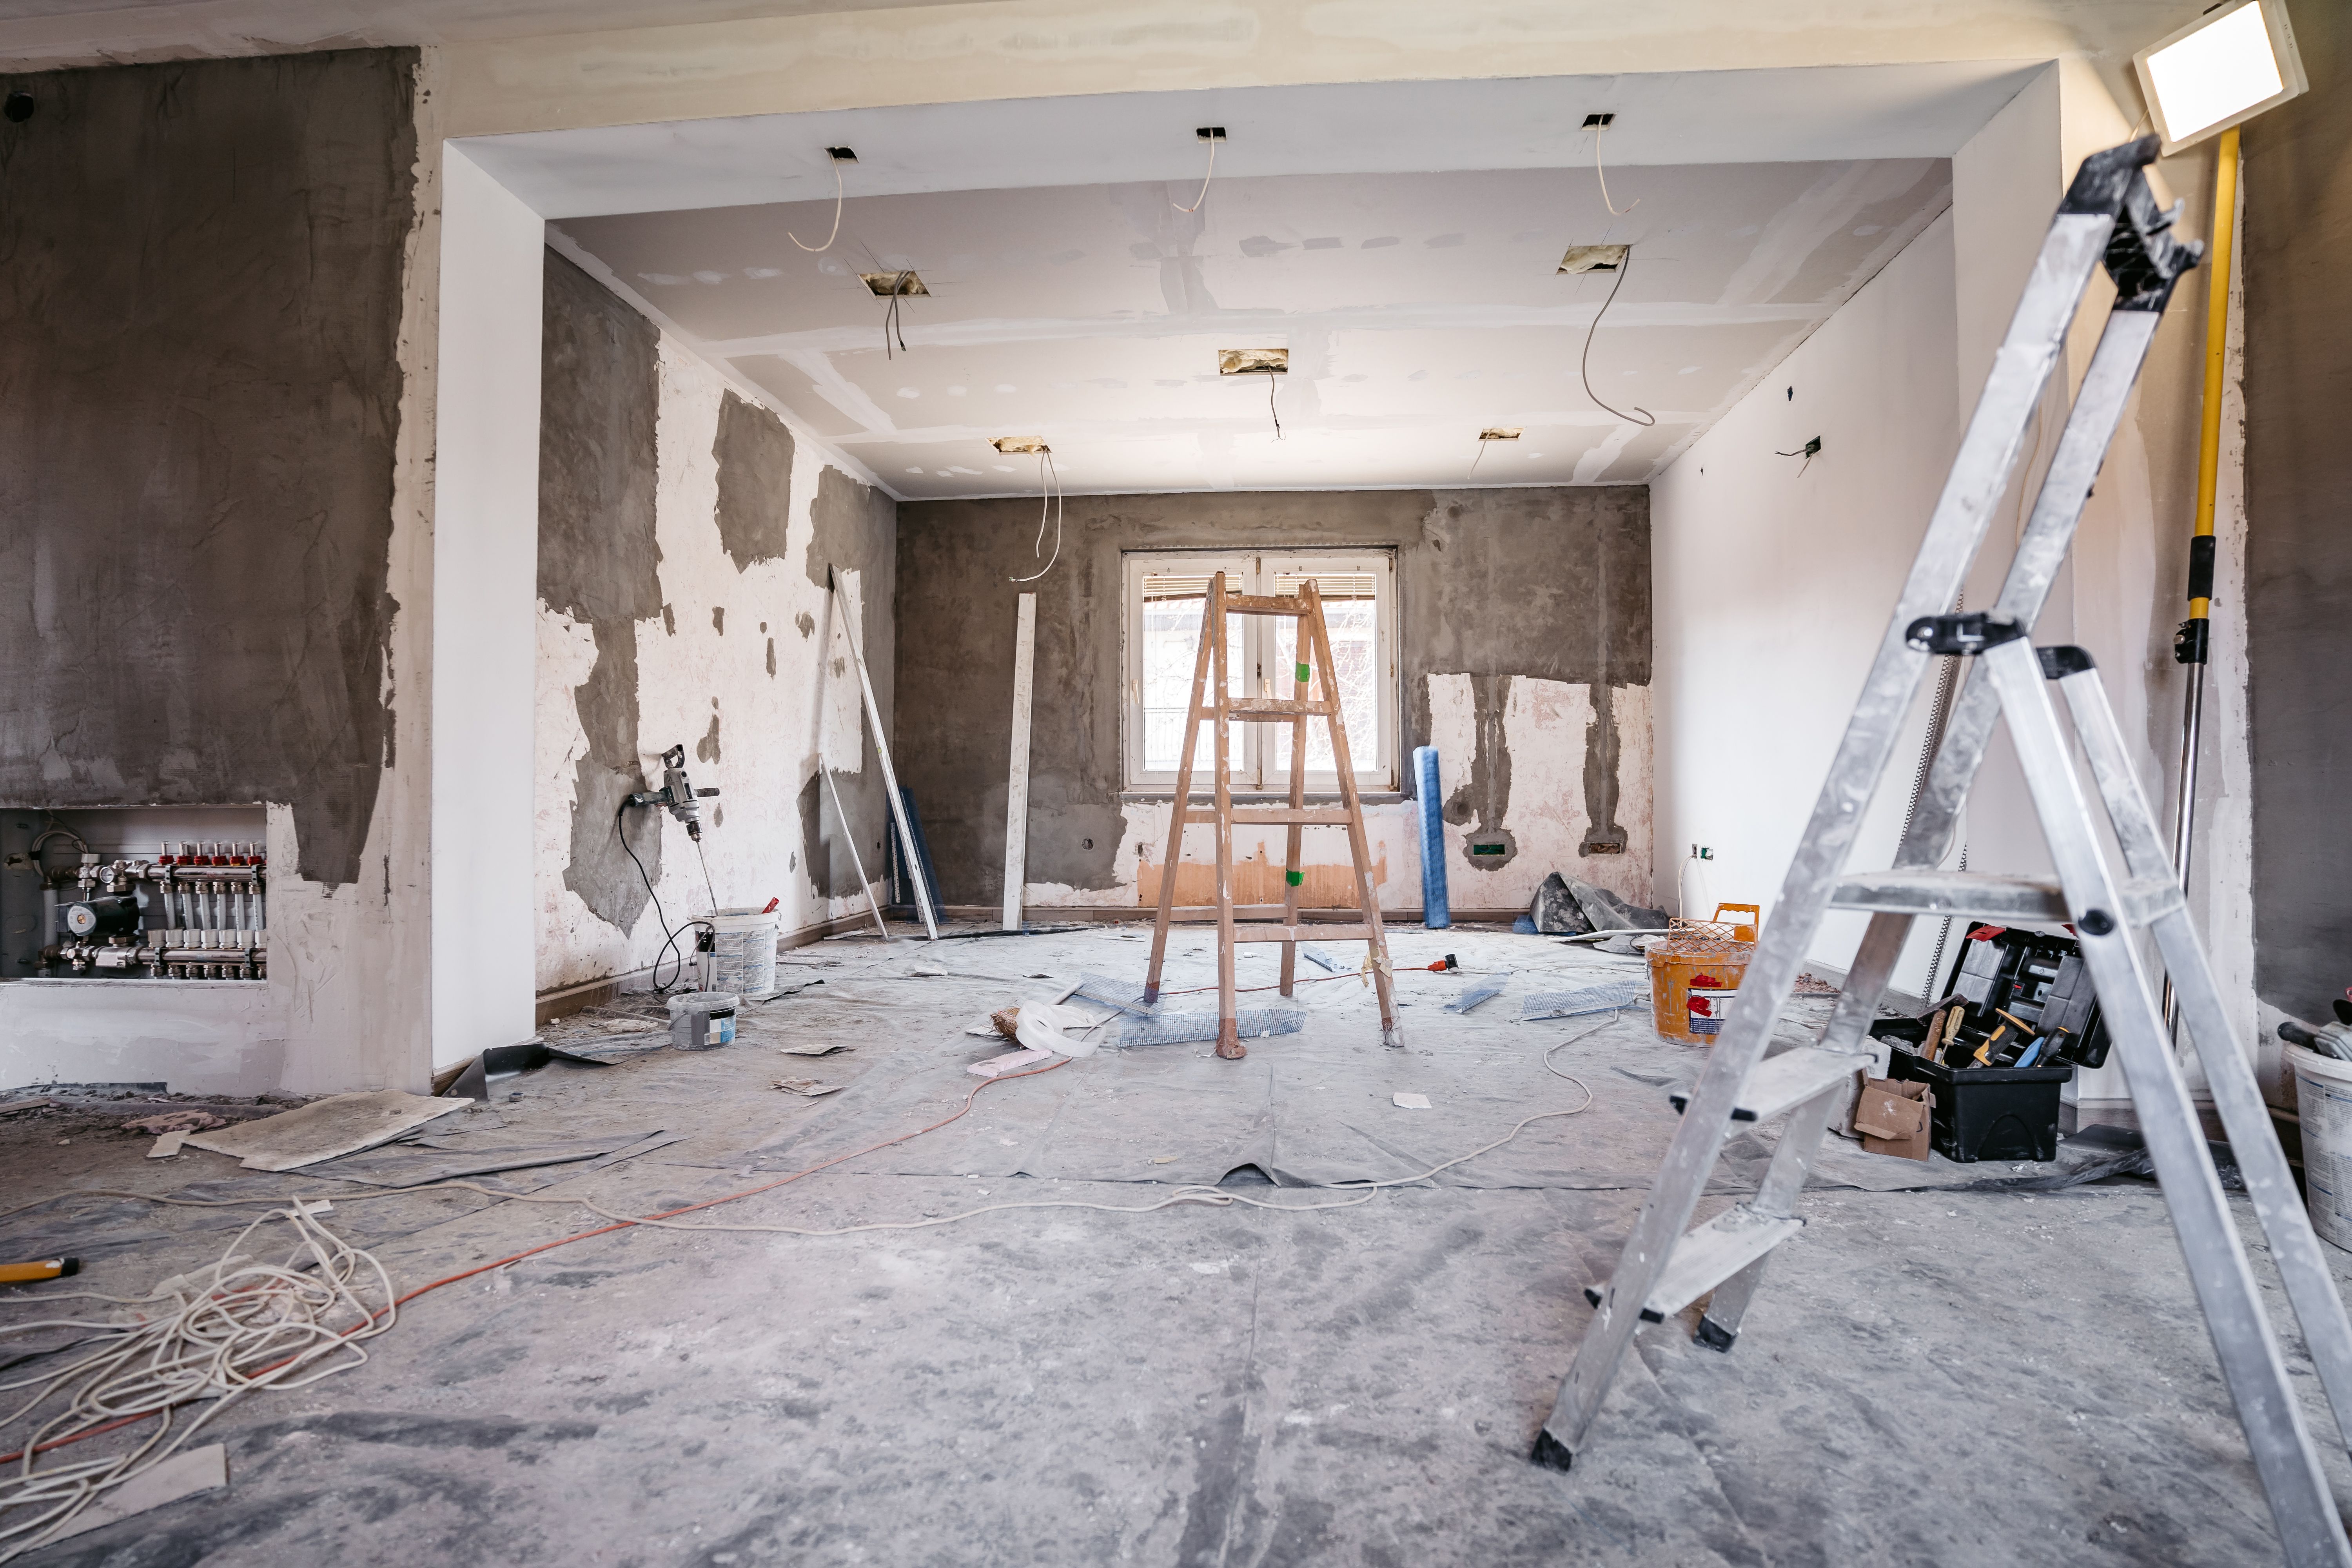
Preparation is key to a successful ceiling texture removal. Start by moving furniture out of the room or covering it with plastic sheeting. Protect your floors by laying down drop cloths. Use painter's tape to secure the plastic sheeting to the walls, ensuring that no dust or debris escapes.
The Process of Removing Ceiling Texture
Wet Method vs. Dry Method
There are two primary methods for removing ceiling texture: the wet method and the dry method. The wet method involves spraying the ceiling with water to soften the texture before scraping it off. This method is less messy and reduces dust but requires more time for the ceiling to dry afterward.
The dry method involves scraping the texture directly off without using water. While this method is quicker, it can create more dust and requires careful handling to avoid damaging the ceiling surface.
Step-by-Step Removal
- Start by spraying a small section of the ceiling with water using a spray bottle.
- Allow the water to soak for a few minutes to soften the texture.
- Use a scraper at a 45-degree angle to gently remove the texture.
- Work in small sections to ensure consistency and prevent damage.
- If using the dry method, scrape carefully without applying too much pressure.
Post-Removal Considerations
Smoothing and Repairing
Once the texture is removed, inspect the ceiling for any imperfections or damage. Use joint compound to smooth out any uneven areas or fill in small holes. Sand the surface gently once it’s dry to achieve a smooth finish.
Painting and Finishing Touches
After repairing and smoothing, it's time to paint your ceiling. Choose a high-quality primer to ensure even coverage and durability. Once primed, apply your chosen paint color for a fresh, modern look.
Professional Help vs. DIY
While DIY ceiling texture removal can be cost-effective, hiring professionals might be worth considering if you lack time or experience. Professional contractors have the tools and expertise to complete the job efficiently and safely, reducing the risk of damage or injury.
In Minnesota, numerous companies specialize in ceiling texture removal, offering services that fit various budgets and timelines. Evaluate your needs and decide whether professional help is right for you.
Conclusion
Ceiling texture removal is a worthwhile investment that can significantly enhance your home's aesthetics and value. Whether you choose to tackle it yourself or hire professionals, understanding the process ensures a successful outcome. With careful preparation and attention to detail, you'll enjoy a fresh and modern ceiling in no time.