
Step-by-Step Guide to Wallpaper Removal in Minneapolis Homes


Are you ready to refresh your Minneapolis home by removing outdated wallpaper? Whether you're updating your interiors or preparing for a fresh coat of paint, removing wallpaper can seem daunting. However, with the right tools and guidance, the process can be straightforward and rewarding.
Gather Your Tools and Materials
The first step in any wallpaper removal project is to gather the necessary tools and materials. Here's what you'll need:
- Wallpaper scorer
- Putty knife or scraper
- Wallpaper stripper or a mixture of vinegar and water
- Sponge or cloth
- Plastic sheeting or drop cloths
- Protective gloves and goggles
Having these items on hand will ensure your project runs smoothly and efficiently.

Prepare the Room
Before starting the removal process, it's crucial to prepare your room. Begin by moving furniture away from the walls and covering the floor with plastic sheeting or drop cloths to protect it from moisture and debris. Remove any outlet covers and switch plates, and tape over the outlets to prevent moisture from getting inside.
Protect Yourself
Safety is paramount, so make sure to wear protective gloves and goggles throughout the process. This will protect your skin and eyes from any chemical splashes or flying debris.
Score the Wallpaper
Once your room is prepared, use a wallpaper scorer to gently perforate the surface of the wallpaper. This will allow the removal solution to penetrate and loosen the adhesive beneath the wallpaper, making it easier to remove.

Apply the Removal Solution
Mix a wallpaper stripper according to the manufacturer’s instructions or create a homemade solution of equal parts vinegar and water. Use a sponge or cloth to apply the solution generously to the scored wallpaper, allowing it to soak for about 15 minutes.
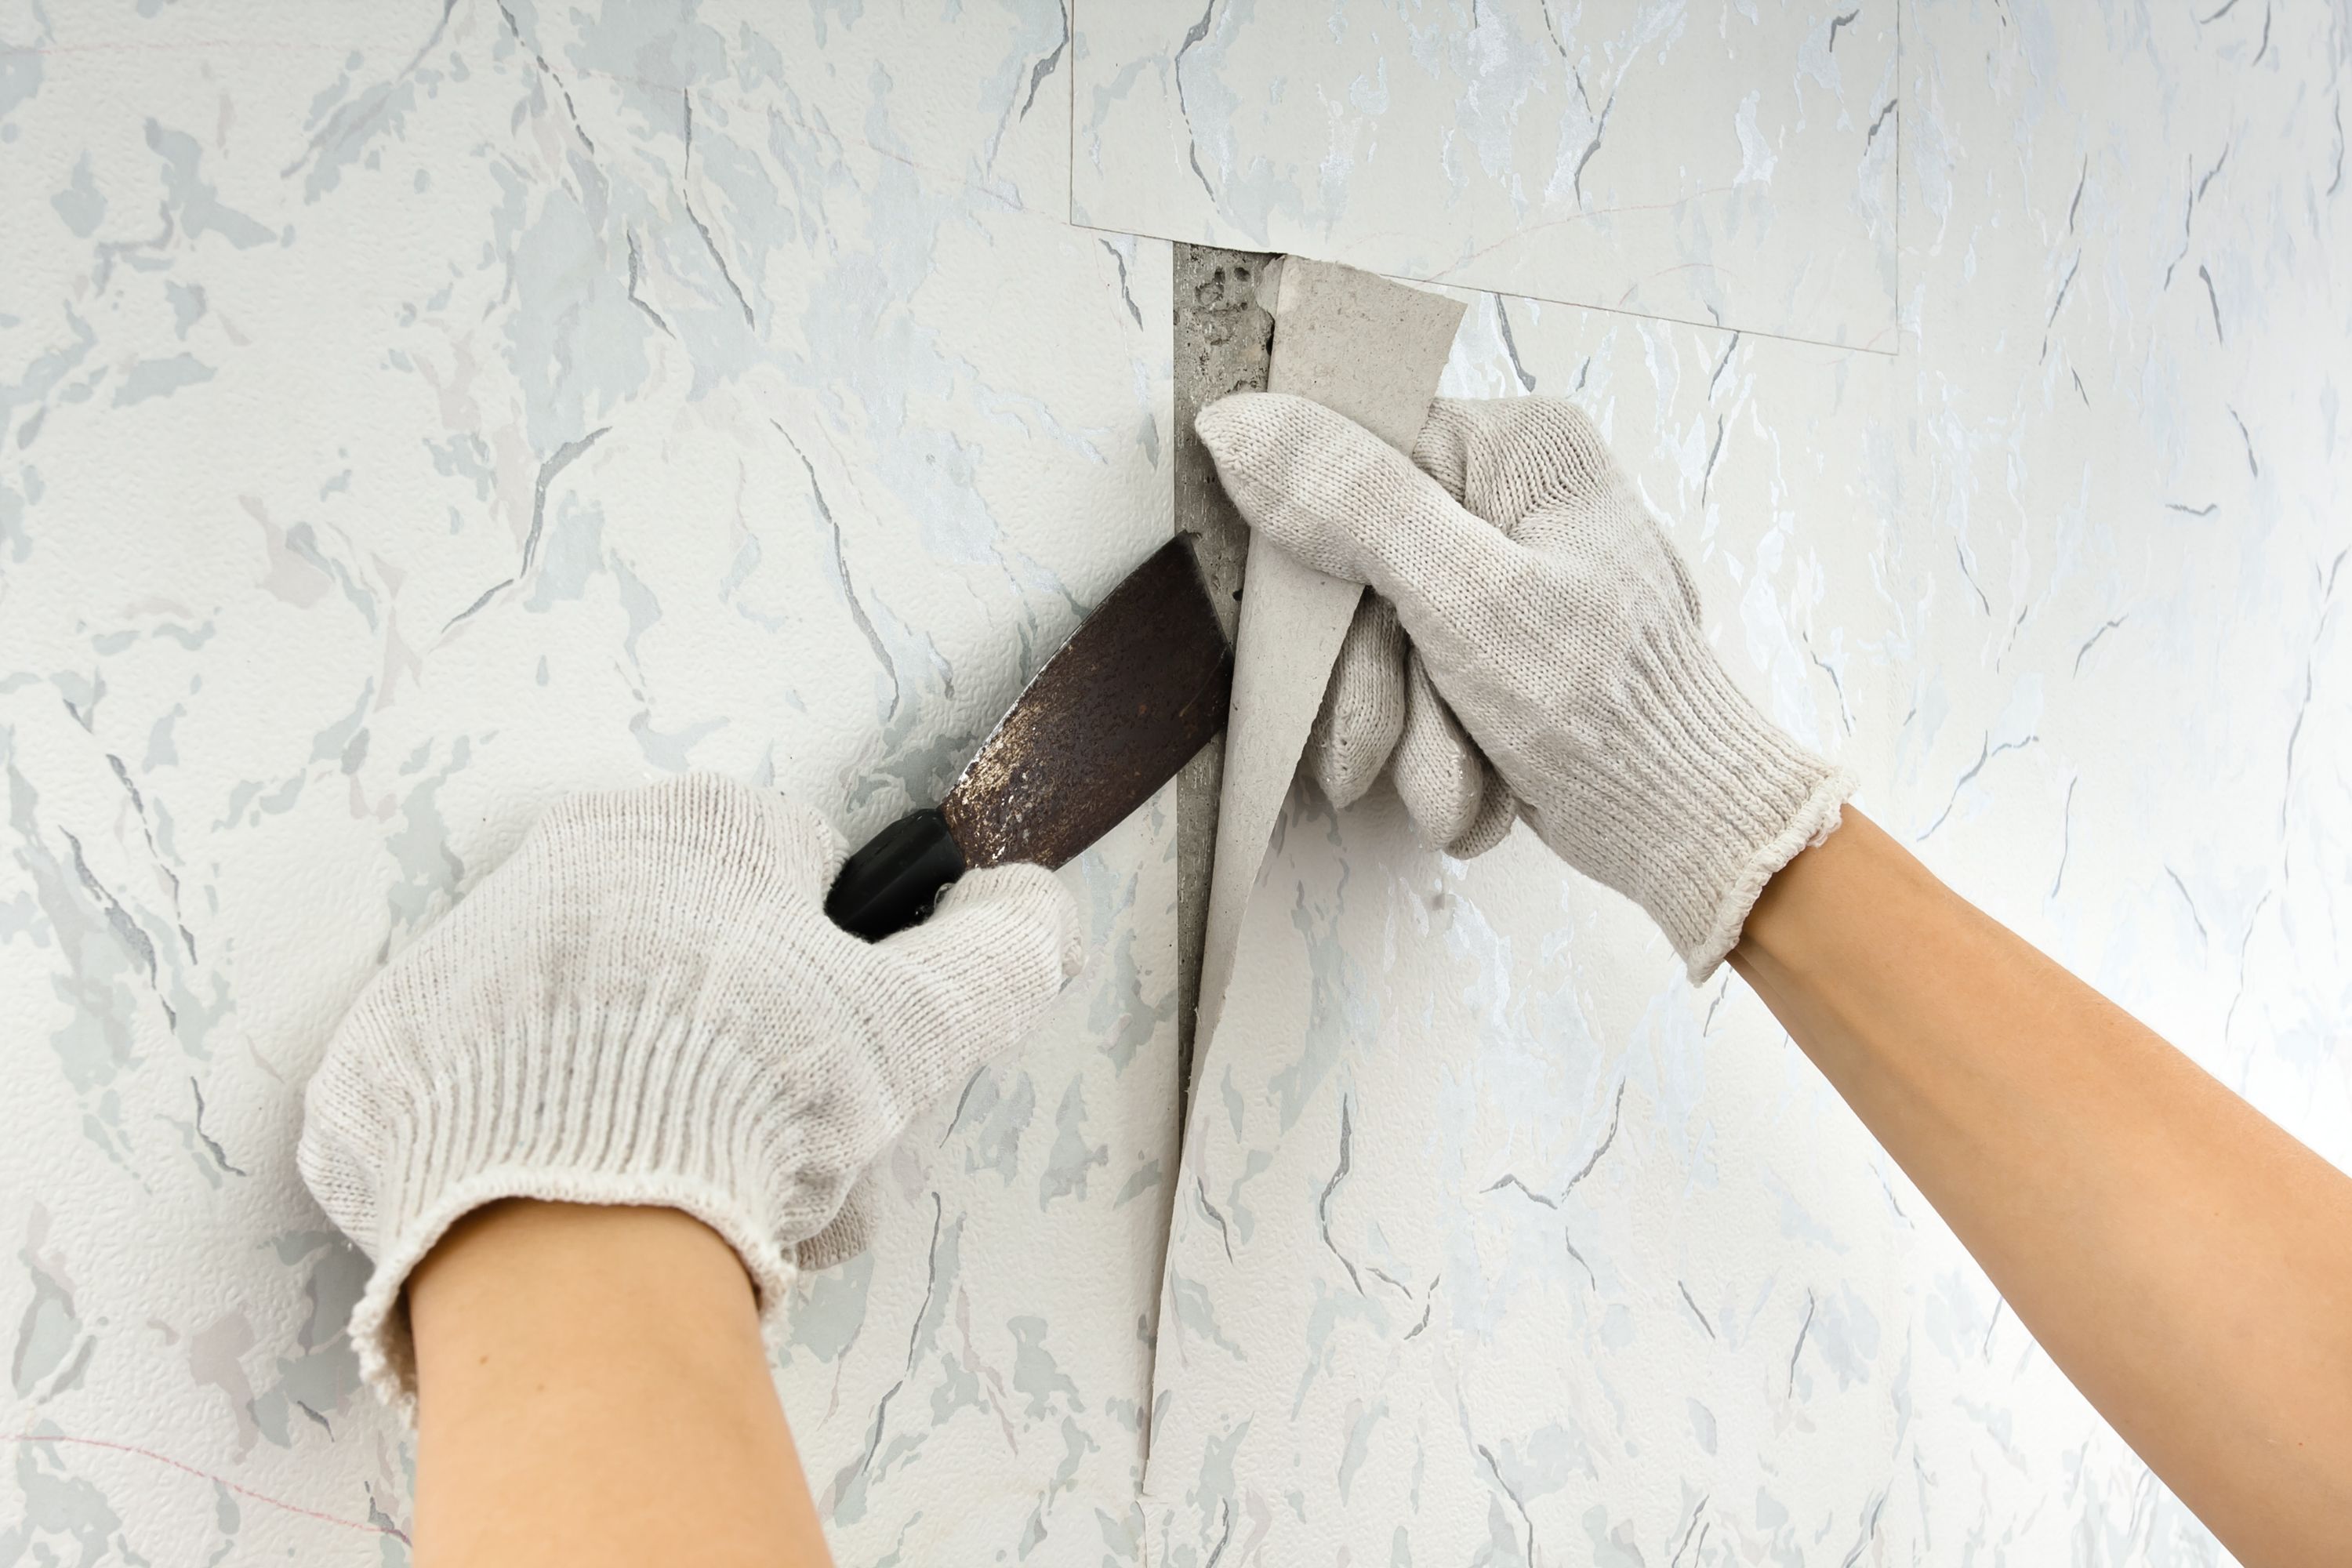
Testing and Scraping
After soaking, test a small section by gently scraping with a putty knife. If the wallpaper comes off easily, continue to remove the rest, working in small sections. If it resists, apply more solution and wait a few more minutes before trying again.
Clean the Walls
Once all the wallpaper is removed, you'll likely find adhesive residue left on the walls. Use warm soapy water and a sponge to scrub off the residue, ensuring the walls are clean and smooth. This step is essential for preparing the walls for new paint or wallpaper.
After cleaning, allow the walls to dry completely before moving on to your next project. This ensures that any new application adheres properly to the surface.
Final Touches
With the wallpaper gone and the walls clean, you can now proceed with your next design project, whether it’s painting or applying new wallpaper. Enjoy the fresh, updated look of your Minneapolis home!
By following these steps, you can transform your space with minimal hassle and achieve a stunning result. Happy renovating!