Step-by-Step Guide to DIY Ceiling Texture Removal


Introduction to Ceiling Texture Removal
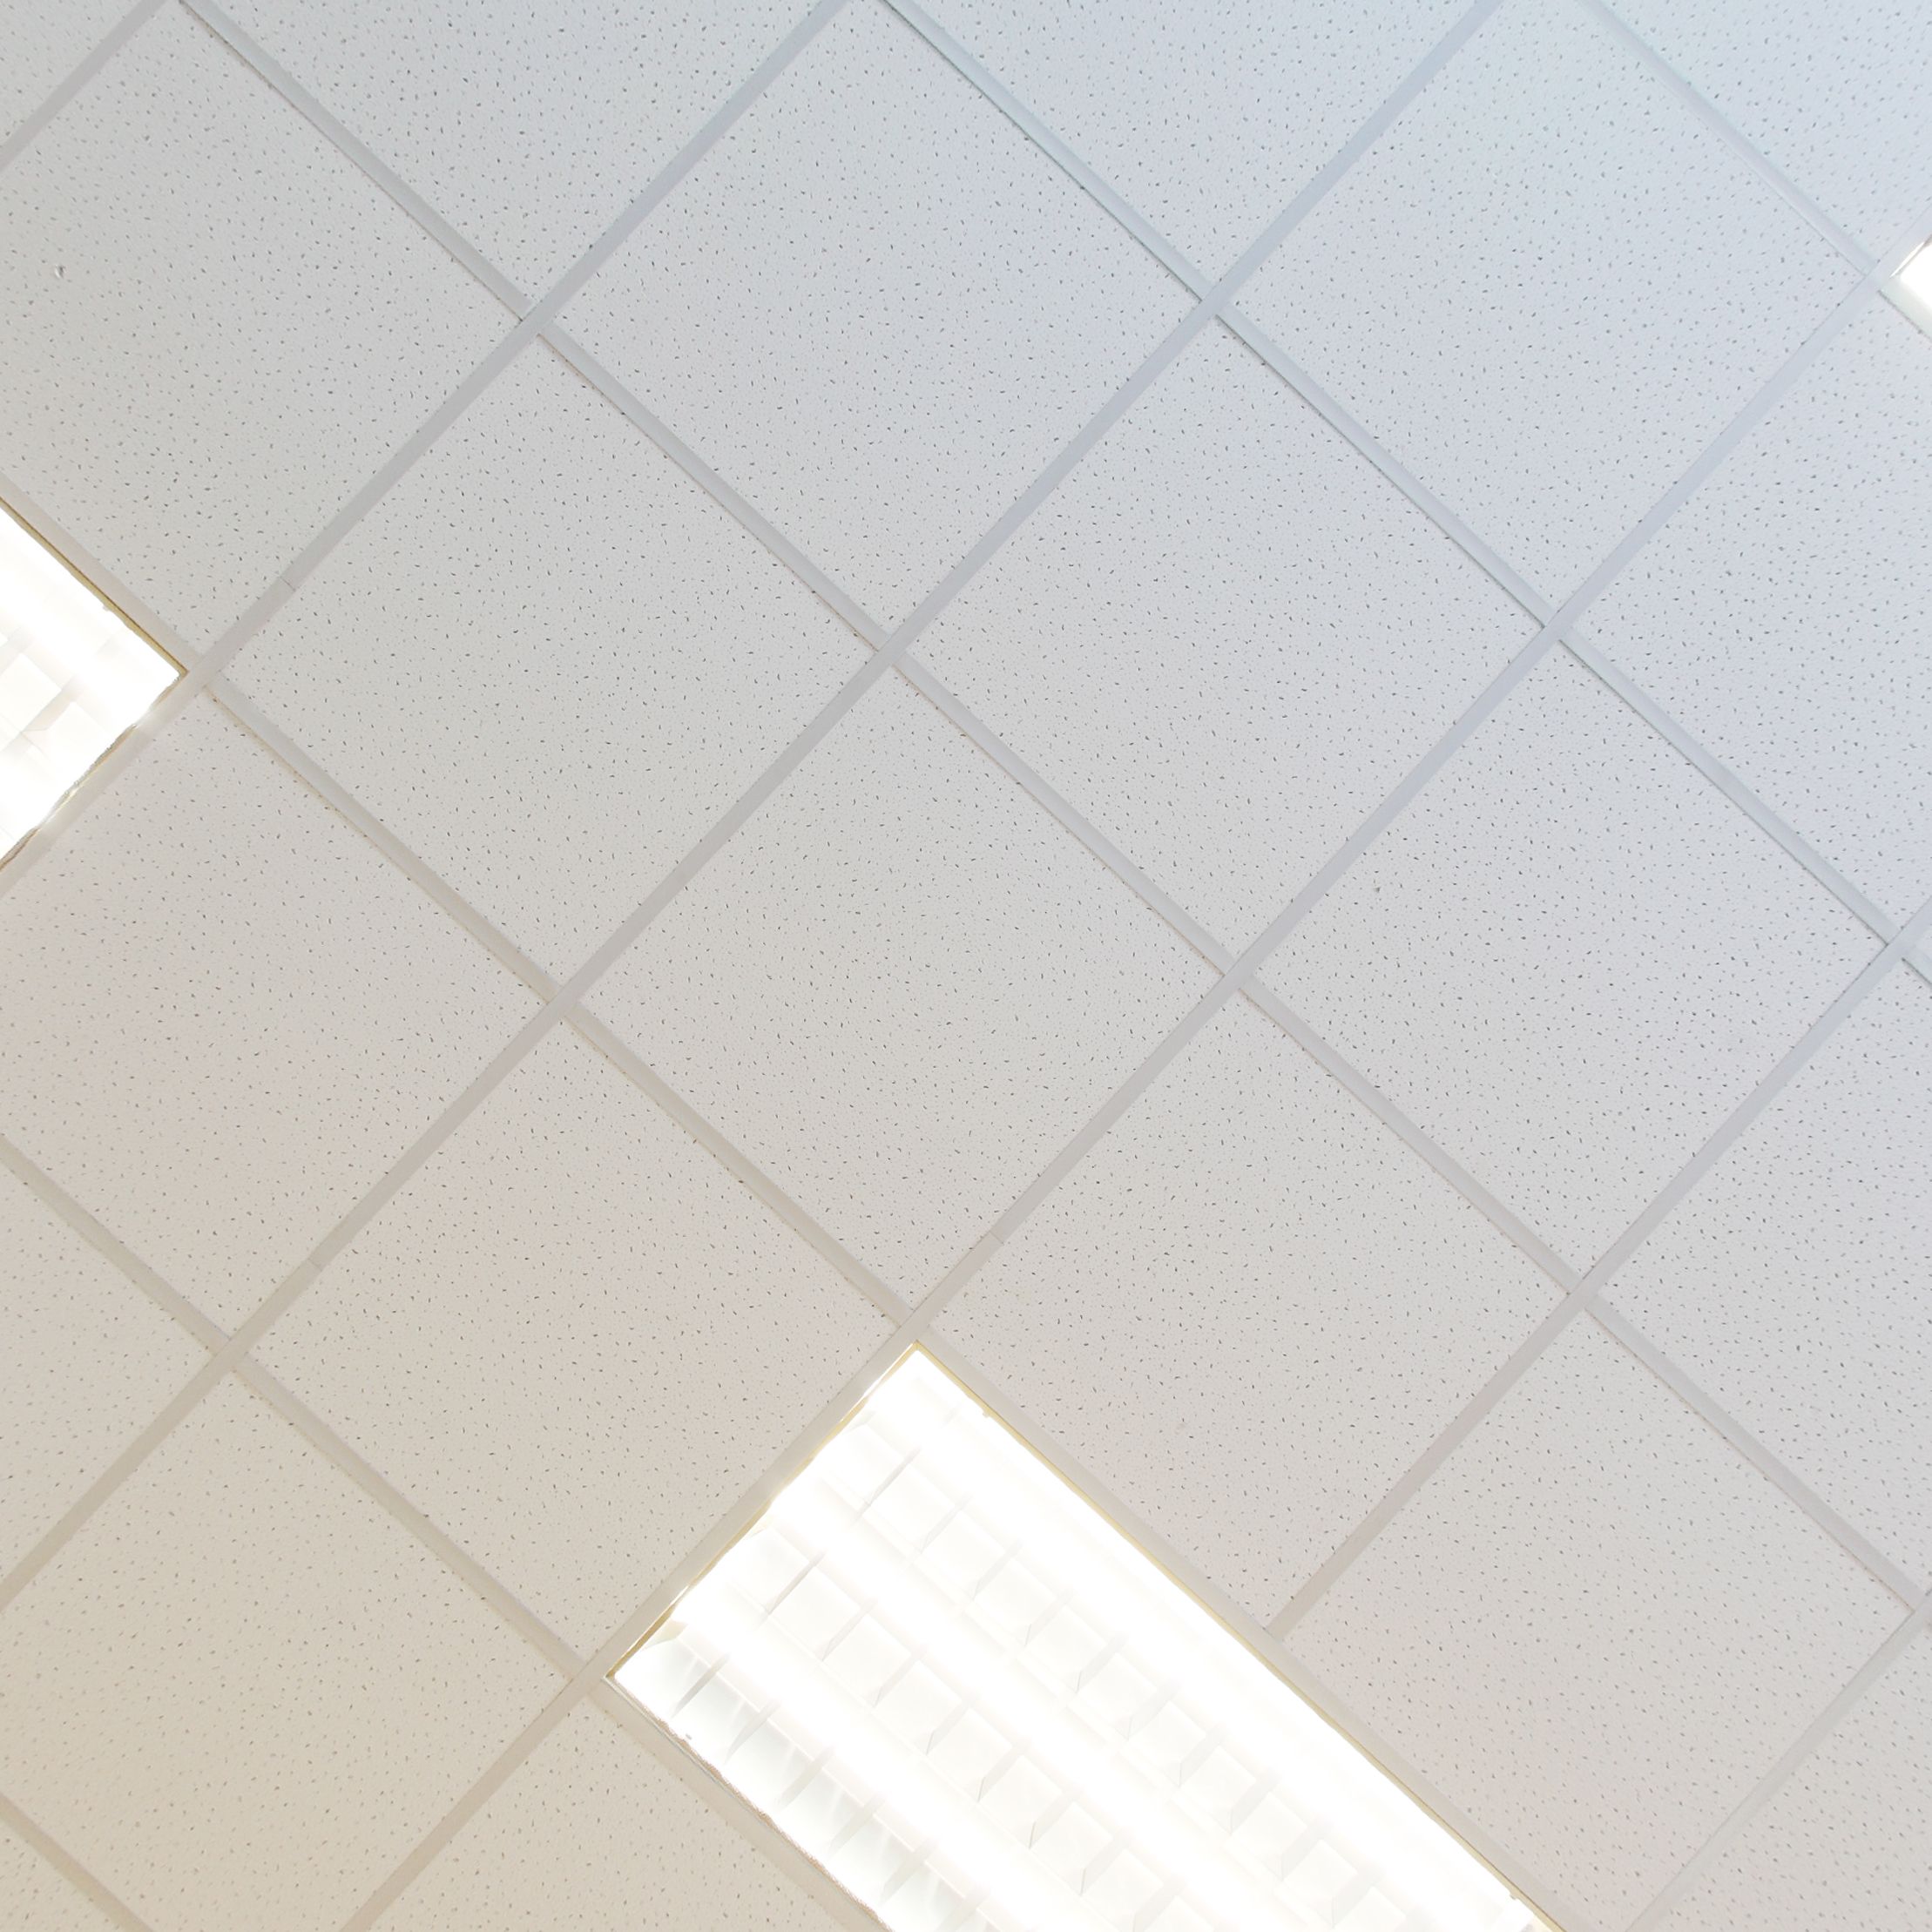
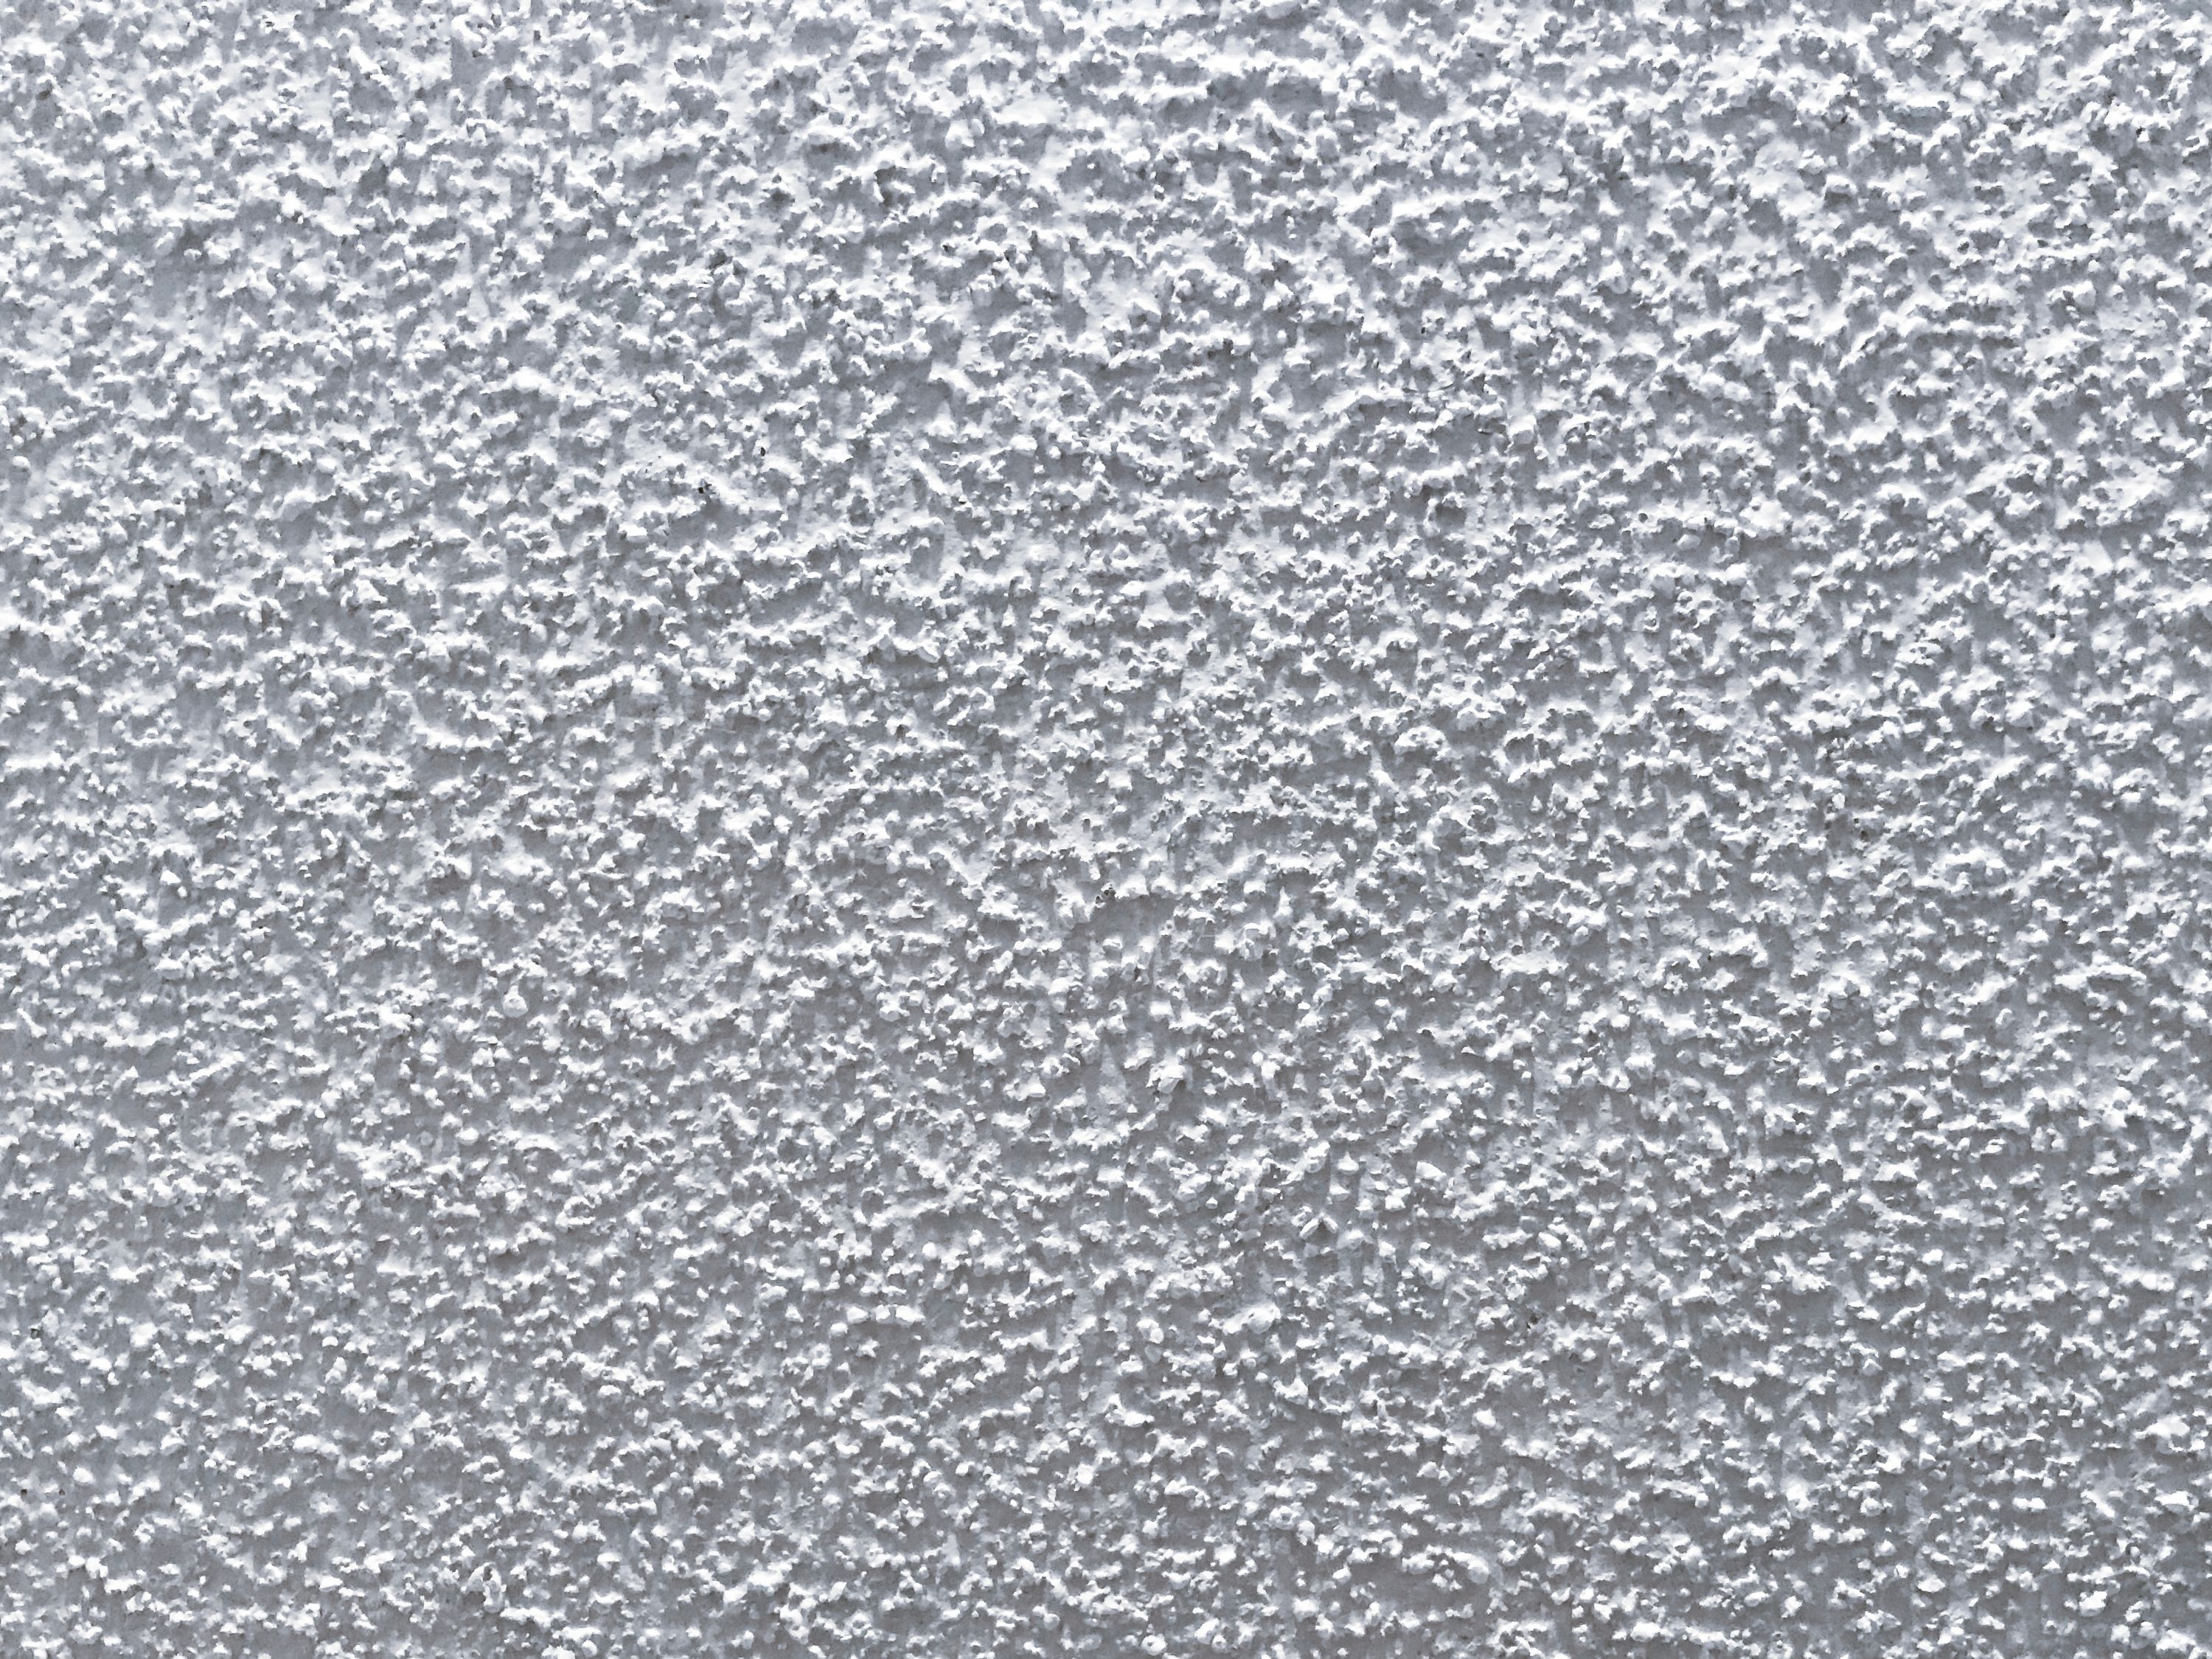
Ceiling textures, often known as popcorn ceilings, were a popular design choice in the mid-20th century. However, many homeowners now prefer a smooth, modern ceiling. Removing ceiling texture can be a daunting task, but with the right tools and guidance, it can be a manageable DIY project.
This step-by-step guide will walk you through the process of removing your ceiling texture safely and efficiently. Whether you're tackling this for aesthetic reasons or to repair damage, follow these steps to achieve a clean, refreshed ceiling.
Gathering Your Tools and Materials
Before beginning the removal process, it's crucial to gather all necessary tools and materials. Here's what you'll need:
- Protective gear: safety goggles, dust mask, and gloves
- Plastic sheeting or drop cloths to protect floors and furniture
- Ladder or scaffolding for reaching the ceiling
- Scraper or putty knife
- Spray bottle filled with water
- Sanding sponge or sandpaper
Having these items ready will ensure that you can work efficiently and safely throughout the process.
Preparing Your Space
Proper preparation of your workspace is essential for a successful ceiling texture removal. Start by removing all furniture from the room or covering it with plastic sheeting. Ensure all lighting fixtures are turned off and covered. Use plastic sheeting or drop cloths to protect your floors from debris.
Safety first! Be sure to wear your protective gear, as older ceiling textures may contain harmful materials like asbestos. If you suspect your ceiling might contain asbestos, it's advisable to have it tested by professionals before proceeding.
Removing the Ceiling Texture
With your space prepared, it's time to start removing the texture. Follow these steps:
- Use your spray bottle to lightly mist a small section of the ceiling with water. This helps to loosen the texture.
- Allow the water to soak in for about 15 minutes.
- Gently scrape the dampened texture using a scraper or putty knife. Work carefully to avoid damaging the drywall beneath.
- Continue this process in sections until the entire ceiling is free of texture.
Smoothing and Finishing Touches
Once you've removed the texture, your ceiling may have some uneven areas or remnants of texture. Use a sanding sponge or sandpaper to smooth these areas, creating a uniform surface for painting or further treatment.
Inspect your work carefully and repeat the sanding process if necessary. A smooth finish will ensure that any paint or finish applied later will adhere properly and look professional.
Cleaning Up
After completing the removal and smoothing process, it's time to clean up. Carefully remove all plastic sheeting and drop cloths, and dispose of any debris responsibly. Vacuum or sweep the area thoroughly to remove any remaining dust or particles.
Your workspace should now be clean and ready for any additional enhancements you plan to add to your ceiling, such as paint or new light fixtures.
Conclusion: Enjoy Your New Ceiling
With the texture removed and your ceiling smoothed out, you've successfully completed a rewarding DIY project. Not only does it refresh the look of your room, but it also adds value to your home. Enjoy the satisfaction of a job well done and the new aesthetic appeal of a modern, smooth ceiling.