
How to Prepare Your Walls for a Perfect Paint Job


Gather Your Supplies
Before you start preparing your walls for painting, it's essential to gather all the necessary supplies. This includes painter's tape, drop cloths, a spackle knife, sandpaper, a sponge, and a bucket. Having these items on hand will streamline the process and ensure you don't have to pause mid-task to find what you need. Additionally, make sure you have your chosen paint and primer ready to go.
Investing in quality supplies can make a significant difference in the outcome of your paint job. High-quality painter's tape and brushes, for example, will help achieve clean lines and a smooth finish. Don't forget safety equipment like gloves and goggles, especially if you're working with harsh cleaning agents or sanding surfaces.
Clean Your Walls Thoroughly
One of the most important steps in preparing your walls is to ensure they are clean. Dust, dirt, and grease can prevent paint from adhering properly, leading to an uneven finish. Use a mild detergent mixed with water to wash the walls, and rinse them with clean water afterward. Allow them to dry completely before moving on to the next step.
For areas with stubborn stains or grease, consider using a stronger cleaner like trisodium phosphate (TSP). Be sure to follow the manufacturer's instructions and wear protective gear when handling strong cleaning agents.
Repair Any Damage
Inspect your walls for any damage such as holes, cracks, or peeling paint. Small holes can be filled with spackle using a spackle knife. For larger holes, you may need to use a patching compound. Sand the repaired areas smooth once they are dry to ensure they blend seamlessly with the rest of the wall.
If there is peeling or flaking paint, it needs to be scraped off using a putty knife or scraper. Sand these areas until they are smooth, as this will help the new paint adhere better and provide a uniform appearance.
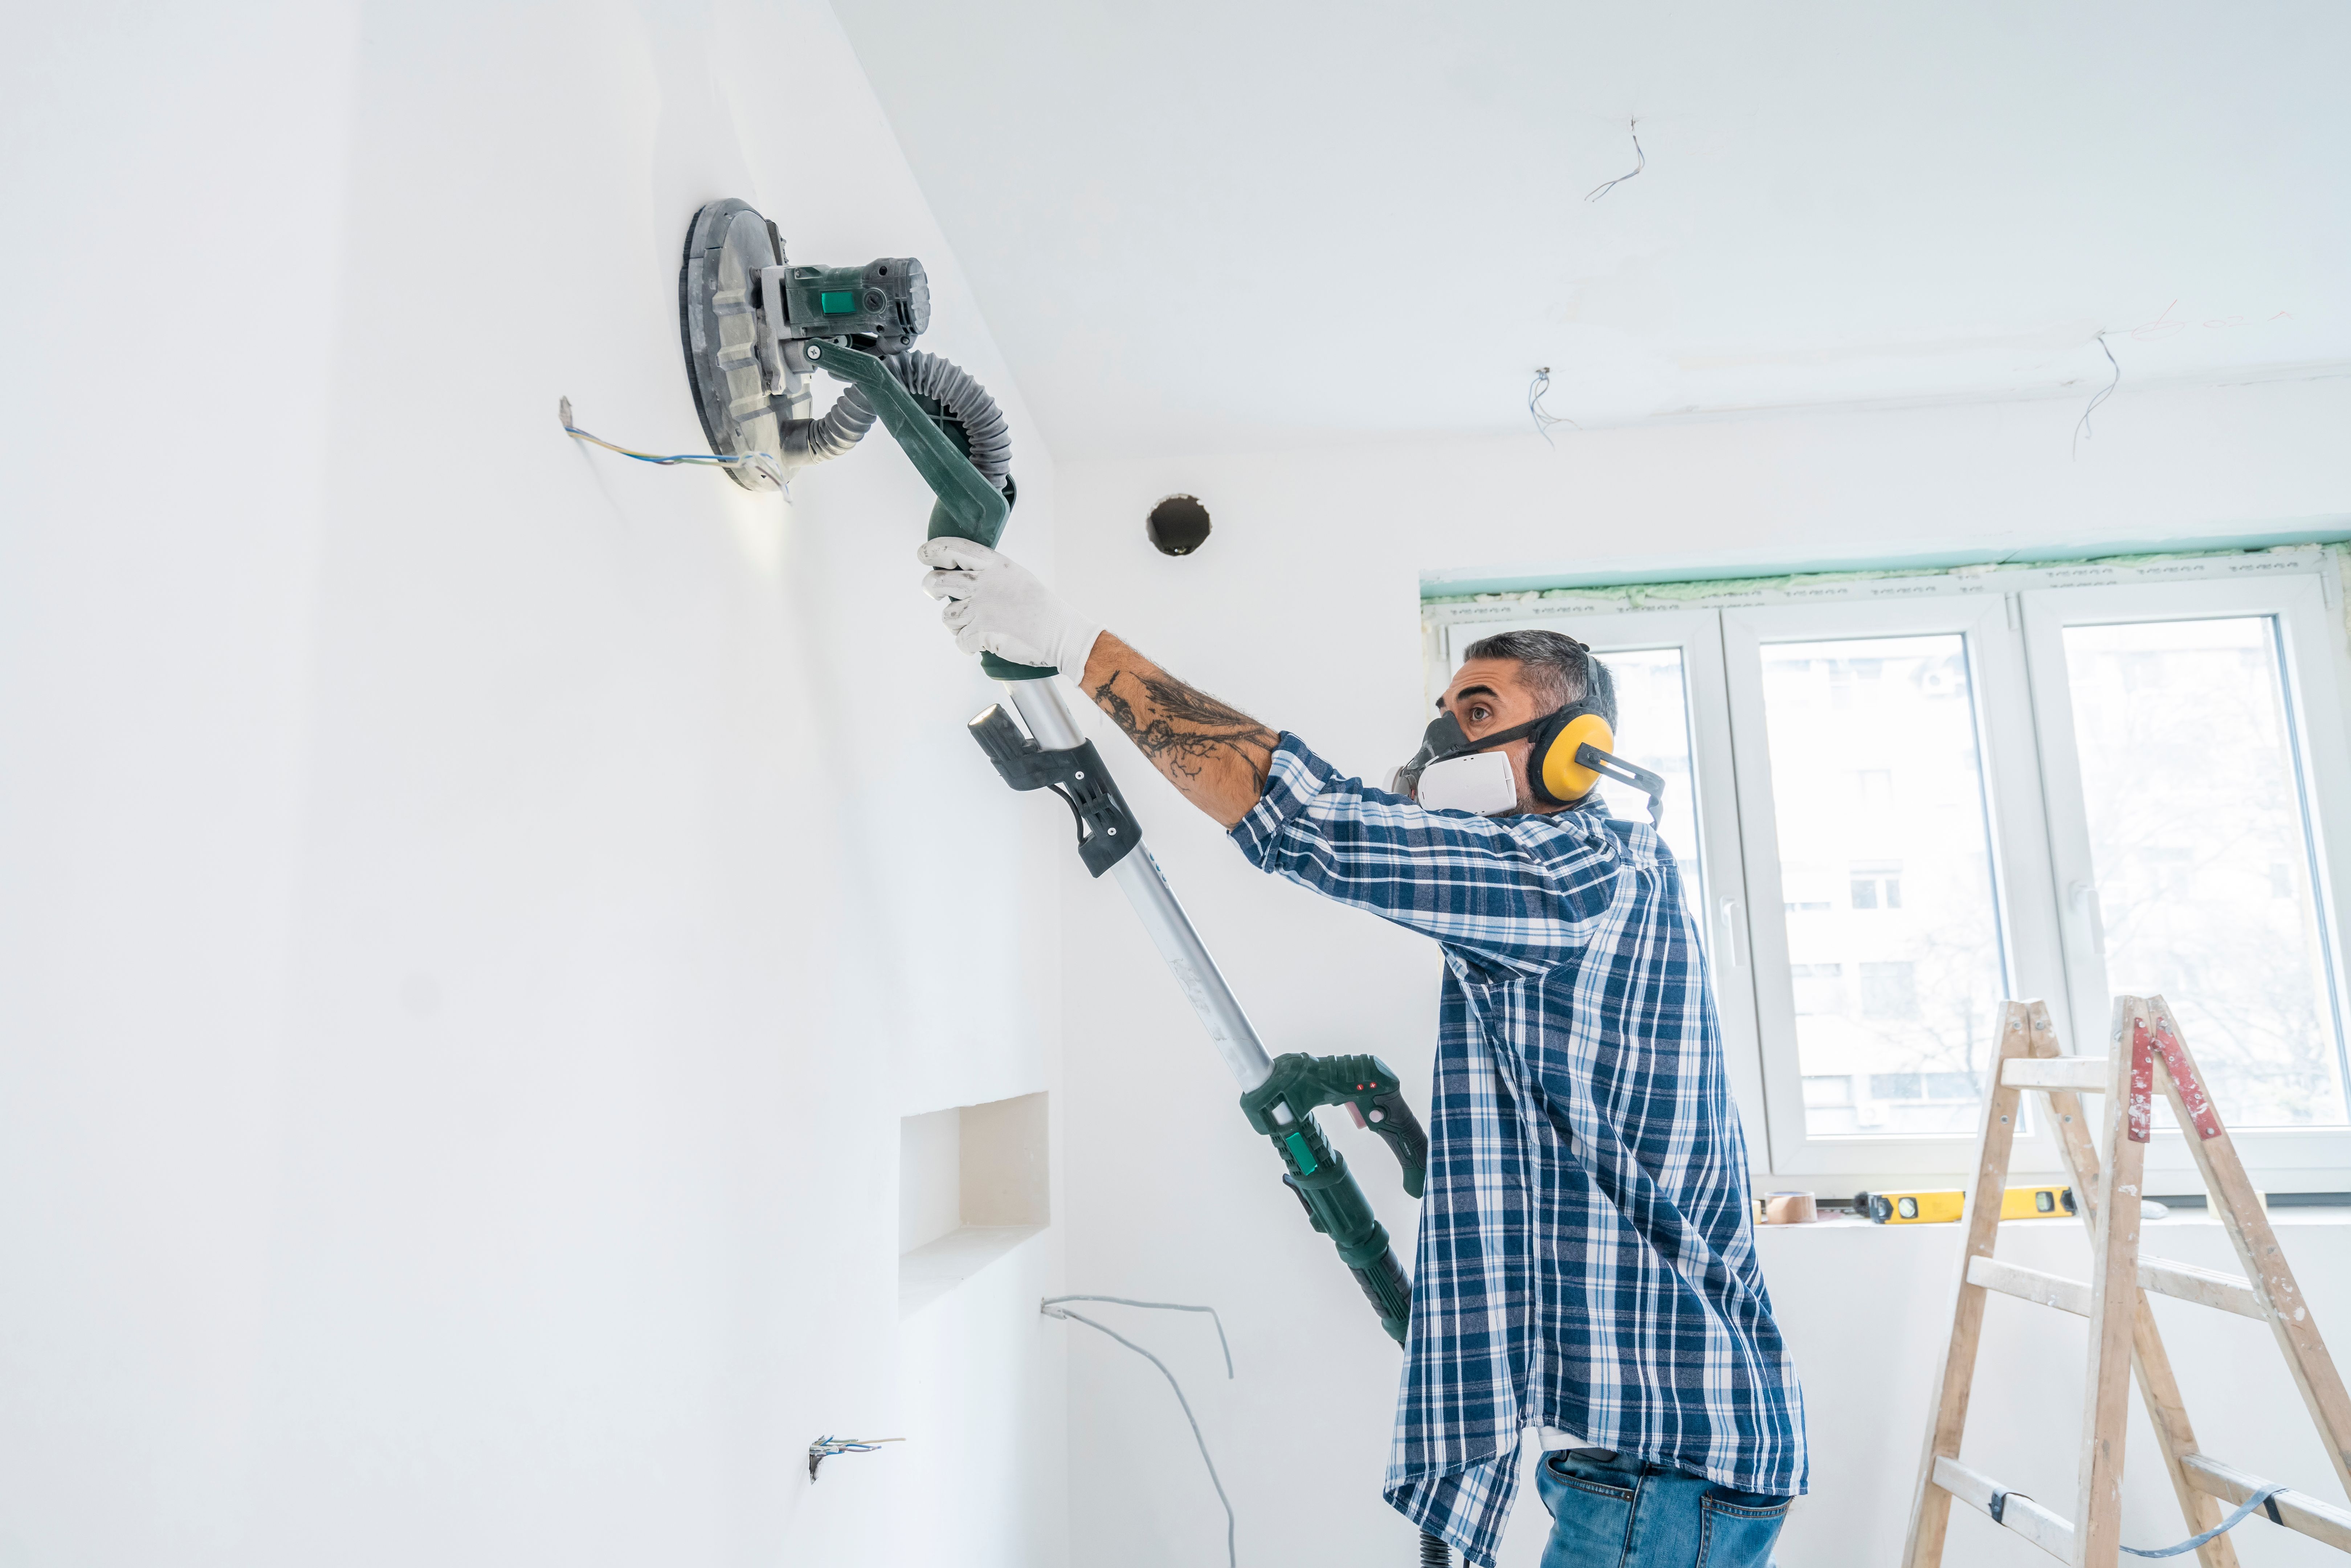
Sand the Walls
Sanding is a crucial step in wall preparation that many overlook. Sanding helps create a smooth surface by removing any imperfections and rough spots. Use fine-grit sandpaper and move in gentle, circular motions. Be sure to sand any repaired areas to ensure they are flush with the rest of the wall.
After sanding, use a damp sponge or cloth to remove any dust that may have accumulated. This will help the primer and paint stick better and result in a smoother finish.
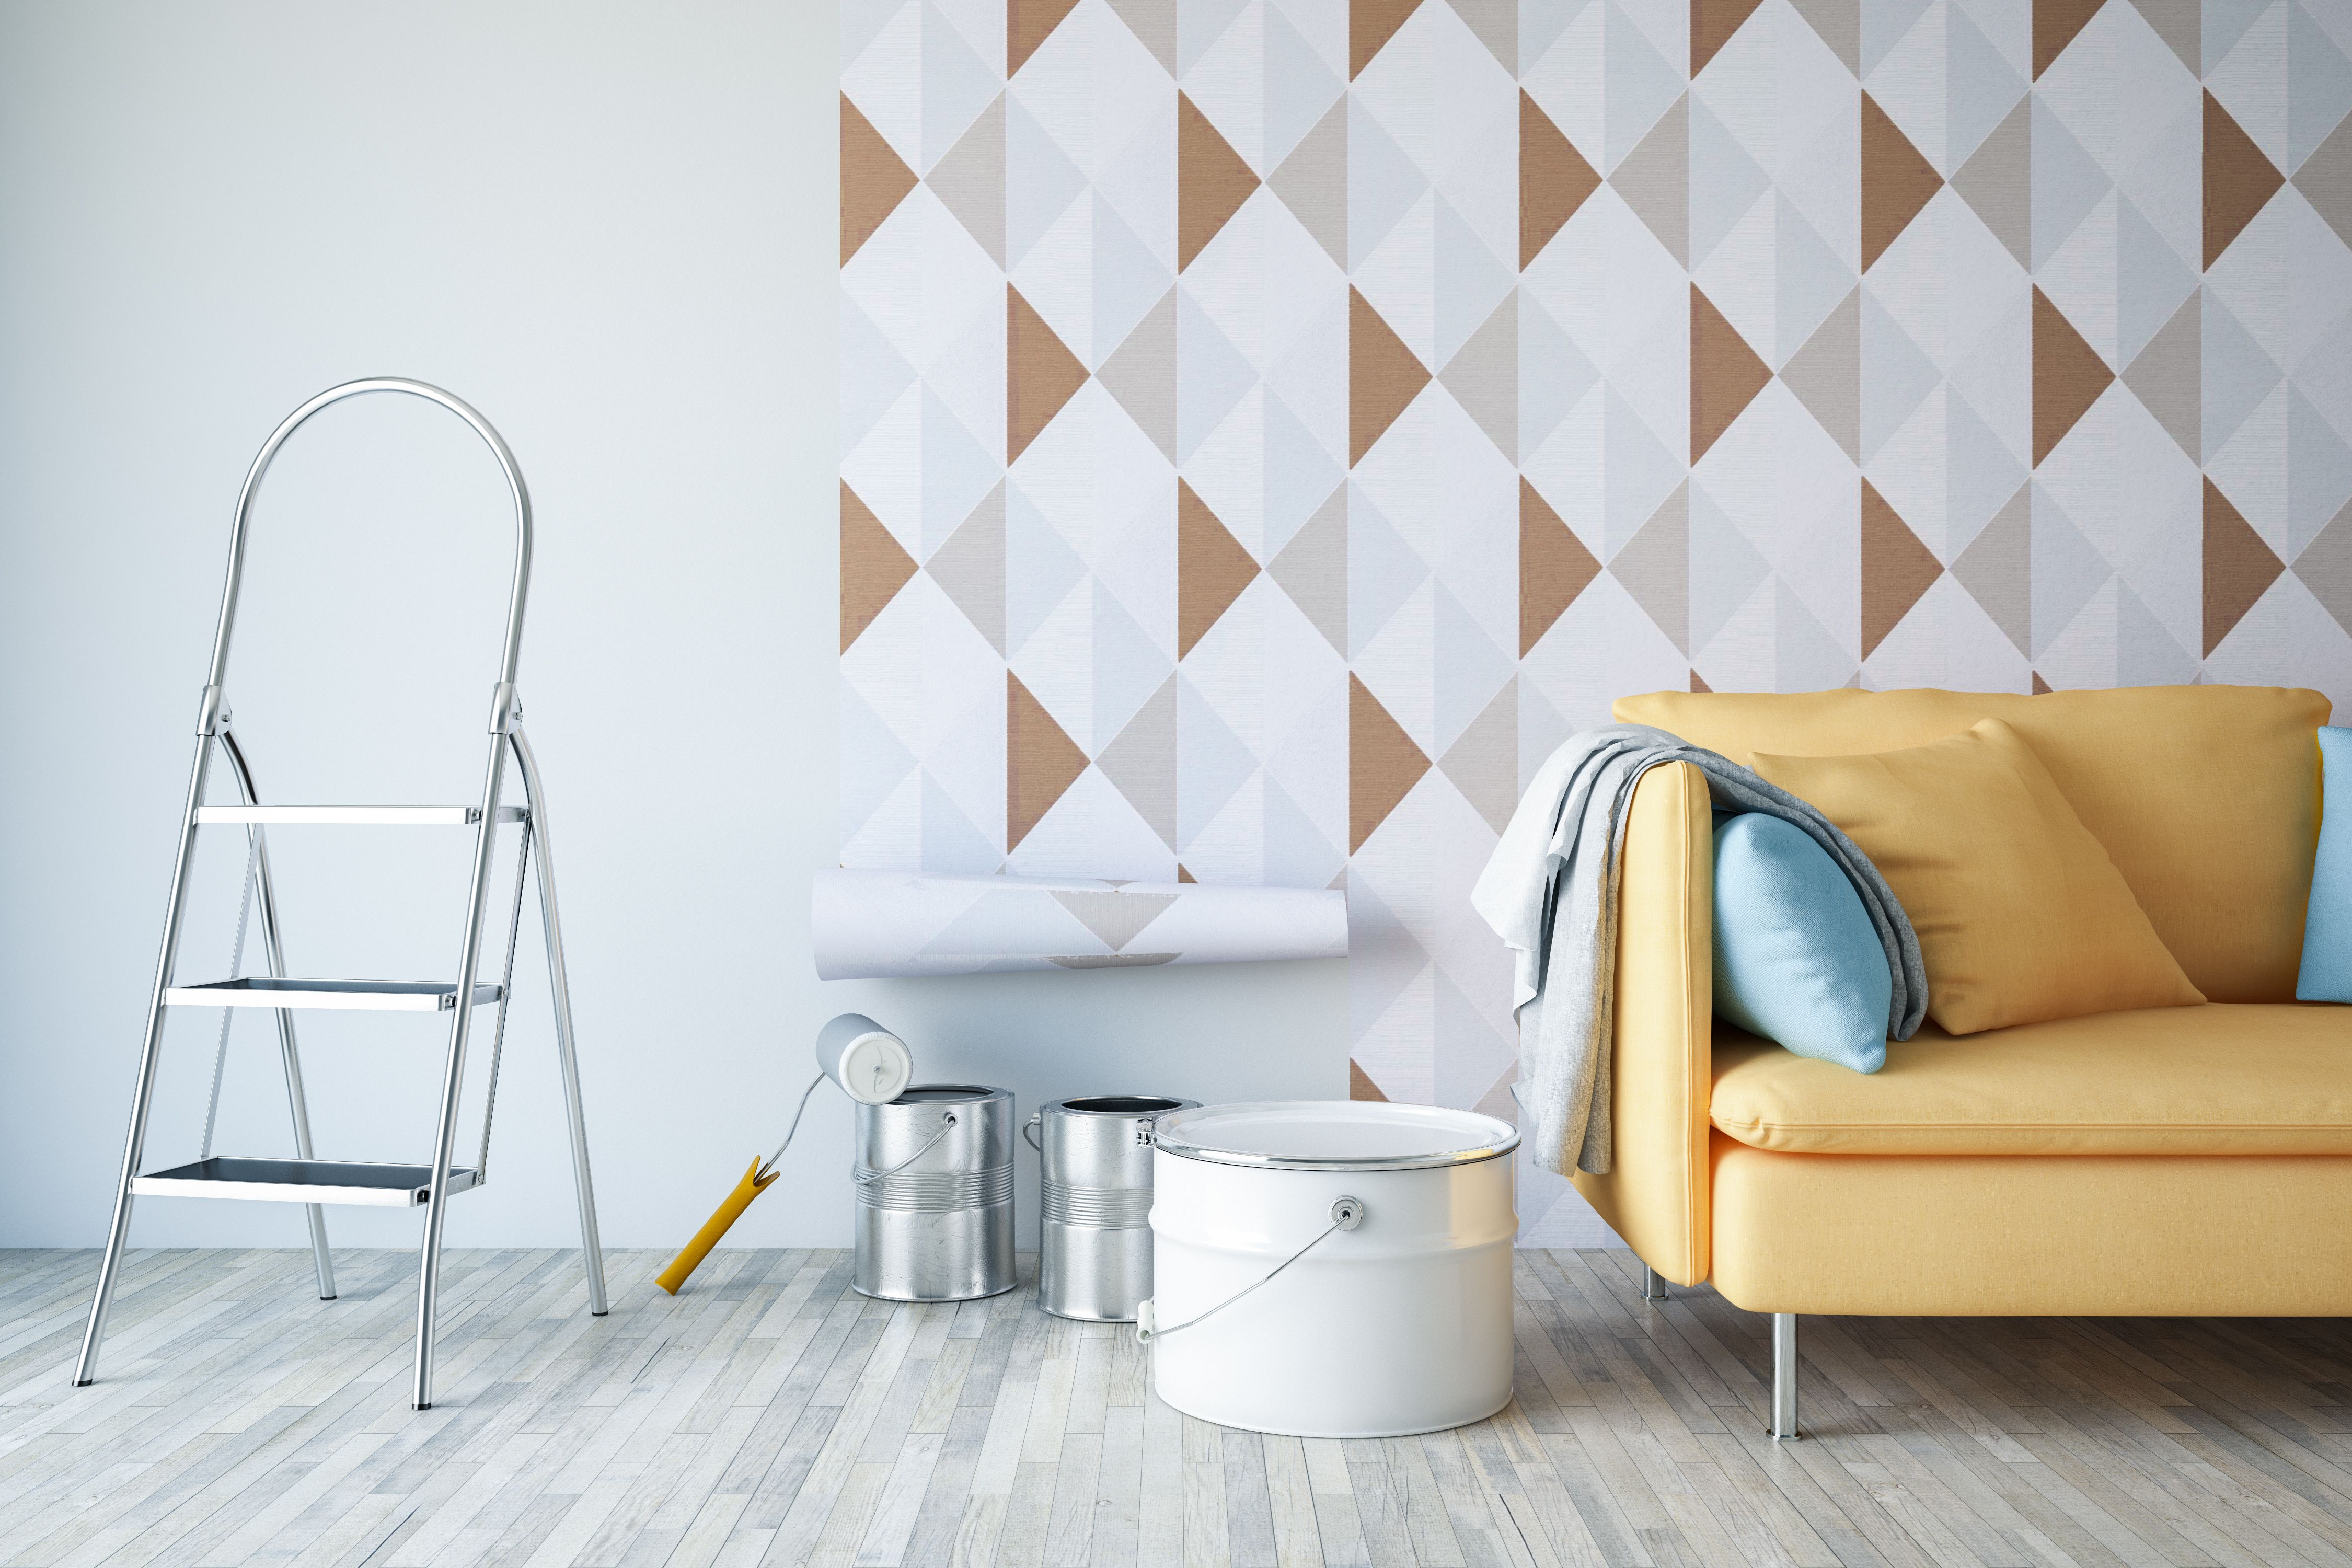
Apply Primer
Priming your walls is an essential step that should not be skipped. Primer helps seal the wall surface, providing a base for the paint to adhere to and enhancing the paint's durability. Choose a primer that is suitable for your wall type and the paint you plan to use.
Apply the primer evenly using a roller or brush, starting from the top of the wall and working your way down. Allow it to dry completely before applying your paint. This step is especially important if you're painting over dark colors or new drywall.
Tape and Protect
Before you begin painting, use painter's tape to protect areas you don't want painted, such as trim, baseboards, and ceilings. Make sure the tape is applied evenly without gaps where paint can seep through.
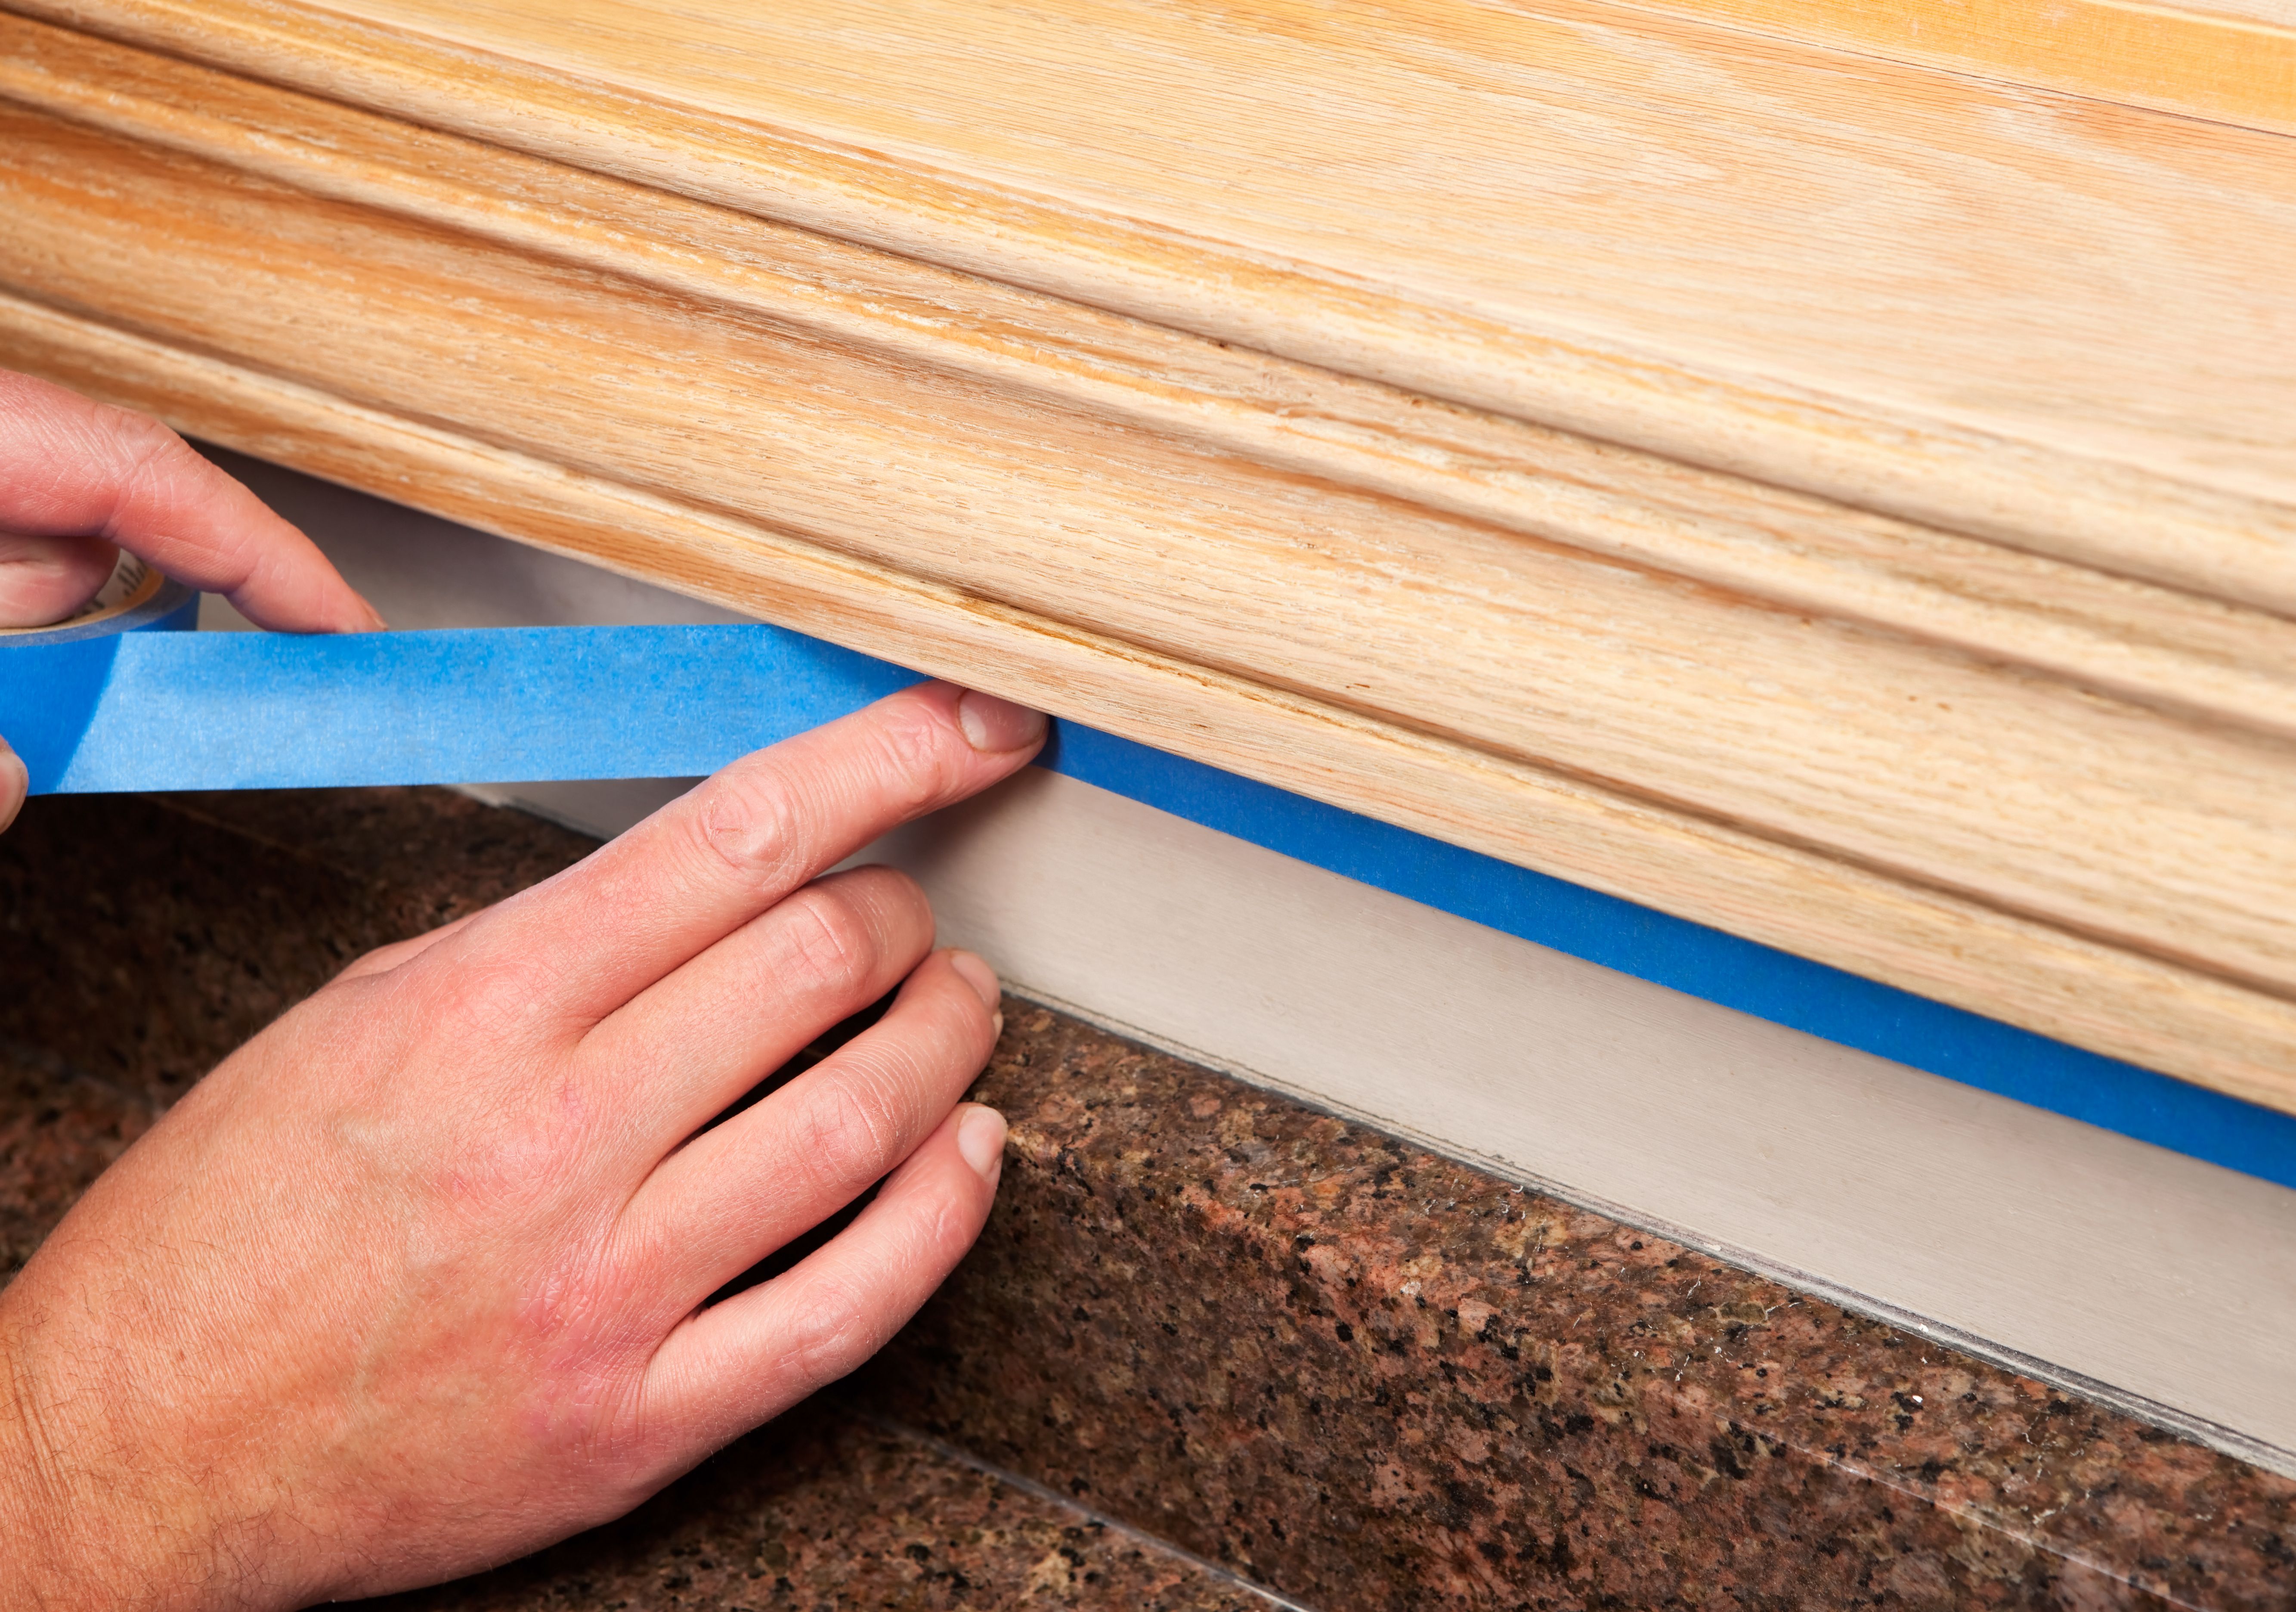
Lay down drop cloths on the floor and over furniture to protect them from paint splatters. Taking these precautions will save you time and hassle when it comes time to clean up.
Final Check
Once you've completed all the preparation steps, do a final check of your work area. Make sure all necessary repairs have been made, surfaces are clean and smooth, and everything you want protected is covered or taped off.
A well-prepared wall not only makes the painting process easier but also enhances the overall look and longevity of your paint job. By following these steps carefully, you're setting yourself up for success and ensuring a beautiful finish that will last for years to come.