
Essential DIY Tips for Painting Your Home Like a Pro


Preparation is Key
Before you even think about opening a can of paint, thorough preparation is essential. Start by moving furniture away from the walls and covering it with drop cloths. This not only protects your belongings but also gives you ample space to work.
Next, clean your walls thoroughly. Dust, dirt, and grease can prevent paint from adhering properly, so use a mild detergent and water to wash the walls. Rinse with clean water and let them dry completely. Don't forget to fill any holes or cracks with spackle, sand them smooth, and apply primer where necessary for a flawless finish.

Choosing the Right Tools
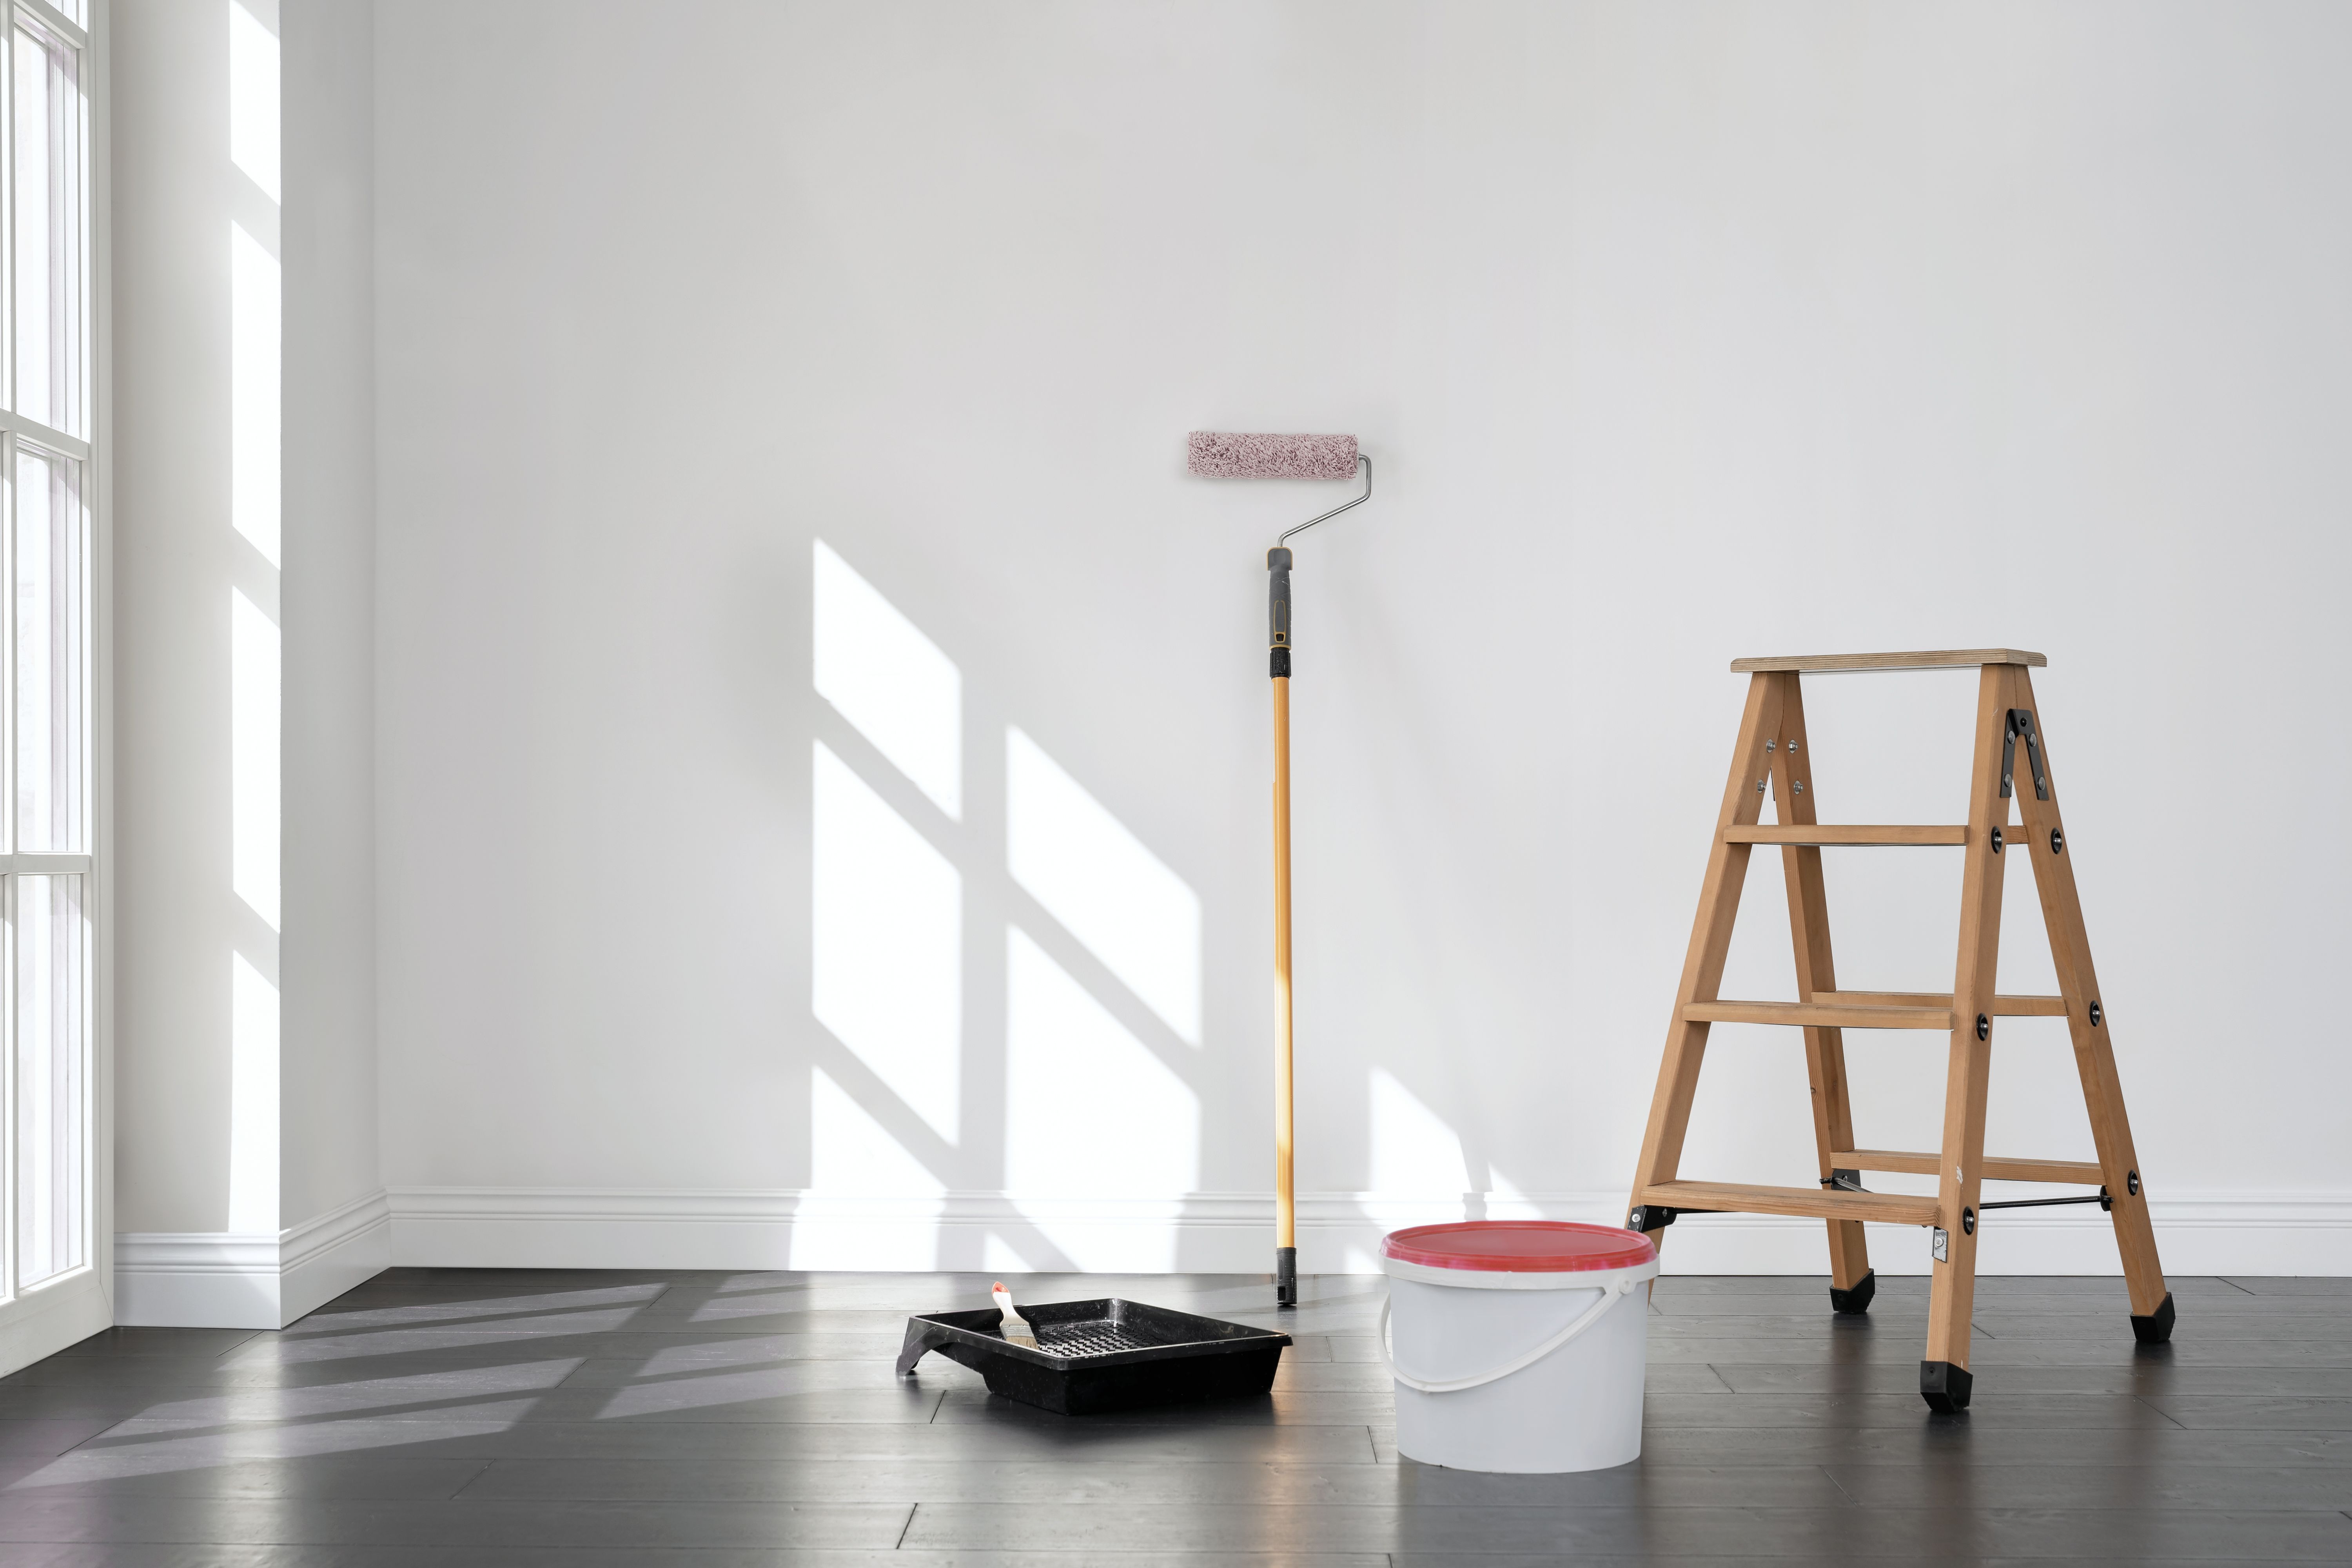
Investing in quality tools can make a world of difference in your painting project. Use a mix of brushes for cutting in edges and rollers for larger surfaces. Ensure you have an extension pole for ceilings and high walls to avoid straining yourself unnecessarily.
Selecting the right type of paint is equally important. Consider the room's function when choosing between eggshell, satin, or semi-gloss finishes. Higher sheen paints are typically more durable and easier to clean, making them ideal for high-traffic areas.
Mastering Paint Application Techniques
Start by cutting in around edges and corners with a brush before using a roller on the larger surfaces. This technique ensures sharp lines and even coverage. Always work in small sections, maintaining a wet edge to avoid lap marks.
For optimal results, apply two coats of paint. The first coat might not provide full coverage, but it sets the base for a smooth and uniform second coat. Allow sufficient drying time between coats as per the manufacturer's instructions.
Pay Attention to Details
Once the main surfaces are painted, focus on the details like trim, moldings, and doors. These areas often require a different approach and may benefit from a semi-gloss paint for added durability and contrast.
Use painter’s tape to protect areas you don't want painted, like window frames or light switches. Remove the tape carefully once the paint is dry to avoid pulling off any fresh paint.

Cleaning Up Like a Pro
Proper cleanup is an often-overlooked aspect of painting but is crucial for maintaining your tools and ensuring a tidy space. Clean brushes and rollers with warm soapy water if you’ve used water-based paint, or mineral spirits if you’ve opted for oil-based paint.
Store leftover paint properly by sealing the can tightly and storing it upside down to prevent air from entering. This keeps the paint fresh for future touch-ups or projects.
Final Touches
Once everything is complete, inspect your work in different lighting conditions to ensure there are no missed spots or uneven areas. Touch up any imperfections as needed.
A freshly painted room can transform your home’s ambiance and value. By following these essential DIY tips, you’ll achieve professional-looking results that you can be proud of.