DIY Drywall Repair Tips from Minneapolis Experts


Understanding the Basics of Drywall Repair
Drywall, also known as gypsum board, is a popular choice for creating interior walls and ceilings. However, it's not immune to damage. Whether from accidental impacts, settling foundations, or moisture issues, drywall can develop cracks, holes, and other imperfections over time. Fortunately, many of these problems can be repaired with a little DIY know-how.
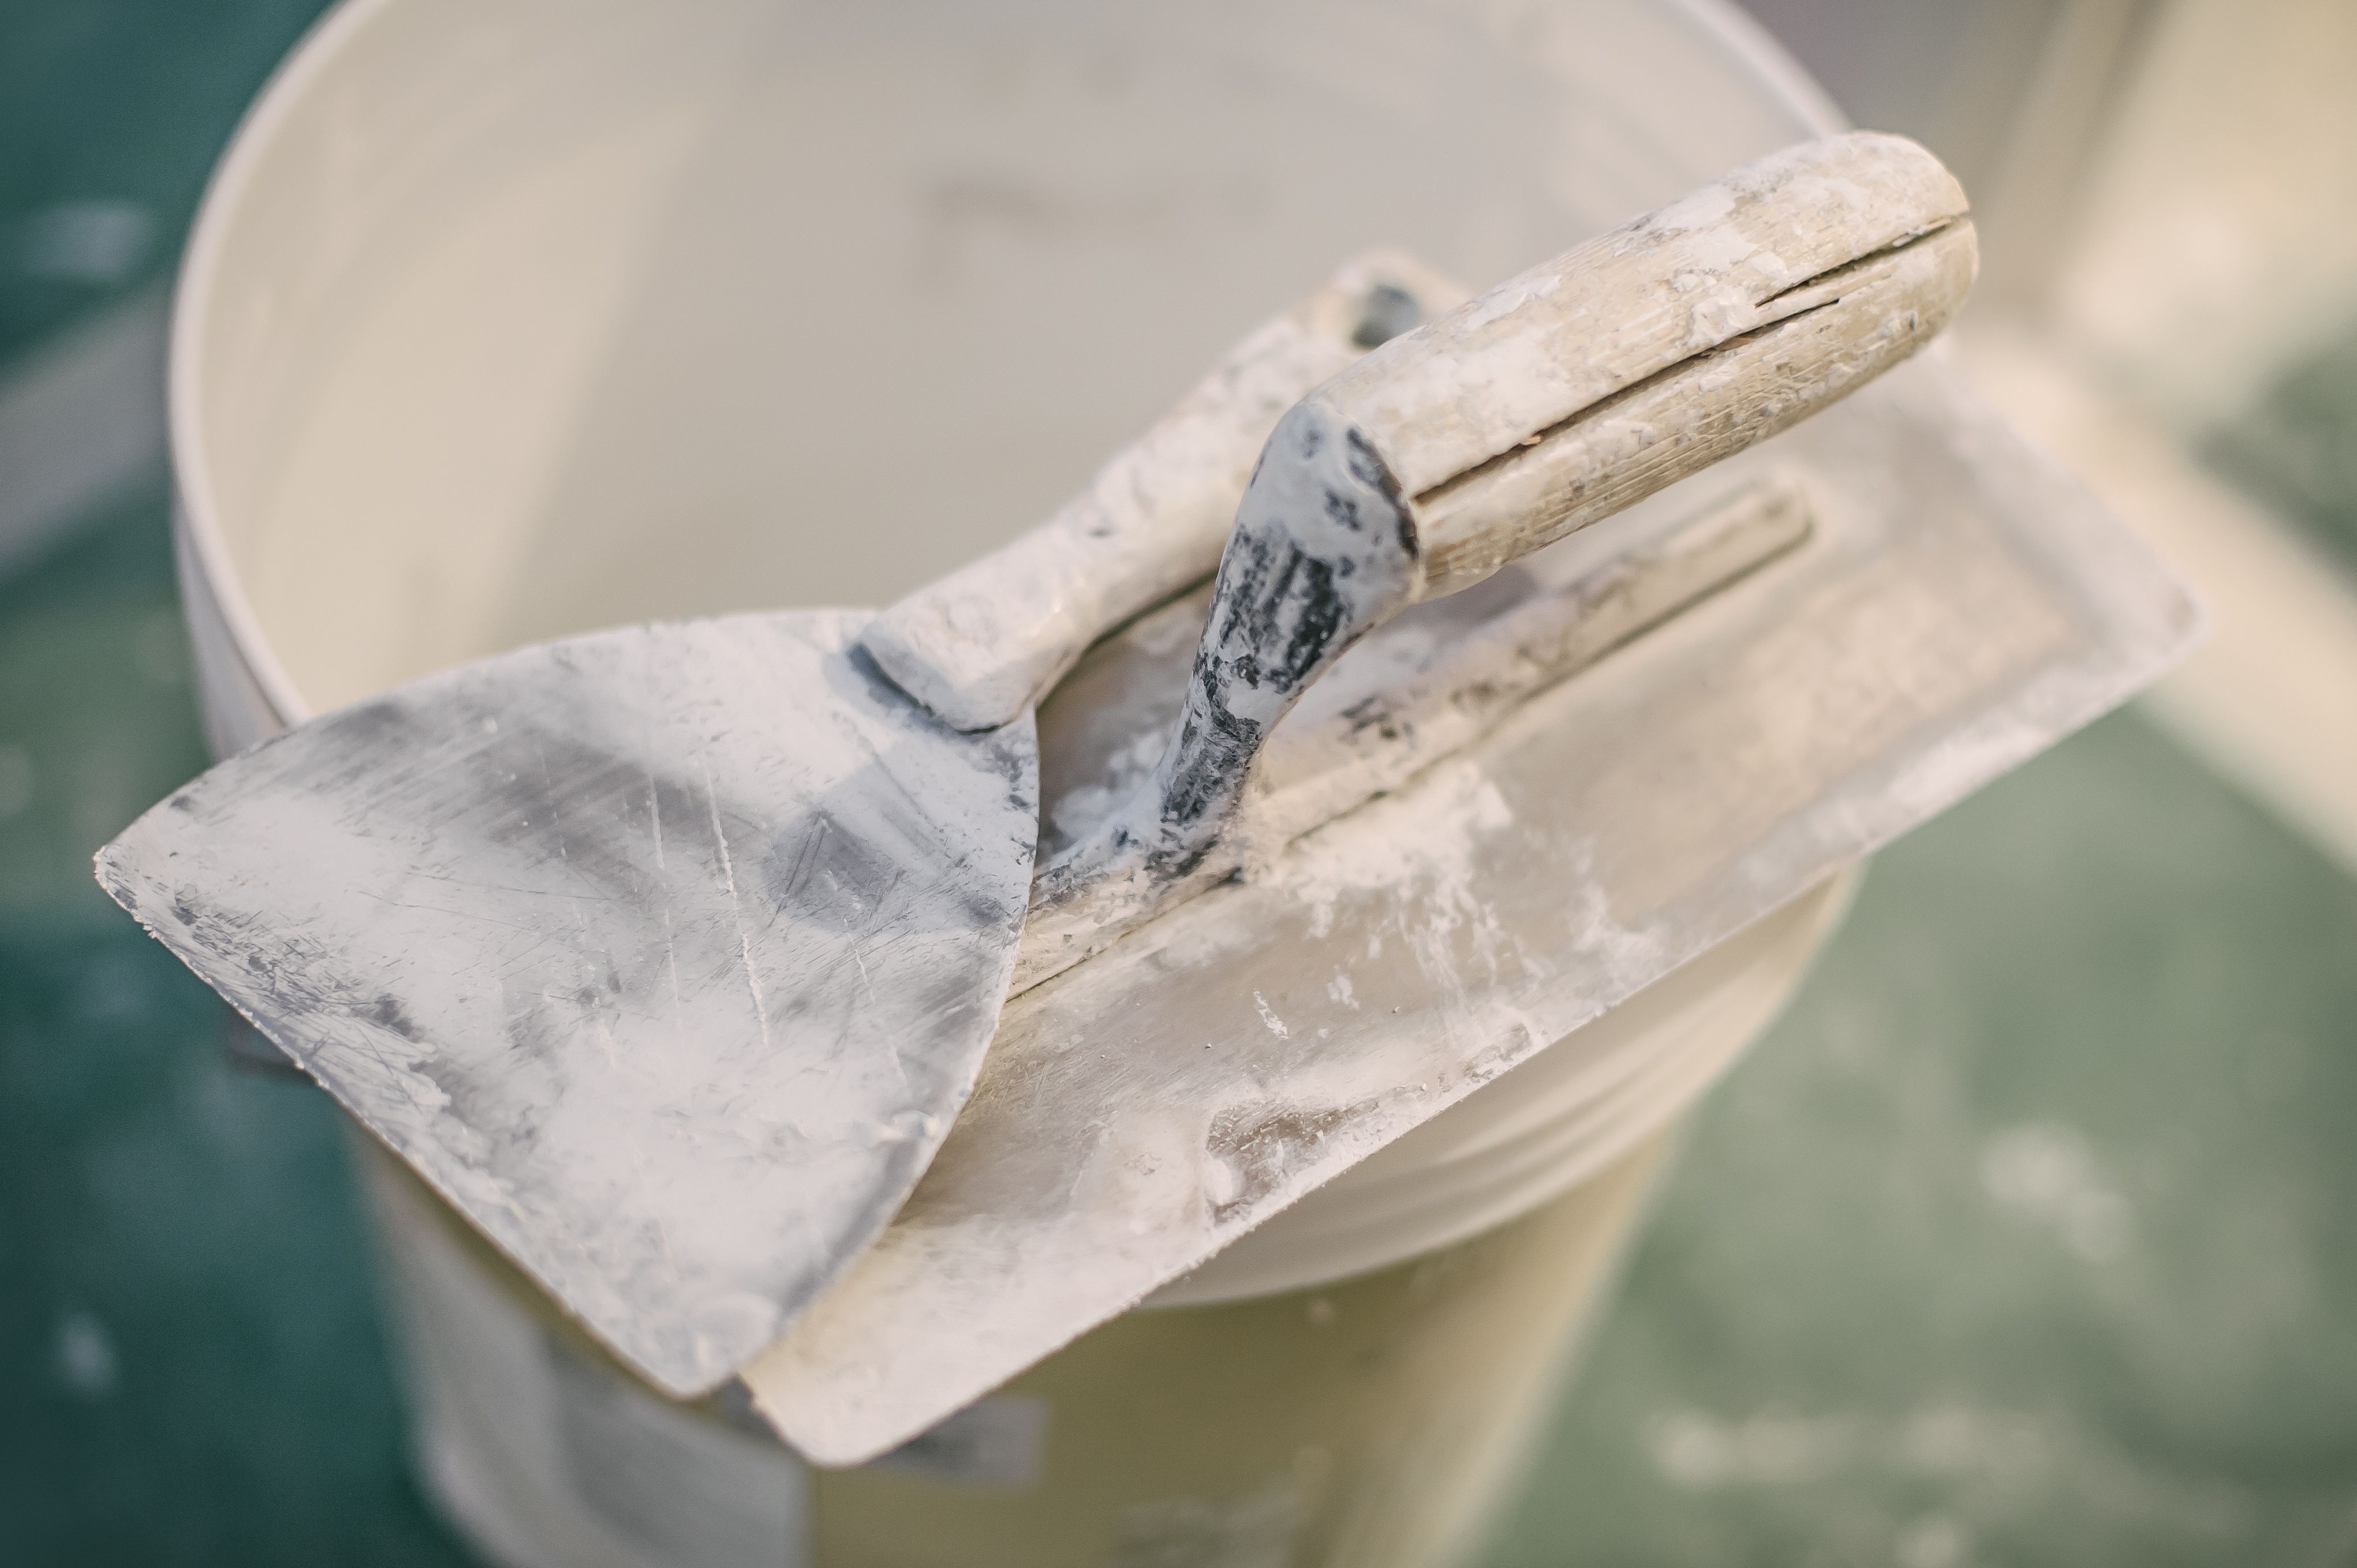
Before diving into repairs, it's important to gather the right tools and materials. Typically, you'll need joint compound, a putty knife, sandpaper, drywall tape, and a sanding sponge. Having these on hand will make the repair process more efficient and effective.
Repairing Small Holes and Cracks
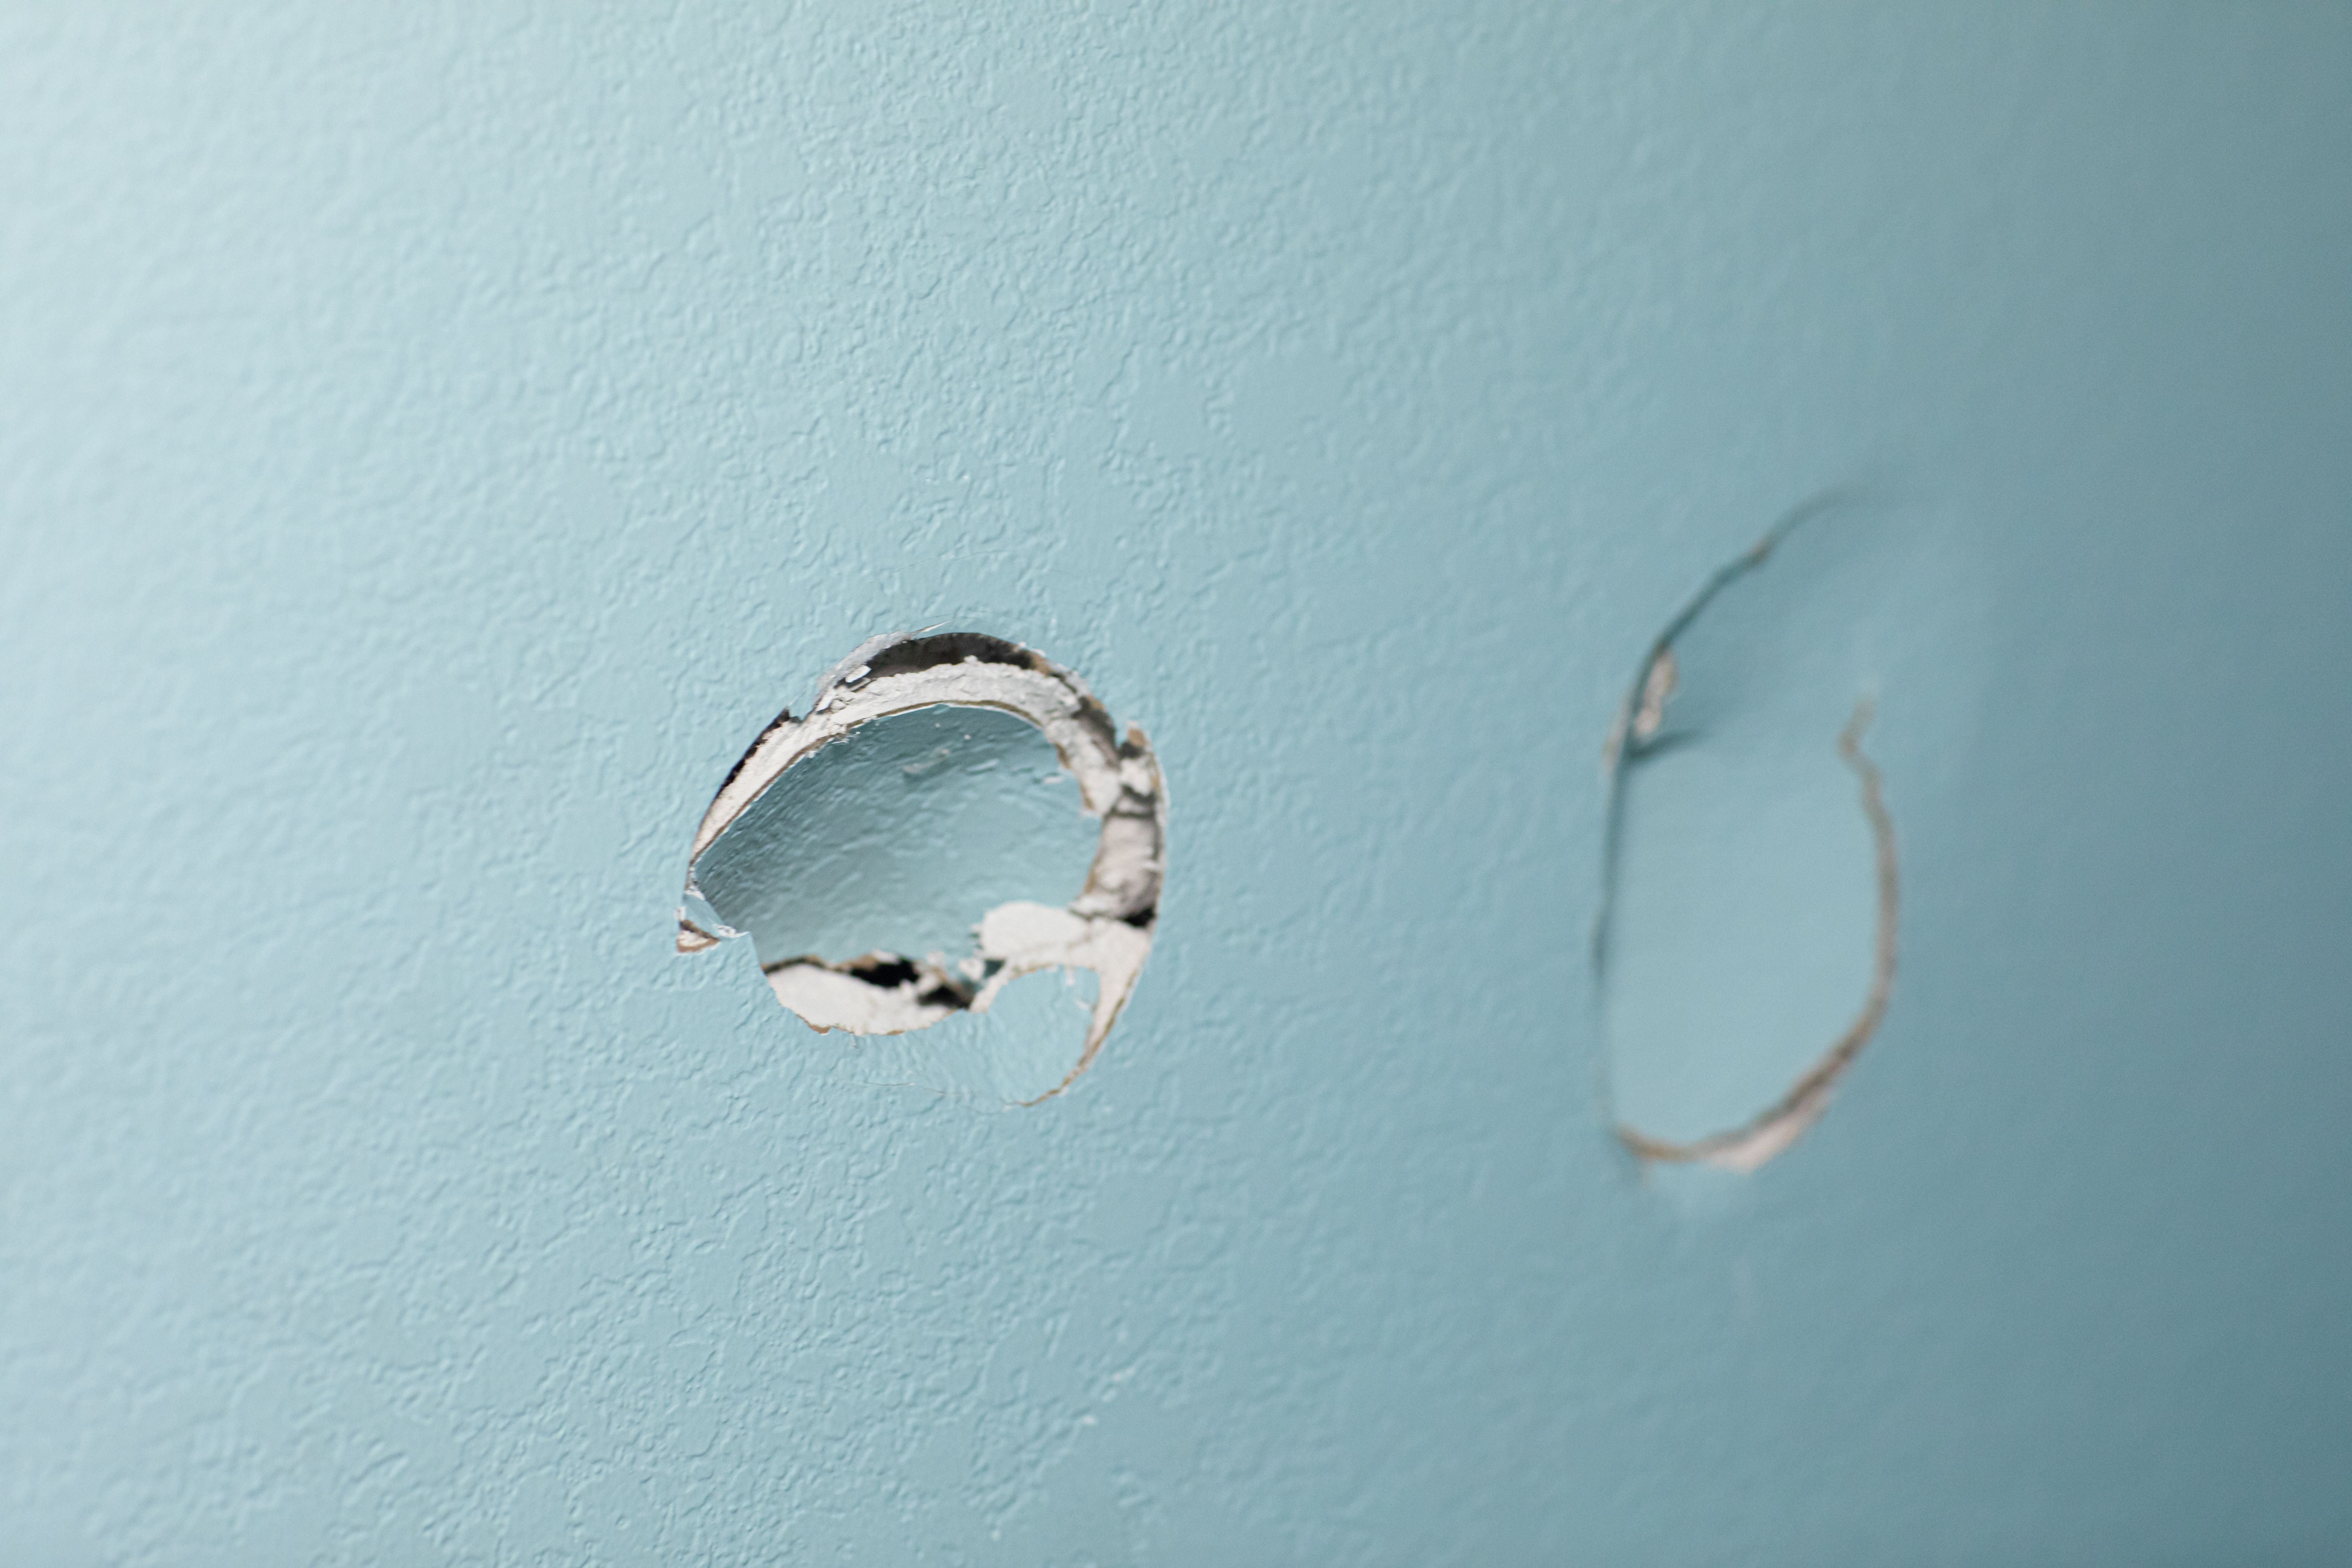
Small holes and cracks are common in drywall and can often be fixed without professional help. For tiny holes, such as those left by nails or screws, applying a small amount of joint compound with a putty knife can do the trick. Once dry, sand the area until smooth.
For larger cracks, it's advisable to use drywall tape. First, apply a thin layer of joint compound over the crack. Then, place the tape over the compound and press it firmly into place. Apply another layer of joint compound over the tape, feathering it out to blend with the surrounding wall. Once it dries, sand it smooth.
Fixing Larger Holes
Larger holes require a bit more effort but are still manageable with some patience. Begin by cutting out a square around the damaged area using a utility knife. This will provide a clean surface to work with and ensure the patch fits snugly.
Next, cut a piece of drywall to fit into the square hole you created. Attach this piece using drywall screws and cover the seams with drywall tape. Apply several layers of joint compound over the patch, sanding between each layer to achieve a seamless finish.
Sanding and Finishing Touches
Sanding is a critical step in drywall repair. It ensures that the patched area is smooth and level with the rest of the wall. Use fine-grit sandpaper for best results, applying light pressure to avoid damaging the surface.
After sanding, it's time for the finishing touches. Applying a coat of primer over the repaired area helps to seal it and prepares it for painting. Once primed, paint over the spot with matching wall paint for a flawless finish.
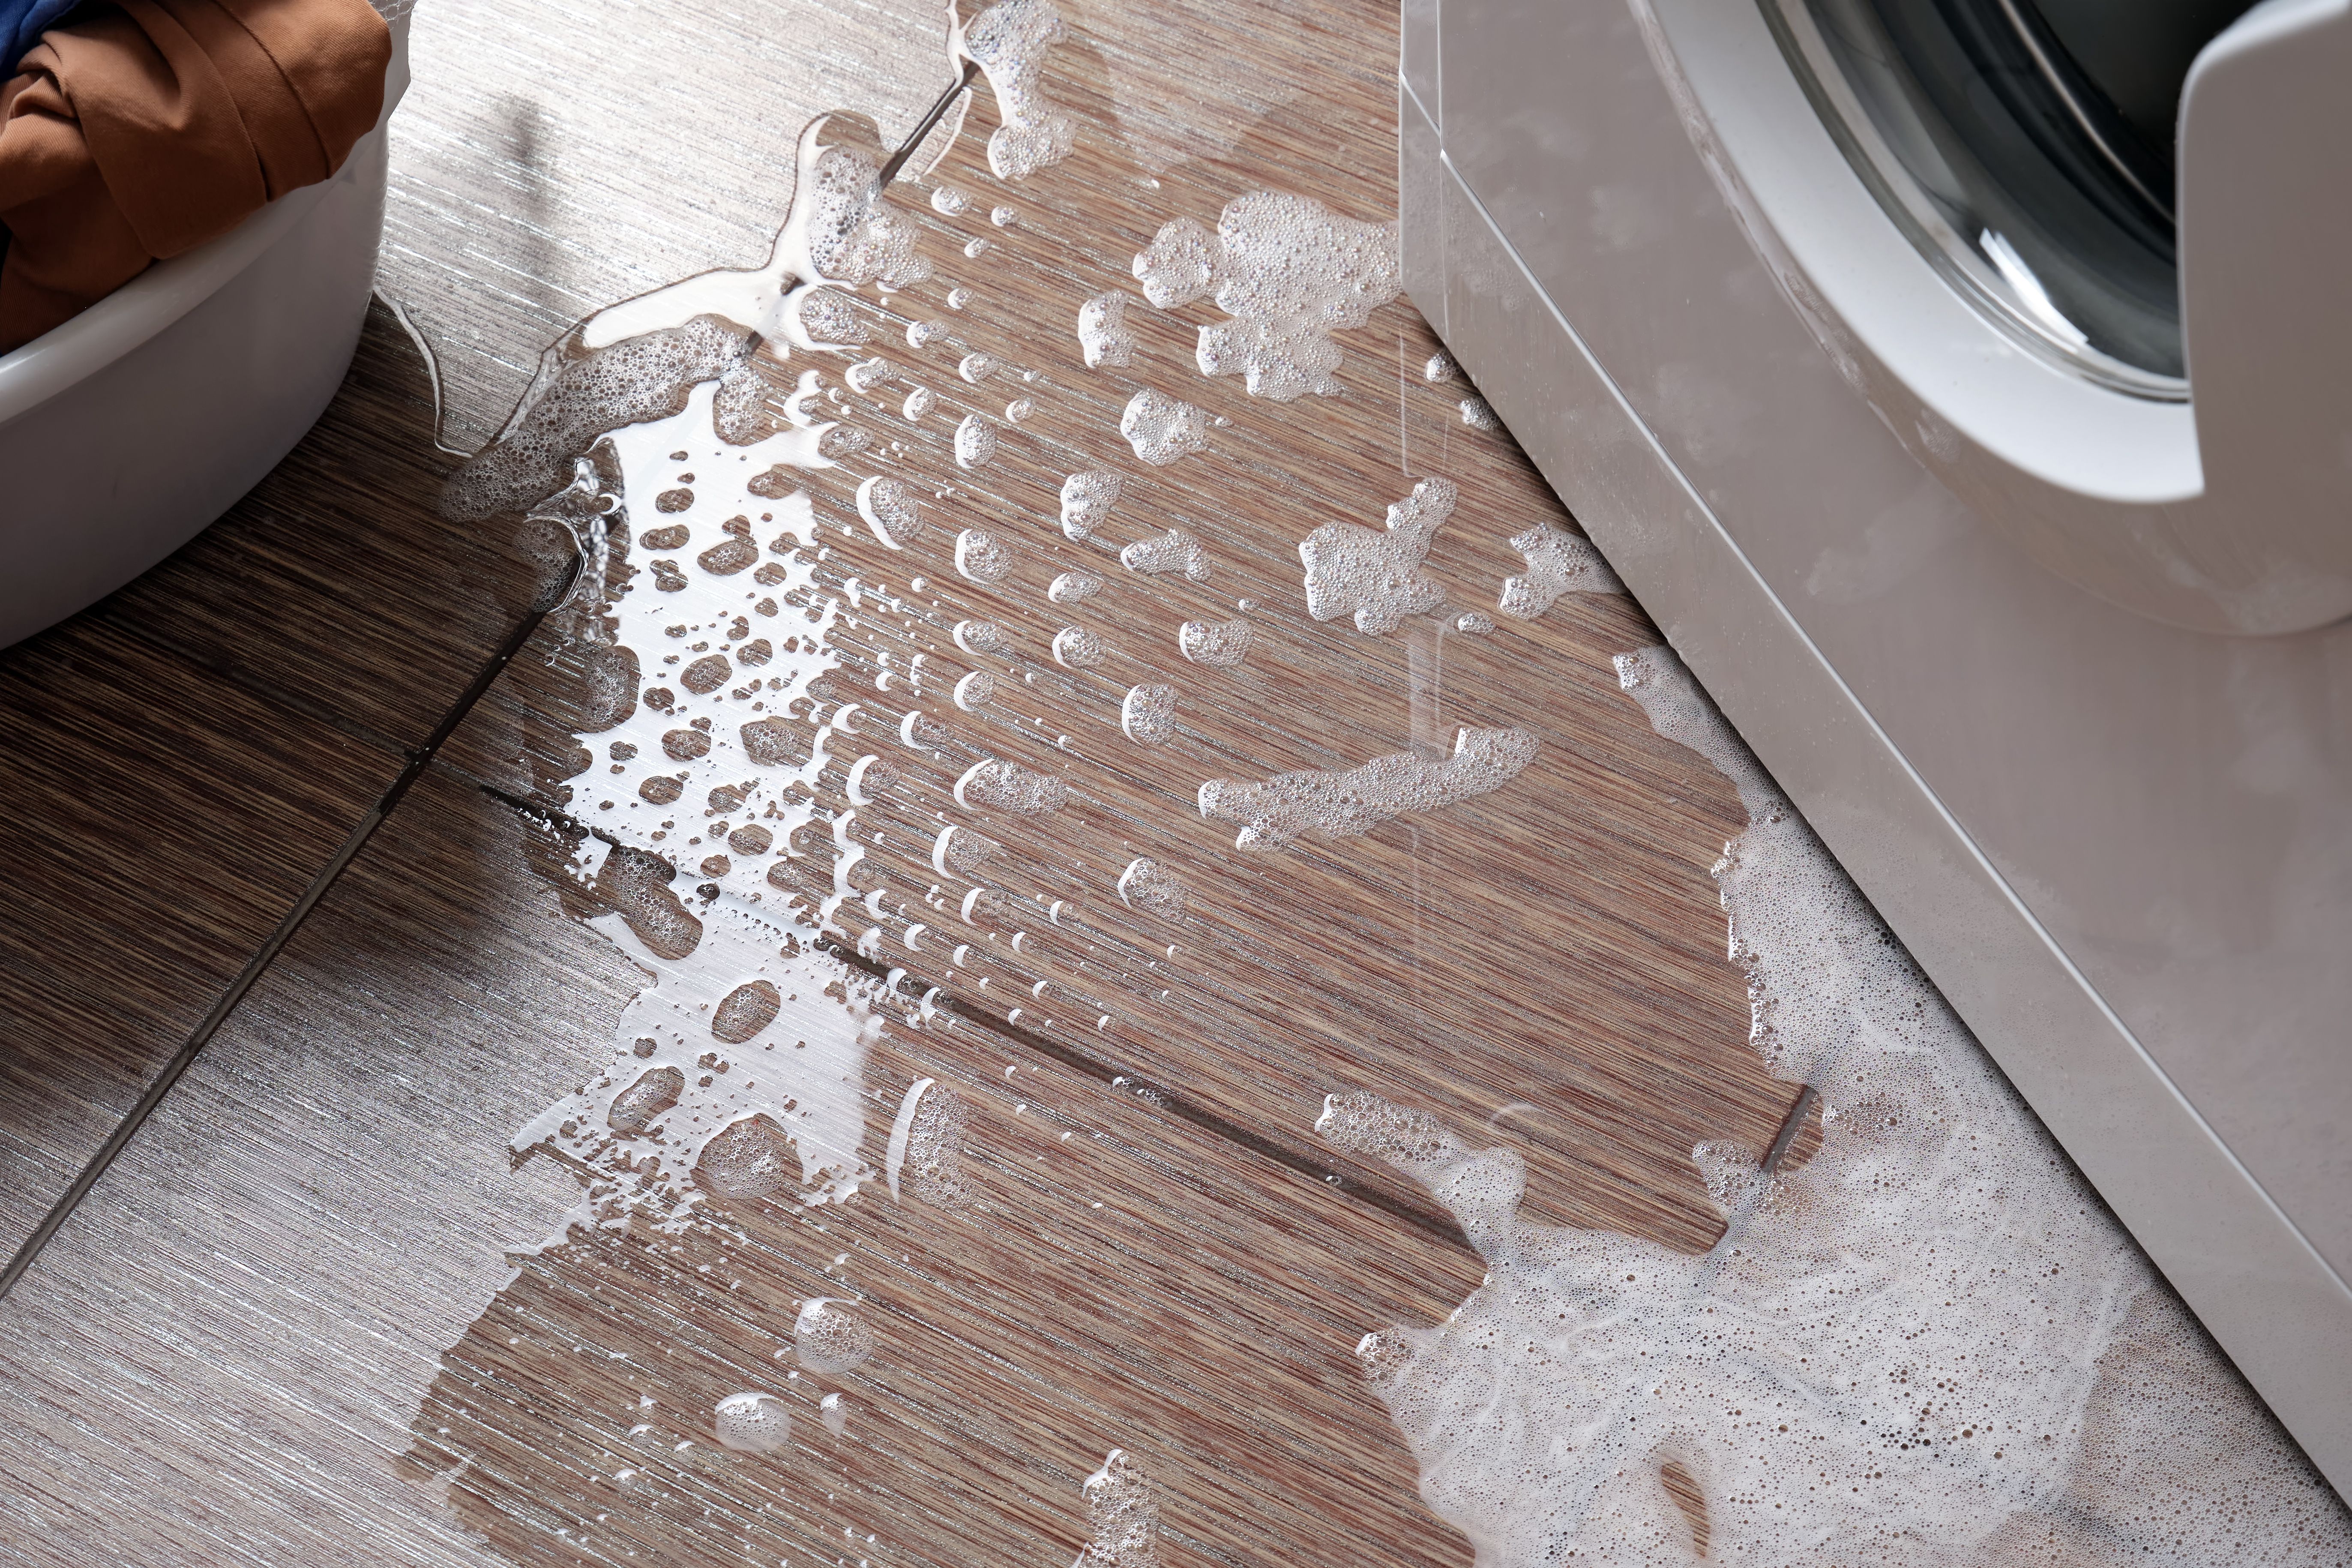
Dealing with Water Damage
Water damage can lead to more severe drywall issues. If you notice discoloration or bulging in your walls, it's essential to address the underlying moisture problem first. Once resolved, cut out the damaged section and replace it as you would with larger holes.
For extensive water damage or if you're uncertain about tackling the repair yourself, consulting with a professional might be wise. Minneapolis experts are well-versed in handling such issues and can ensure your home remains safe and sound.
Final Thoughts
DIY drywall repair can be a satisfying project that saves both time and money. By understanding the basics and having the right tools on hand, you can tackle most minor to moderate wall issues with confidence. Remember, practice makes perfect, so don't be discouraged if your first attempts aren't flawless.
Whether you're fixing small imperfections or undertaking more significant repairs caused by water or impact damage, patience and attention to detail are your best allies. With these tips from Minneapolis experts, you're well on your way to mastering drywall repair.