
Common Drywall Mistakes and How to Avoid Them: Insights from Minneapolis Experts


When it comes to home renovations or new construction, drywall installation is a crucial step that requires precision and expertise. However, it's easy to make mistakes that can lead to costly repairs and unsightly results. Here, we'll explore common drywall mistakes and how to avoid them, with insights from experienced professionals in Minneapolis.
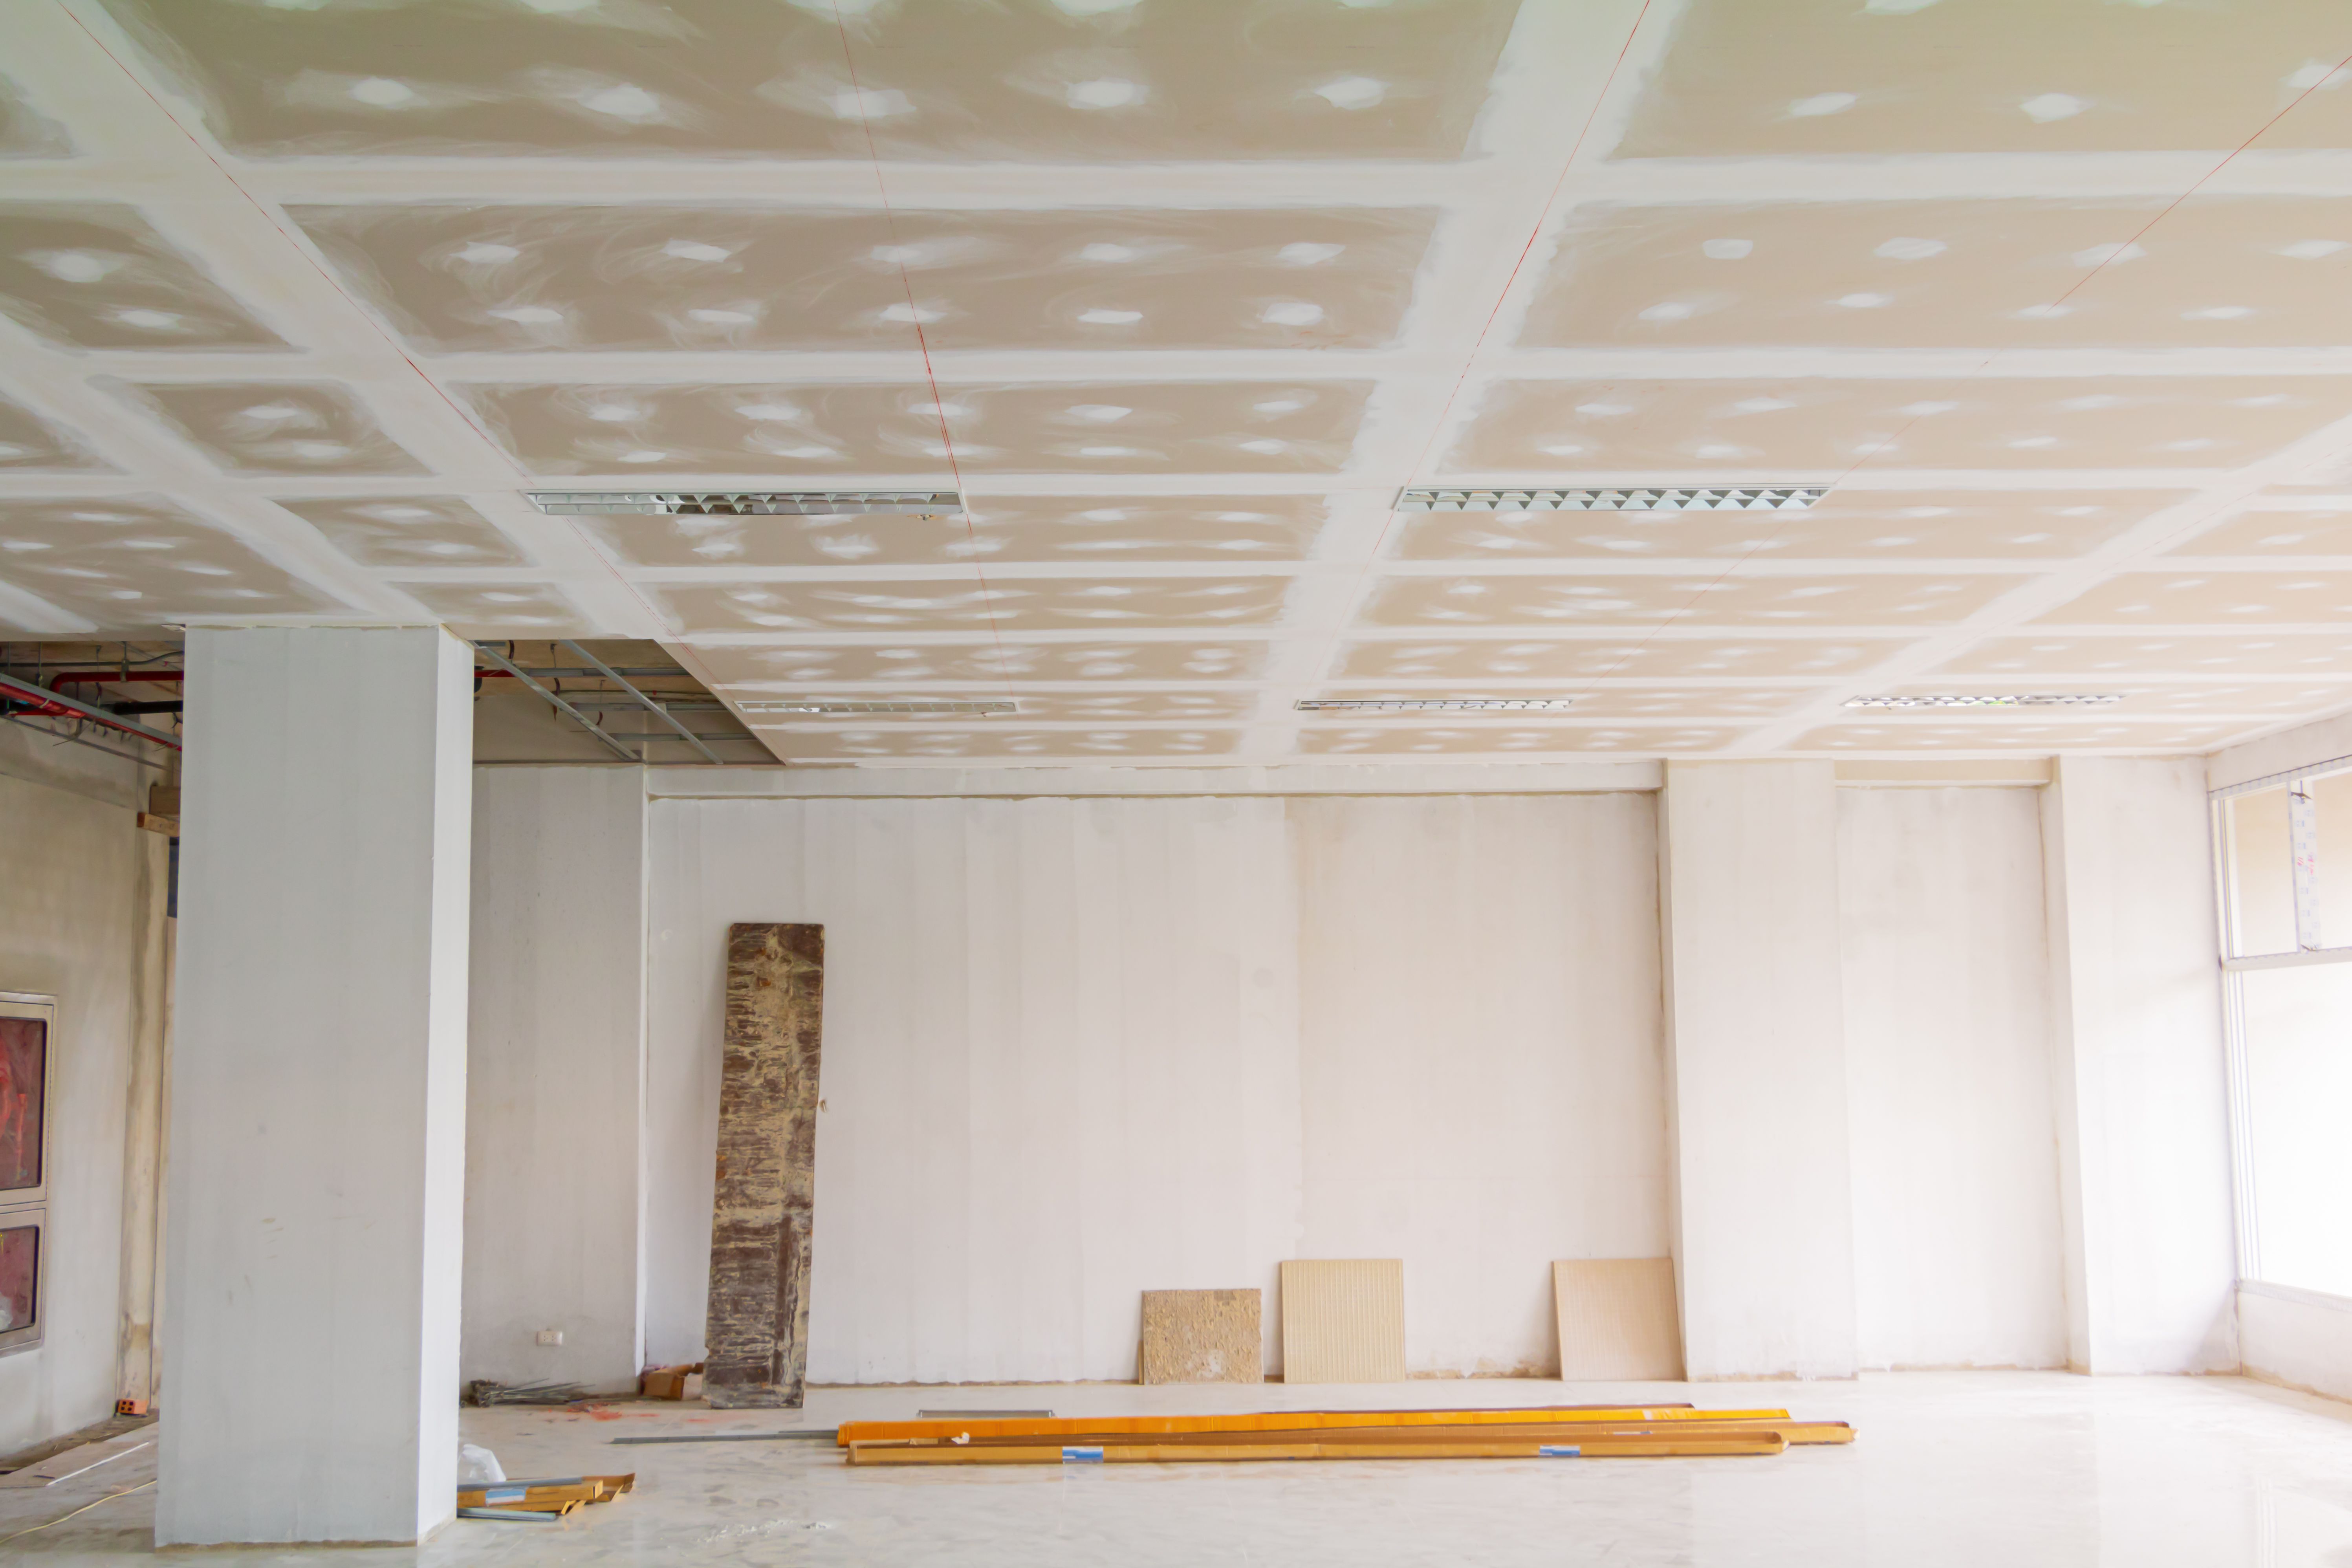
Understanding Drywall Basics
Drywall, also known as gypsum board, is a preferred material for walls and ceilings due to its durability and ease of installation. However, even small errors during installation can cause significant problems. Knowing the basics is essential before diving into a project.
One common mistake is choosing the wrong type of drywall for your project. For instance, using standard drywall in a bathroom where moisture resistance is necessary can lead to mold issues down the line. Always select the appropriate drywall type for the specific area you are working in.
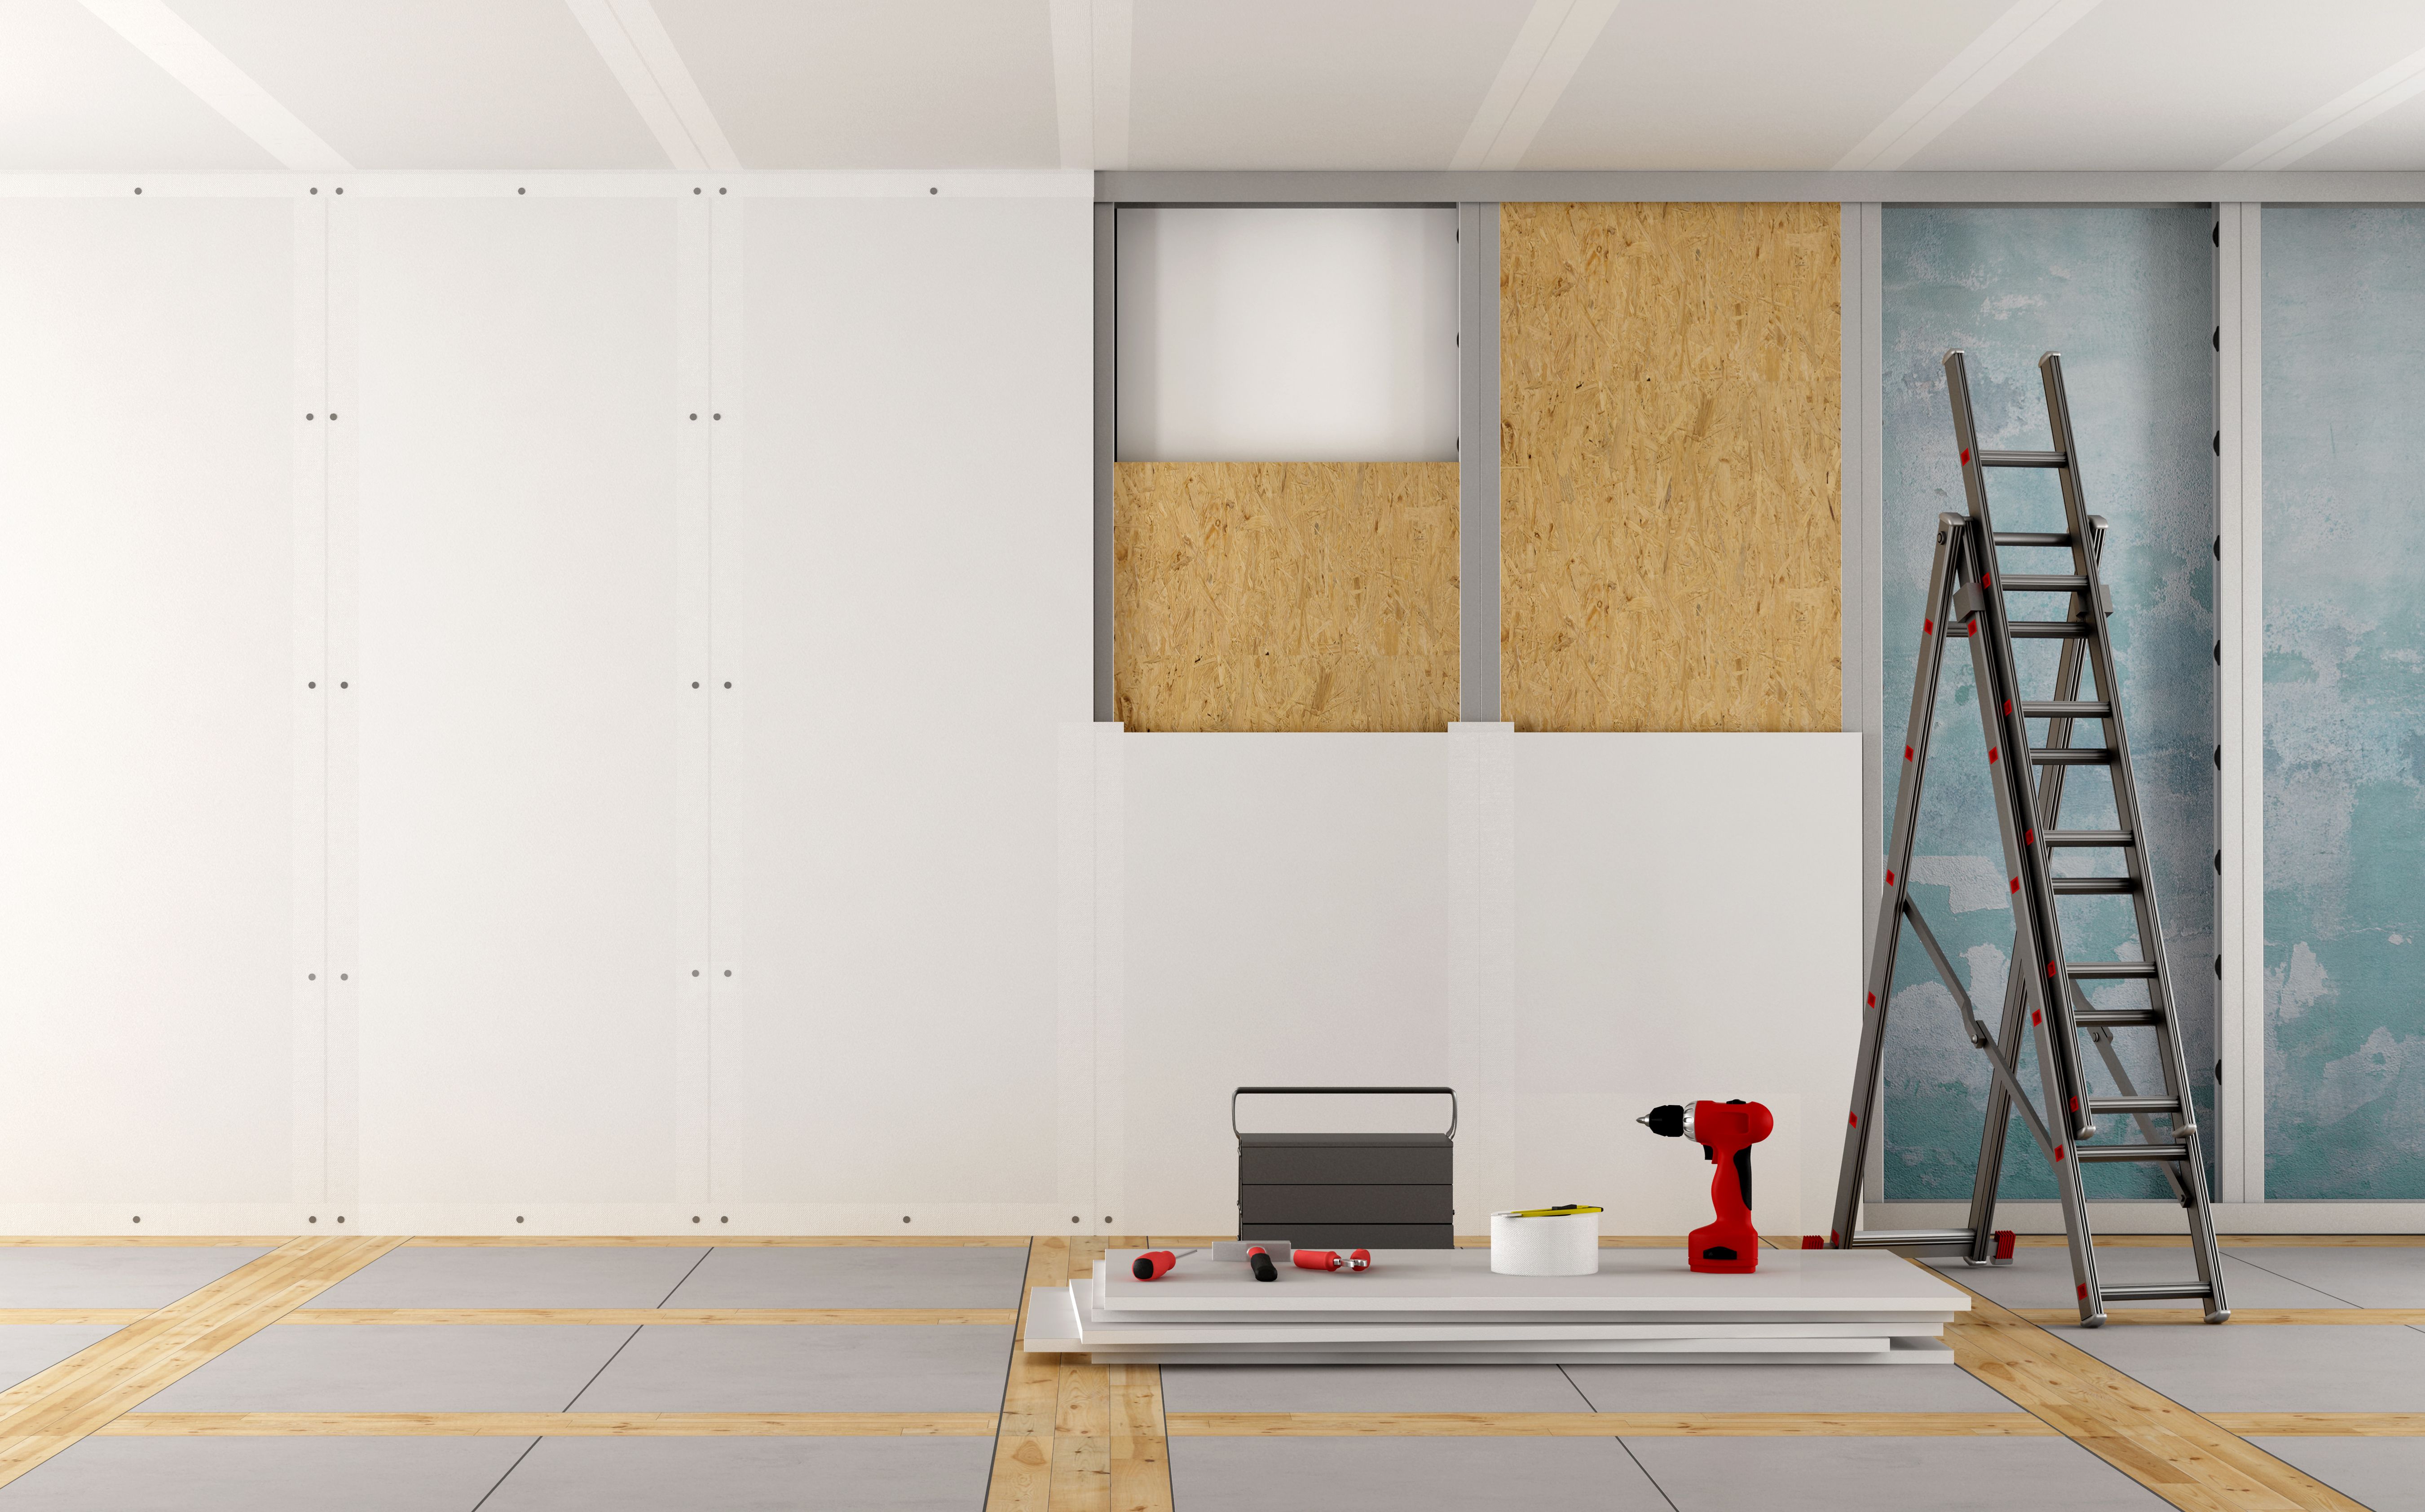
Improper Measuring and Cutting
Accurate measuring and cutting are vital to achieving a seamless finish. A frequent error is not measuring twice before making a cut. This can result in gaps or overlaps that are difficult to fix later.
Minneapolis experts recommend using a T-square and always marking your cuts clearly. When cutting, ensure the blade is sharp for clean edges. Remember, precision at this stage will save time and headaches later.
Troubles with Fastening
Fastening drywall incorrectly is another common pitfall. Over-tightening screws can break the paper face of the drywall, leading to weakened sections. Conversely, under-tightening can leave the drywall loose.
Experts suggest using a screw gun with adjustable depth control to ensure screws are set just below the surface without breaking the paper. Consistent spacing of fasteners, typically every 12 to 16 inches, is also crucial for stability.
Neglecting Joint Taping and Mudding
Properly taping and applying joint compound (mud) is essential for smooth, invisible seams. A major mistake is rushing through this process, resulting in visible tape lines and uneven surfaces.
Take your time to apply a thin layer of mud, embed the tape, and then cover it with additional layers, feathering the edges each time. Minneapolis pros advise allowing each layer to dry thoroughly before sanding and applying the next.
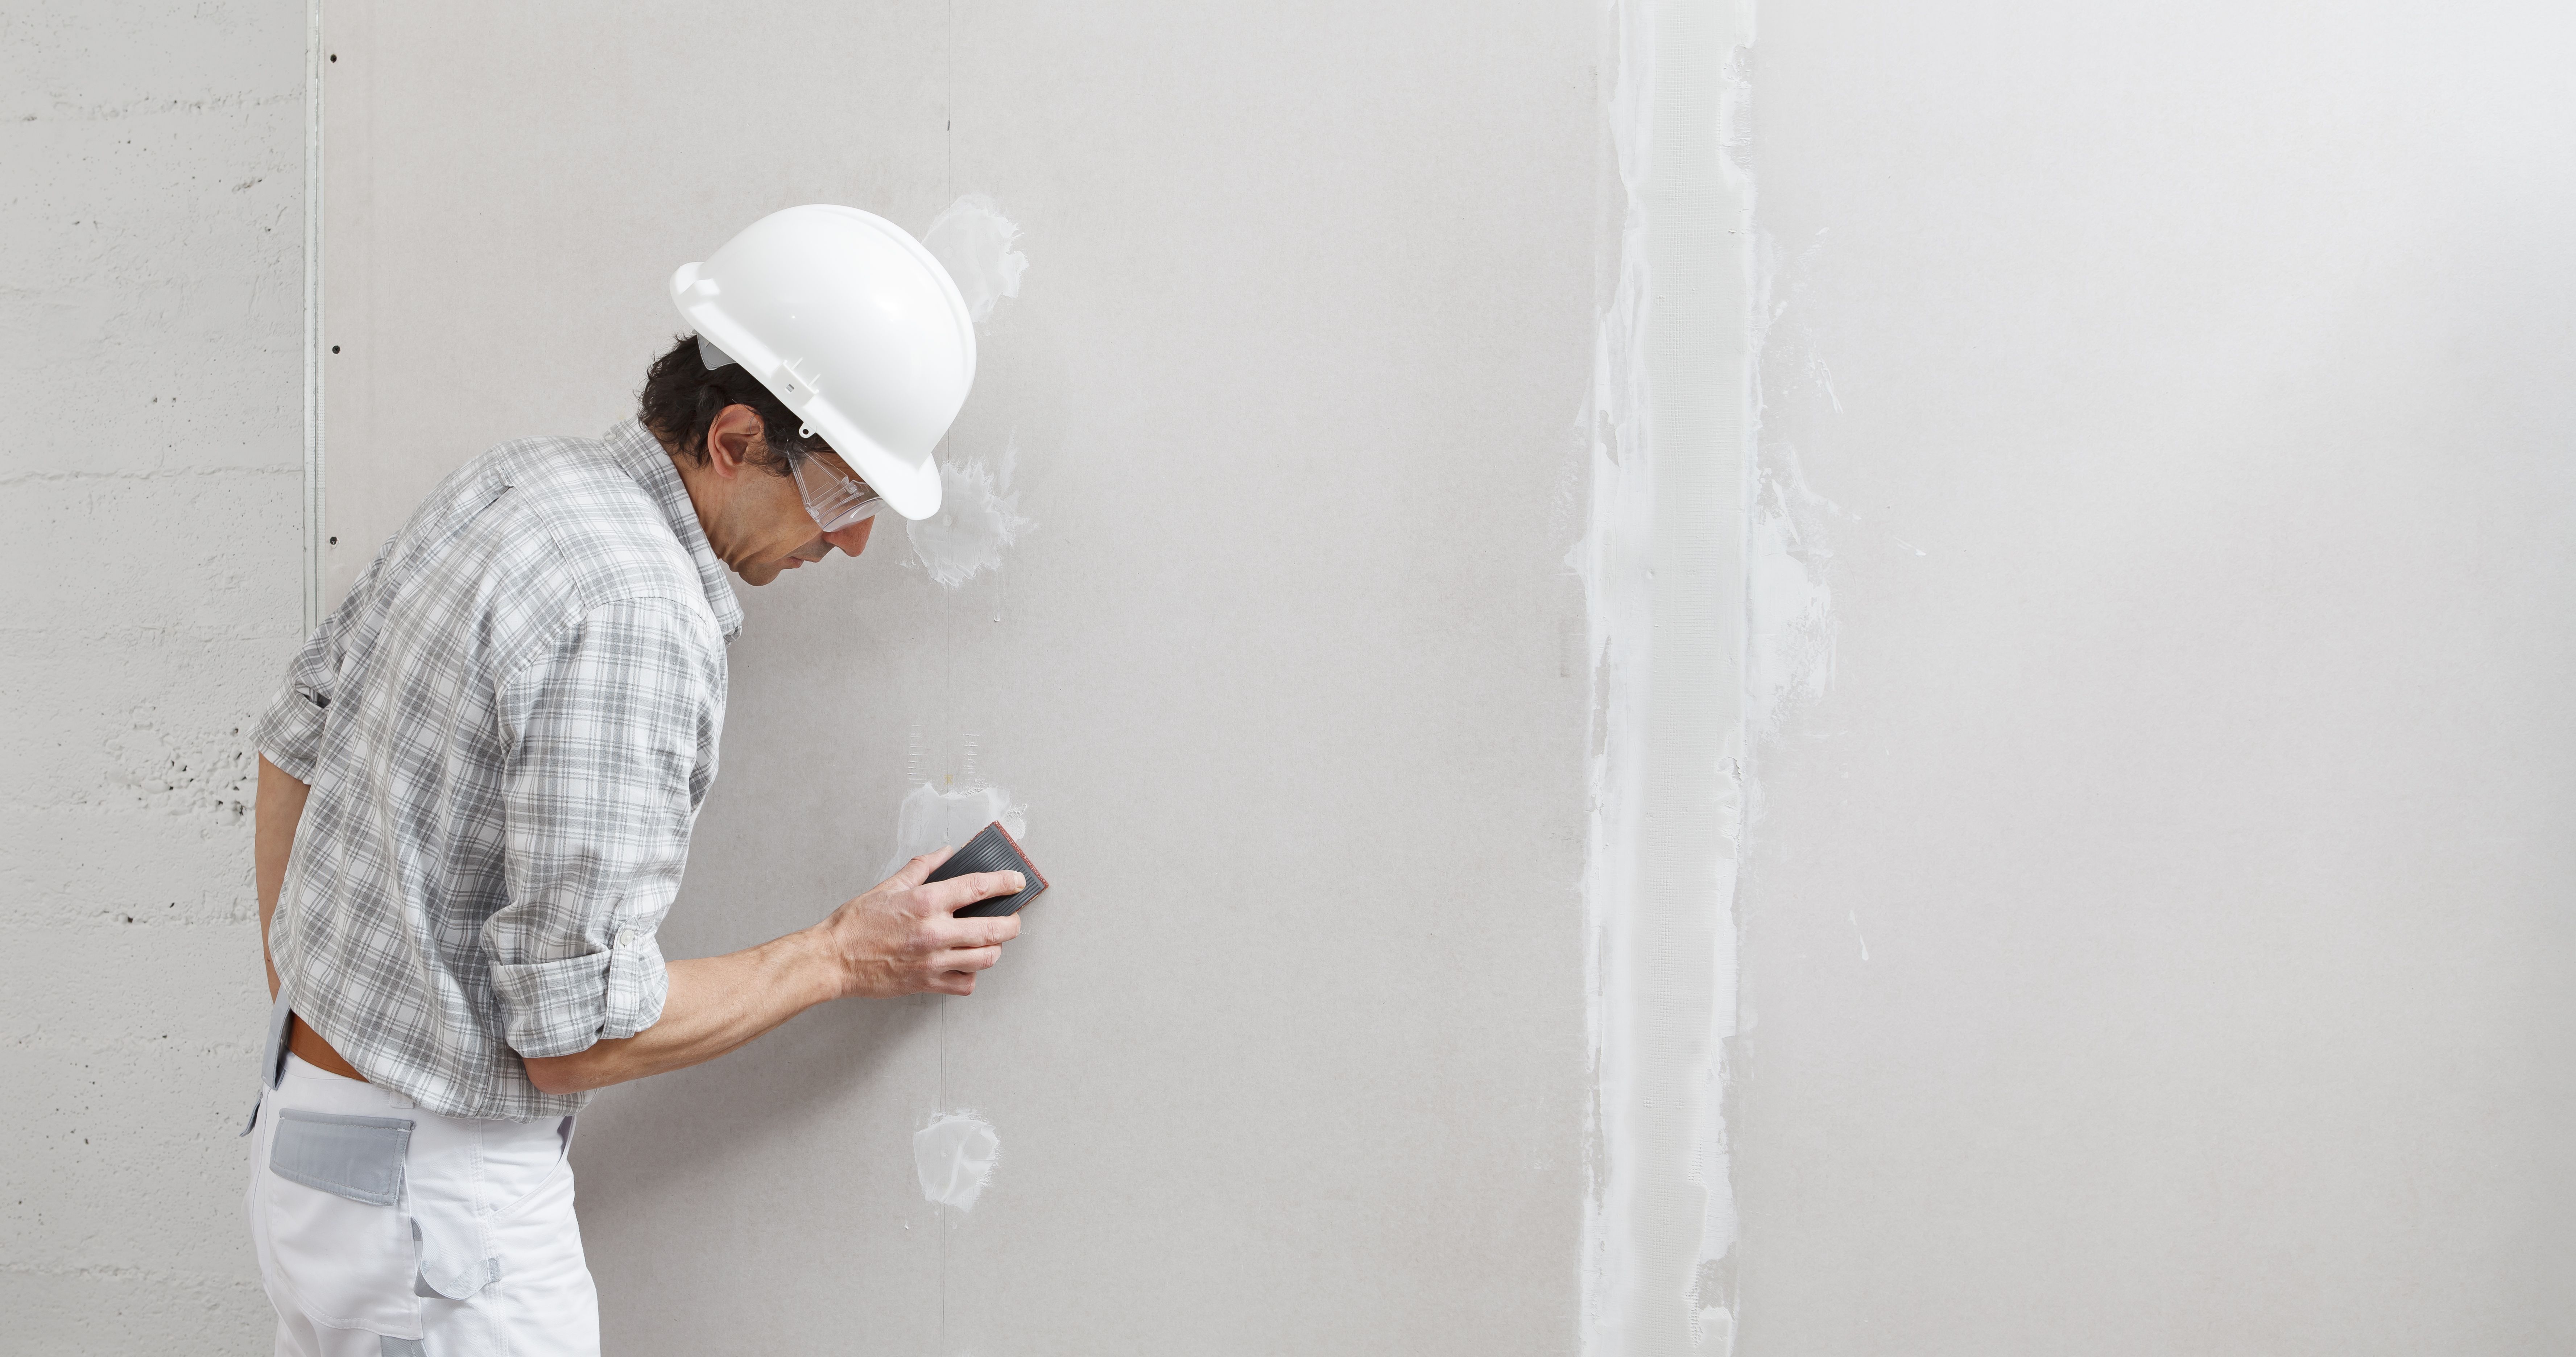
Sanding Without Care
Sanding is a critical step that can either make or break the final appearance. Over-sanding can remove too much material, while under-sanding can leave visible imperfections.
Use a fine-grit sandpaper and a gentle touch, ensuring to sand evenly across all surfaces. It's also wise to use a light source at an angle to highlight any imperfections during this stage.
Skipping Primer
Once the drywall is in place and smooth, applying a primer is a step that should not be skipped. Primer helps seal the drywall and provides a uniform surface for paint, preventing blotchy finishes.
Choose a high-quality primer and apply it evenly across all surfaces. This will not only enhance the appearance but also improve the durability of the paint job.
By avoiding these common drywall mistakes, homeowners and DIY enthusiasts can enjoy professional-quality results in their projects. With the right techniques and tools, your drywall installation can be smooth and long-lasting, adding value and beauty to your home.