
Avoid These Common Mistakes When Removing Ceiling Texture in Minnesota


Understanding the Basics of Ceiling Texture Removal
Removing ceiling texture can dramatically transform a room, giving it a cleaner, more modern look. However, this task is not as straightforward as it may seem. Many homeowners in Minnesota who attempt this project themselves often encounter avoidable mistakes that can lead to frustration and unsatisfactory results. To ensure a successful outcome, it's essential to understand the basics before picking up your tools.
Failing to Check for Asbestos
One of the most critical steps before removing any ceiling texture, especially in homes built before the 1980s, is to check for asbestos. Asbestos was commonly used in ceiling textures due to its fire-resistant properties. Disturbing asbestos-laden materials can release harmful fibers into the air, posing serious health risks. It's crucial to have your ceiling tested by a professional before proceeding with any removal process.
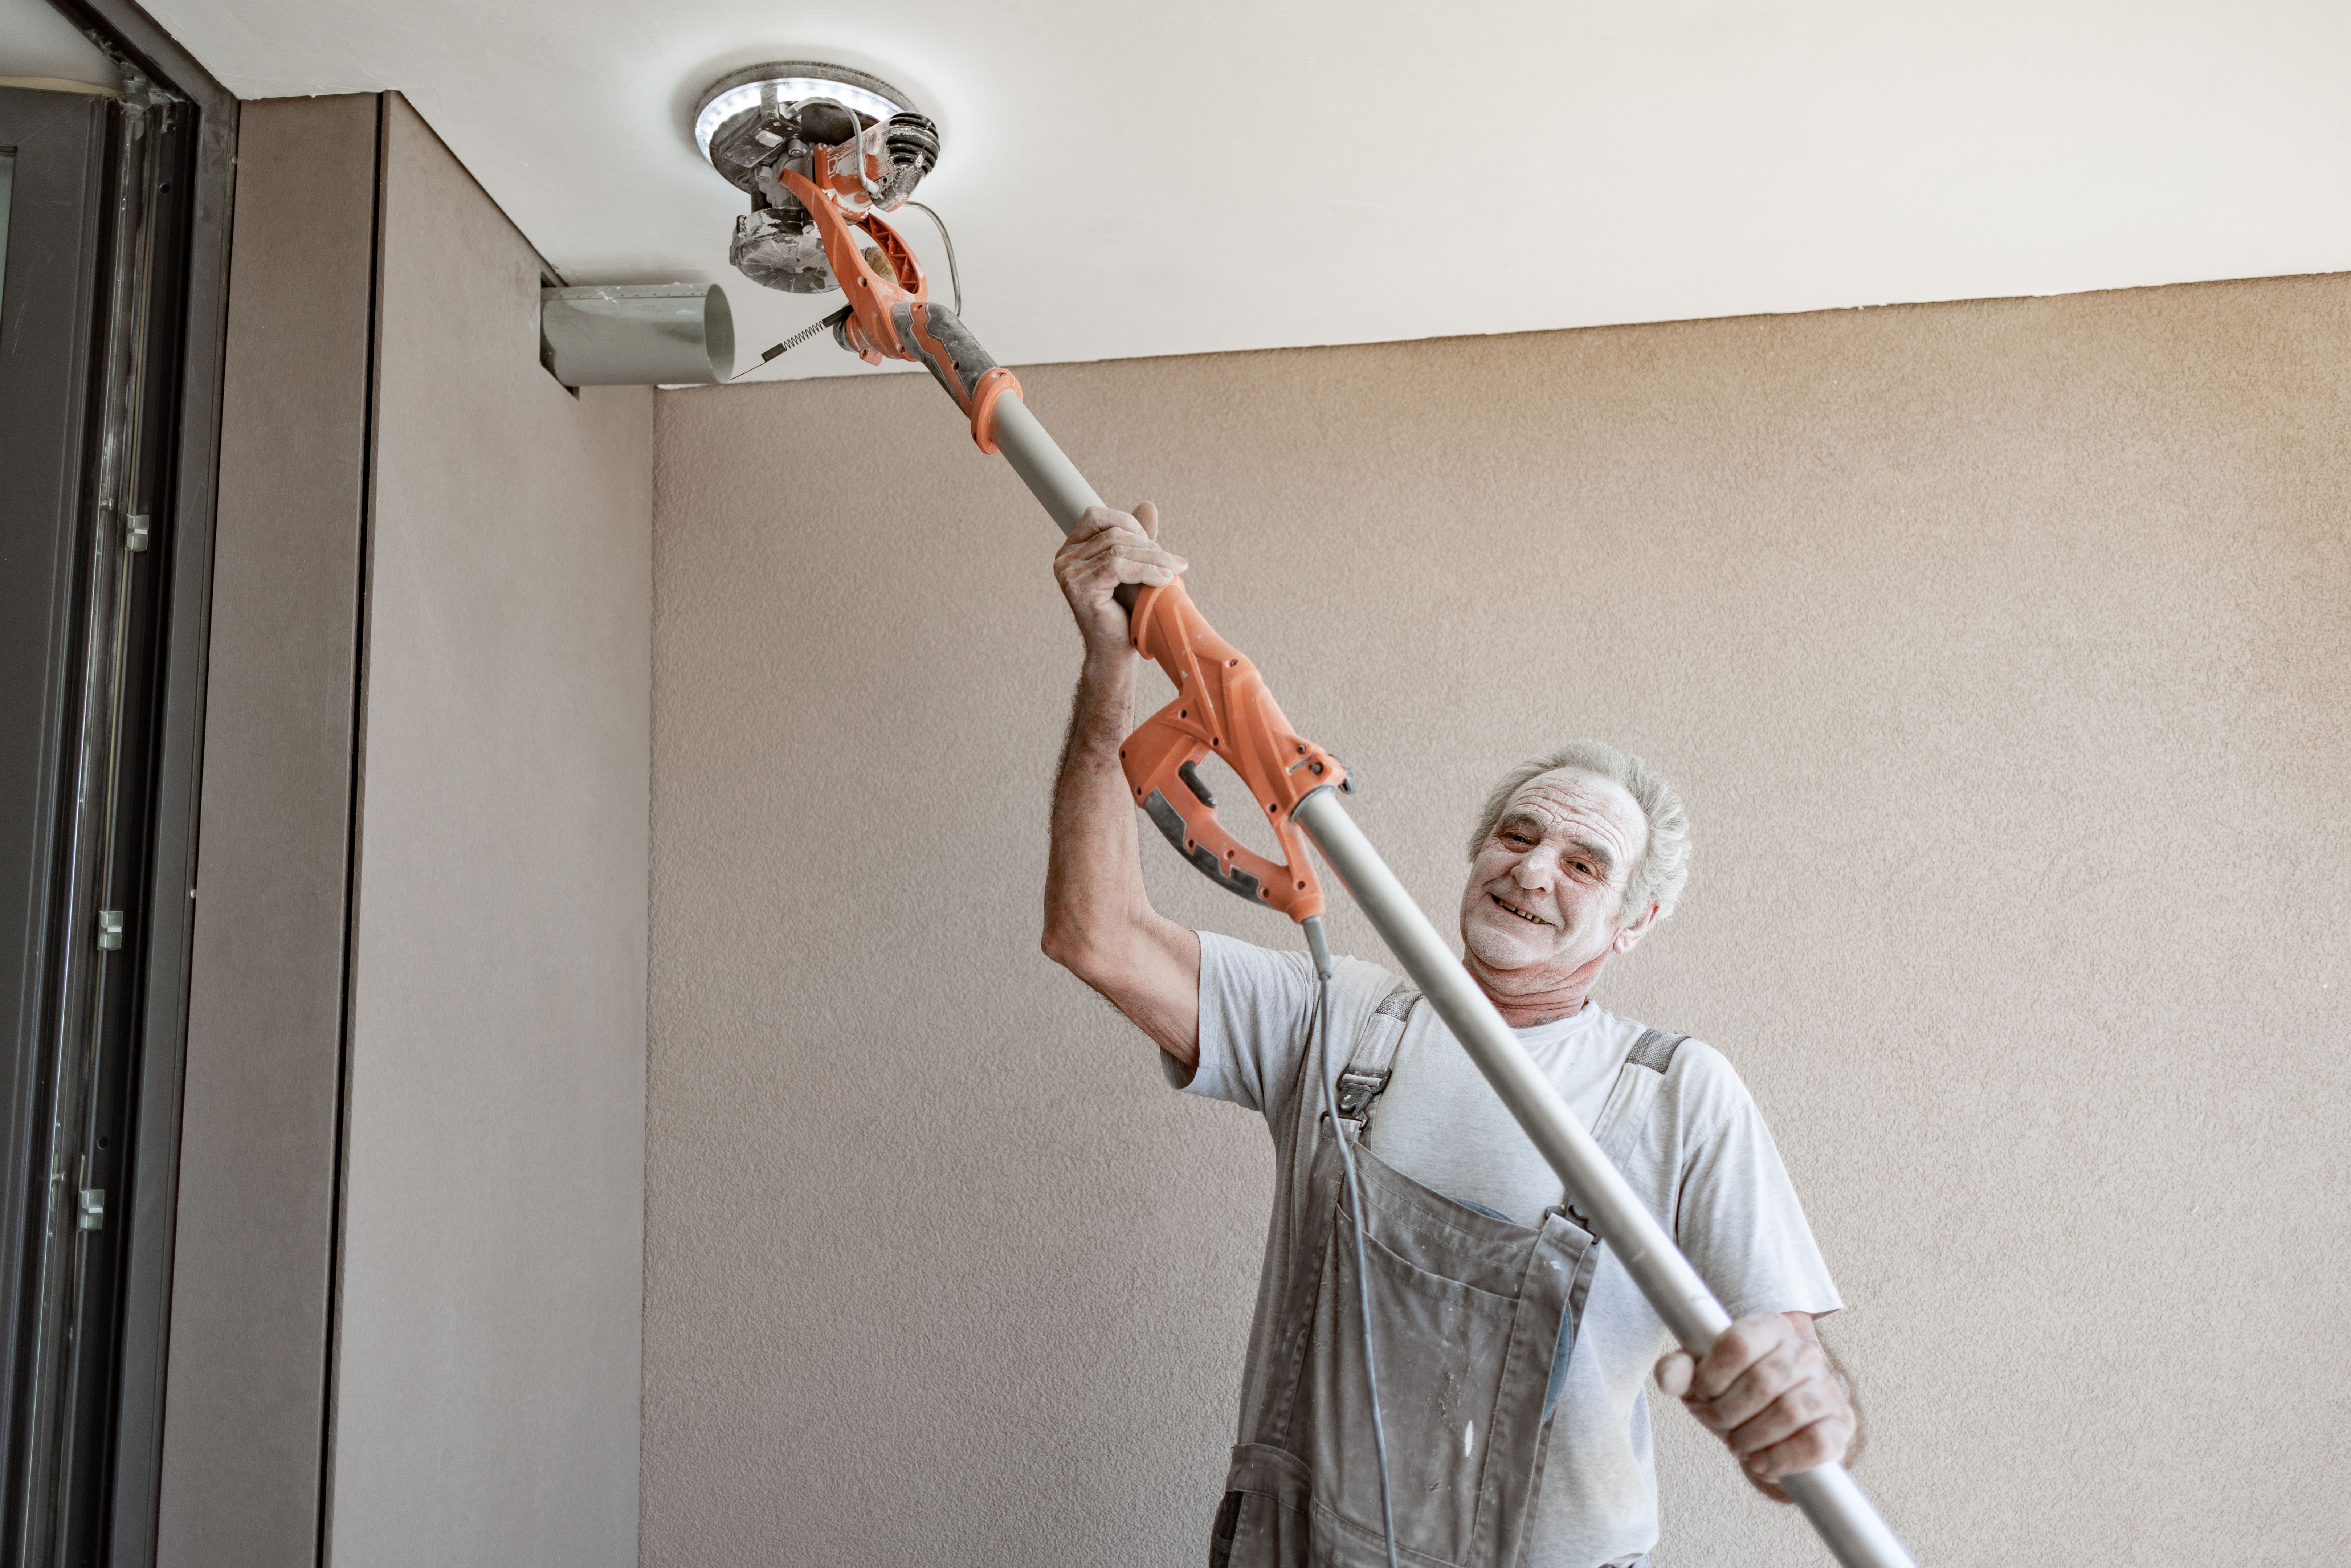
Lack of Proper Tools and Equipment
Embarking on a ceiling texture removal project without the proper tools and equipment is a common mistake. Essential tools include a ladder, a scraper, protective eyewear, and a dust mask. Additionally, using a spray bottle filled with water can help soften the texture, making it easier to scrape off. Investing in quality tools can save time and effort in the long run, ensuring a smoother finish.

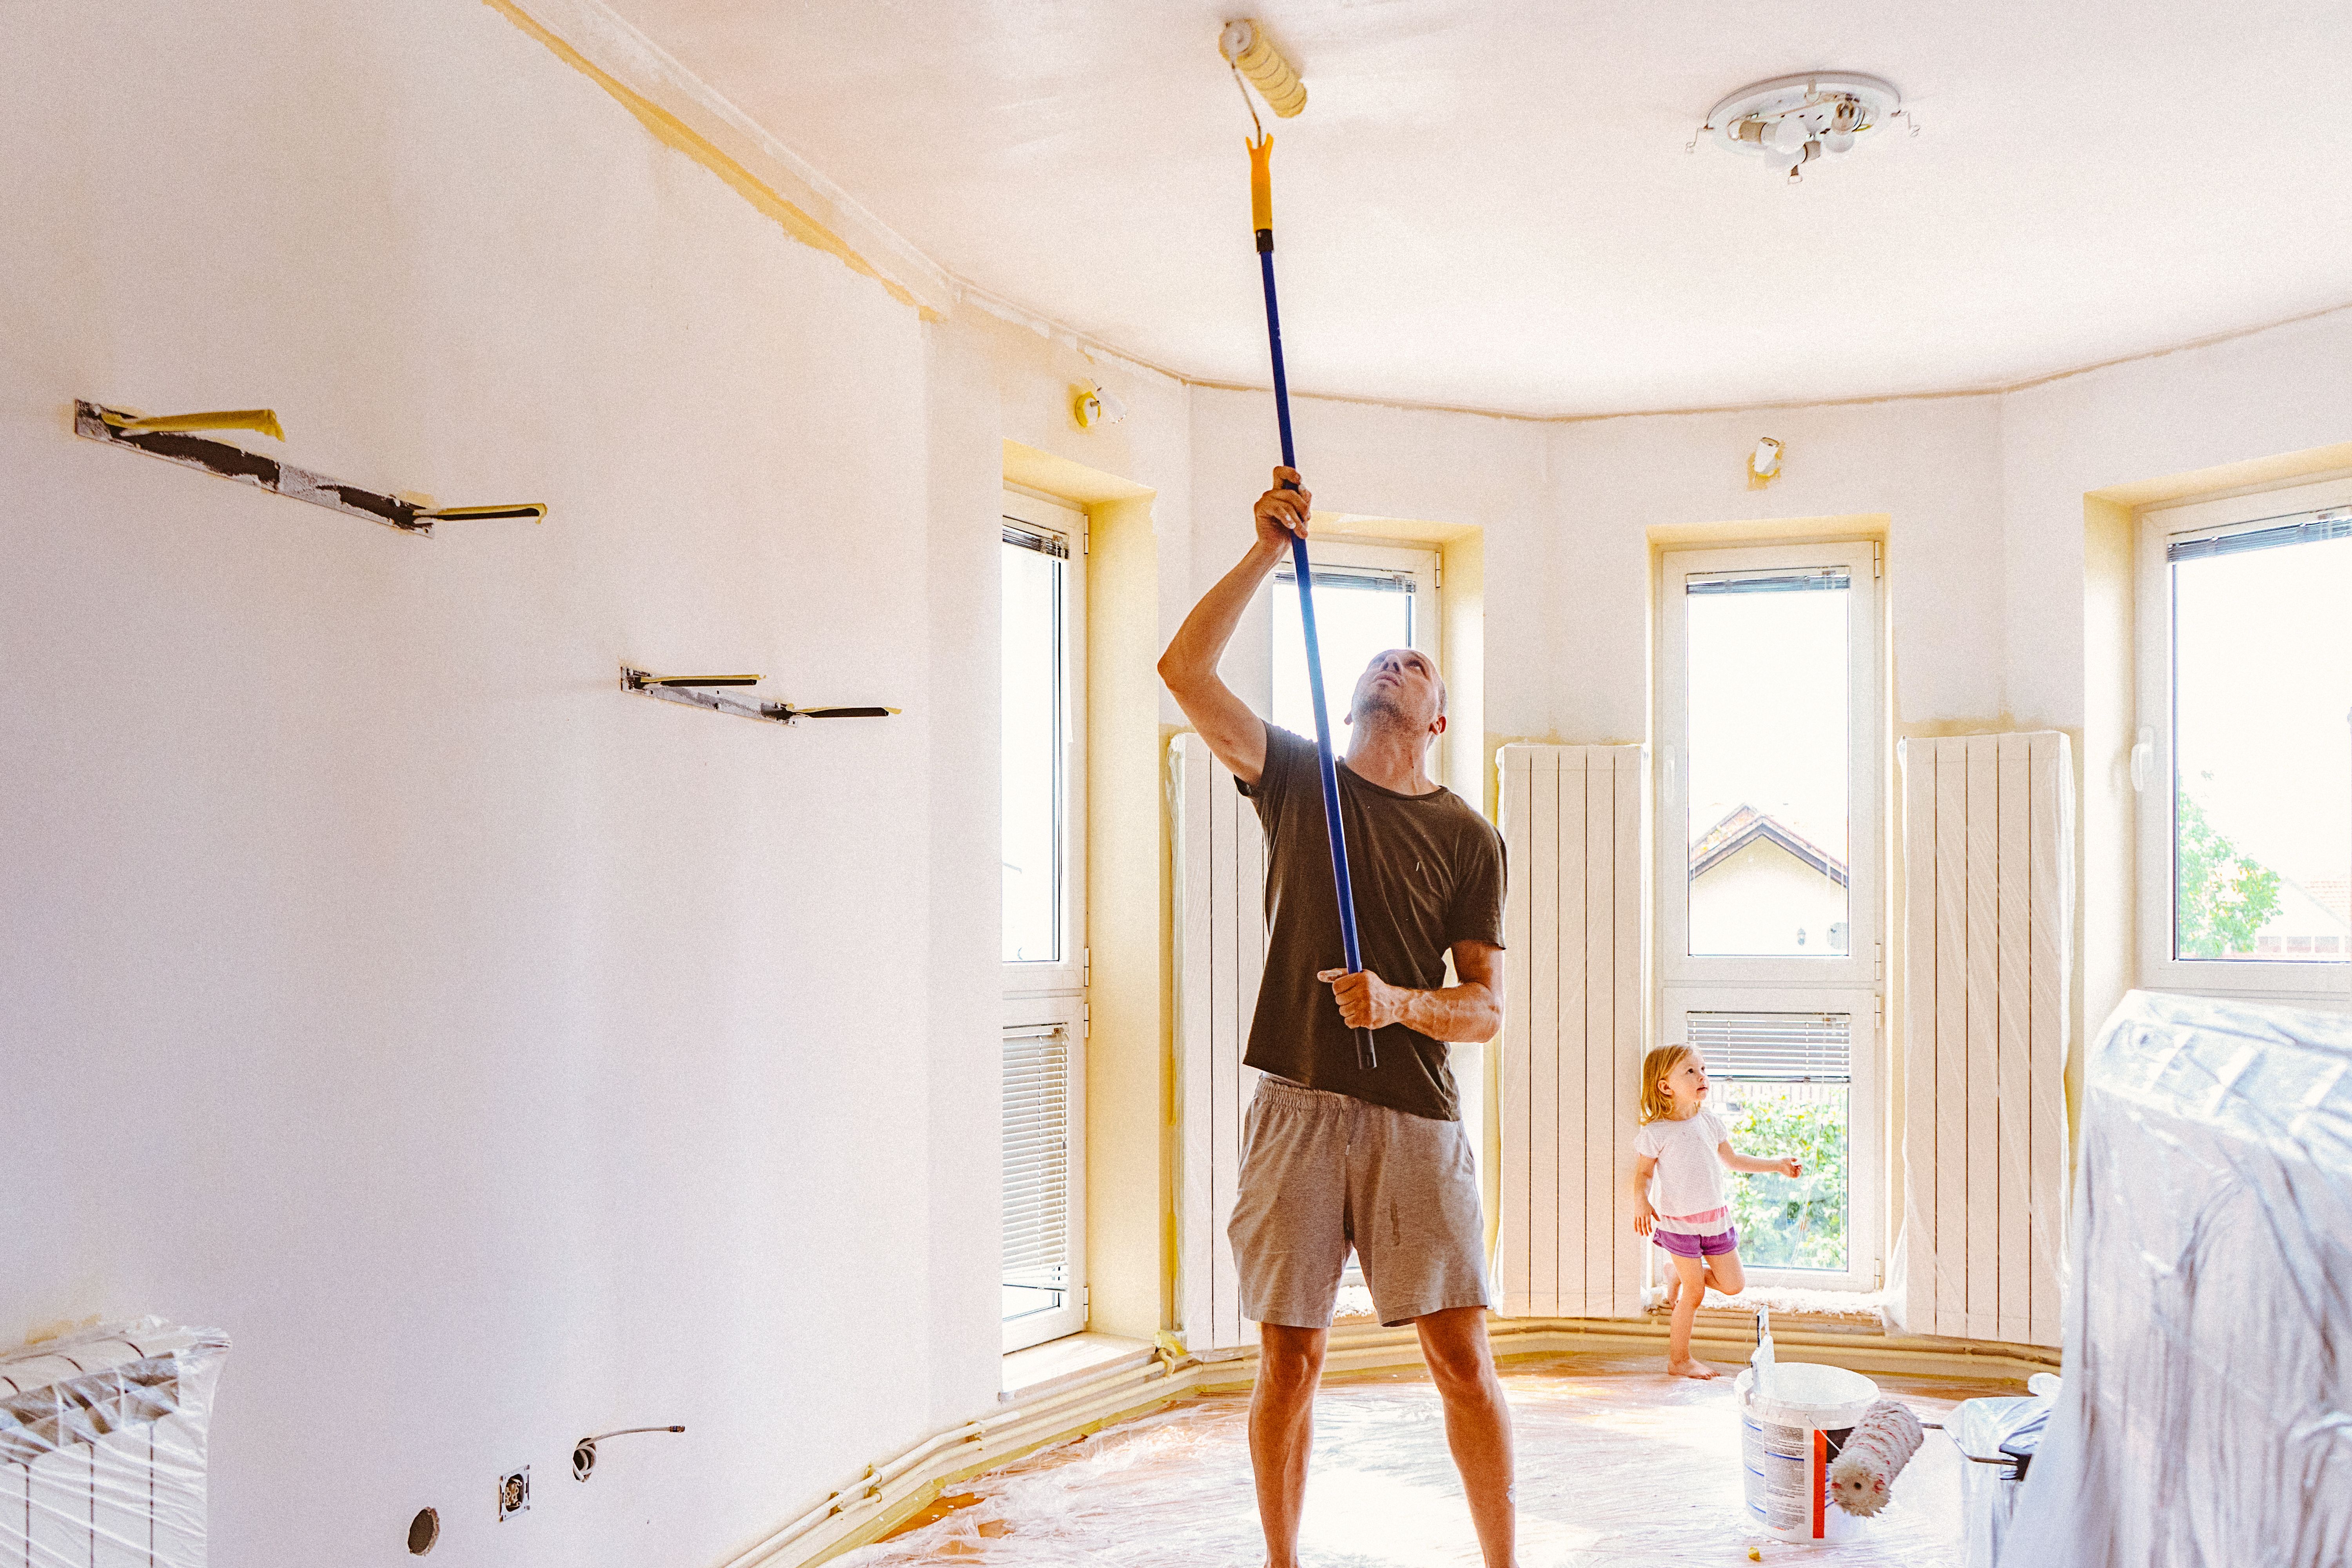
Protecting Your Space
Many homeowners underestimate the amount of debris and dust that ceiling texture removal generates. Failing to protect your furniture and flooring can lead to unnecessary mess and potential damage. Before you begin, take time to cover all surfaces with plastic sheeting or drop cloths. Ensure that any gaps are sealed to prevent dust from spreading throughout your house.
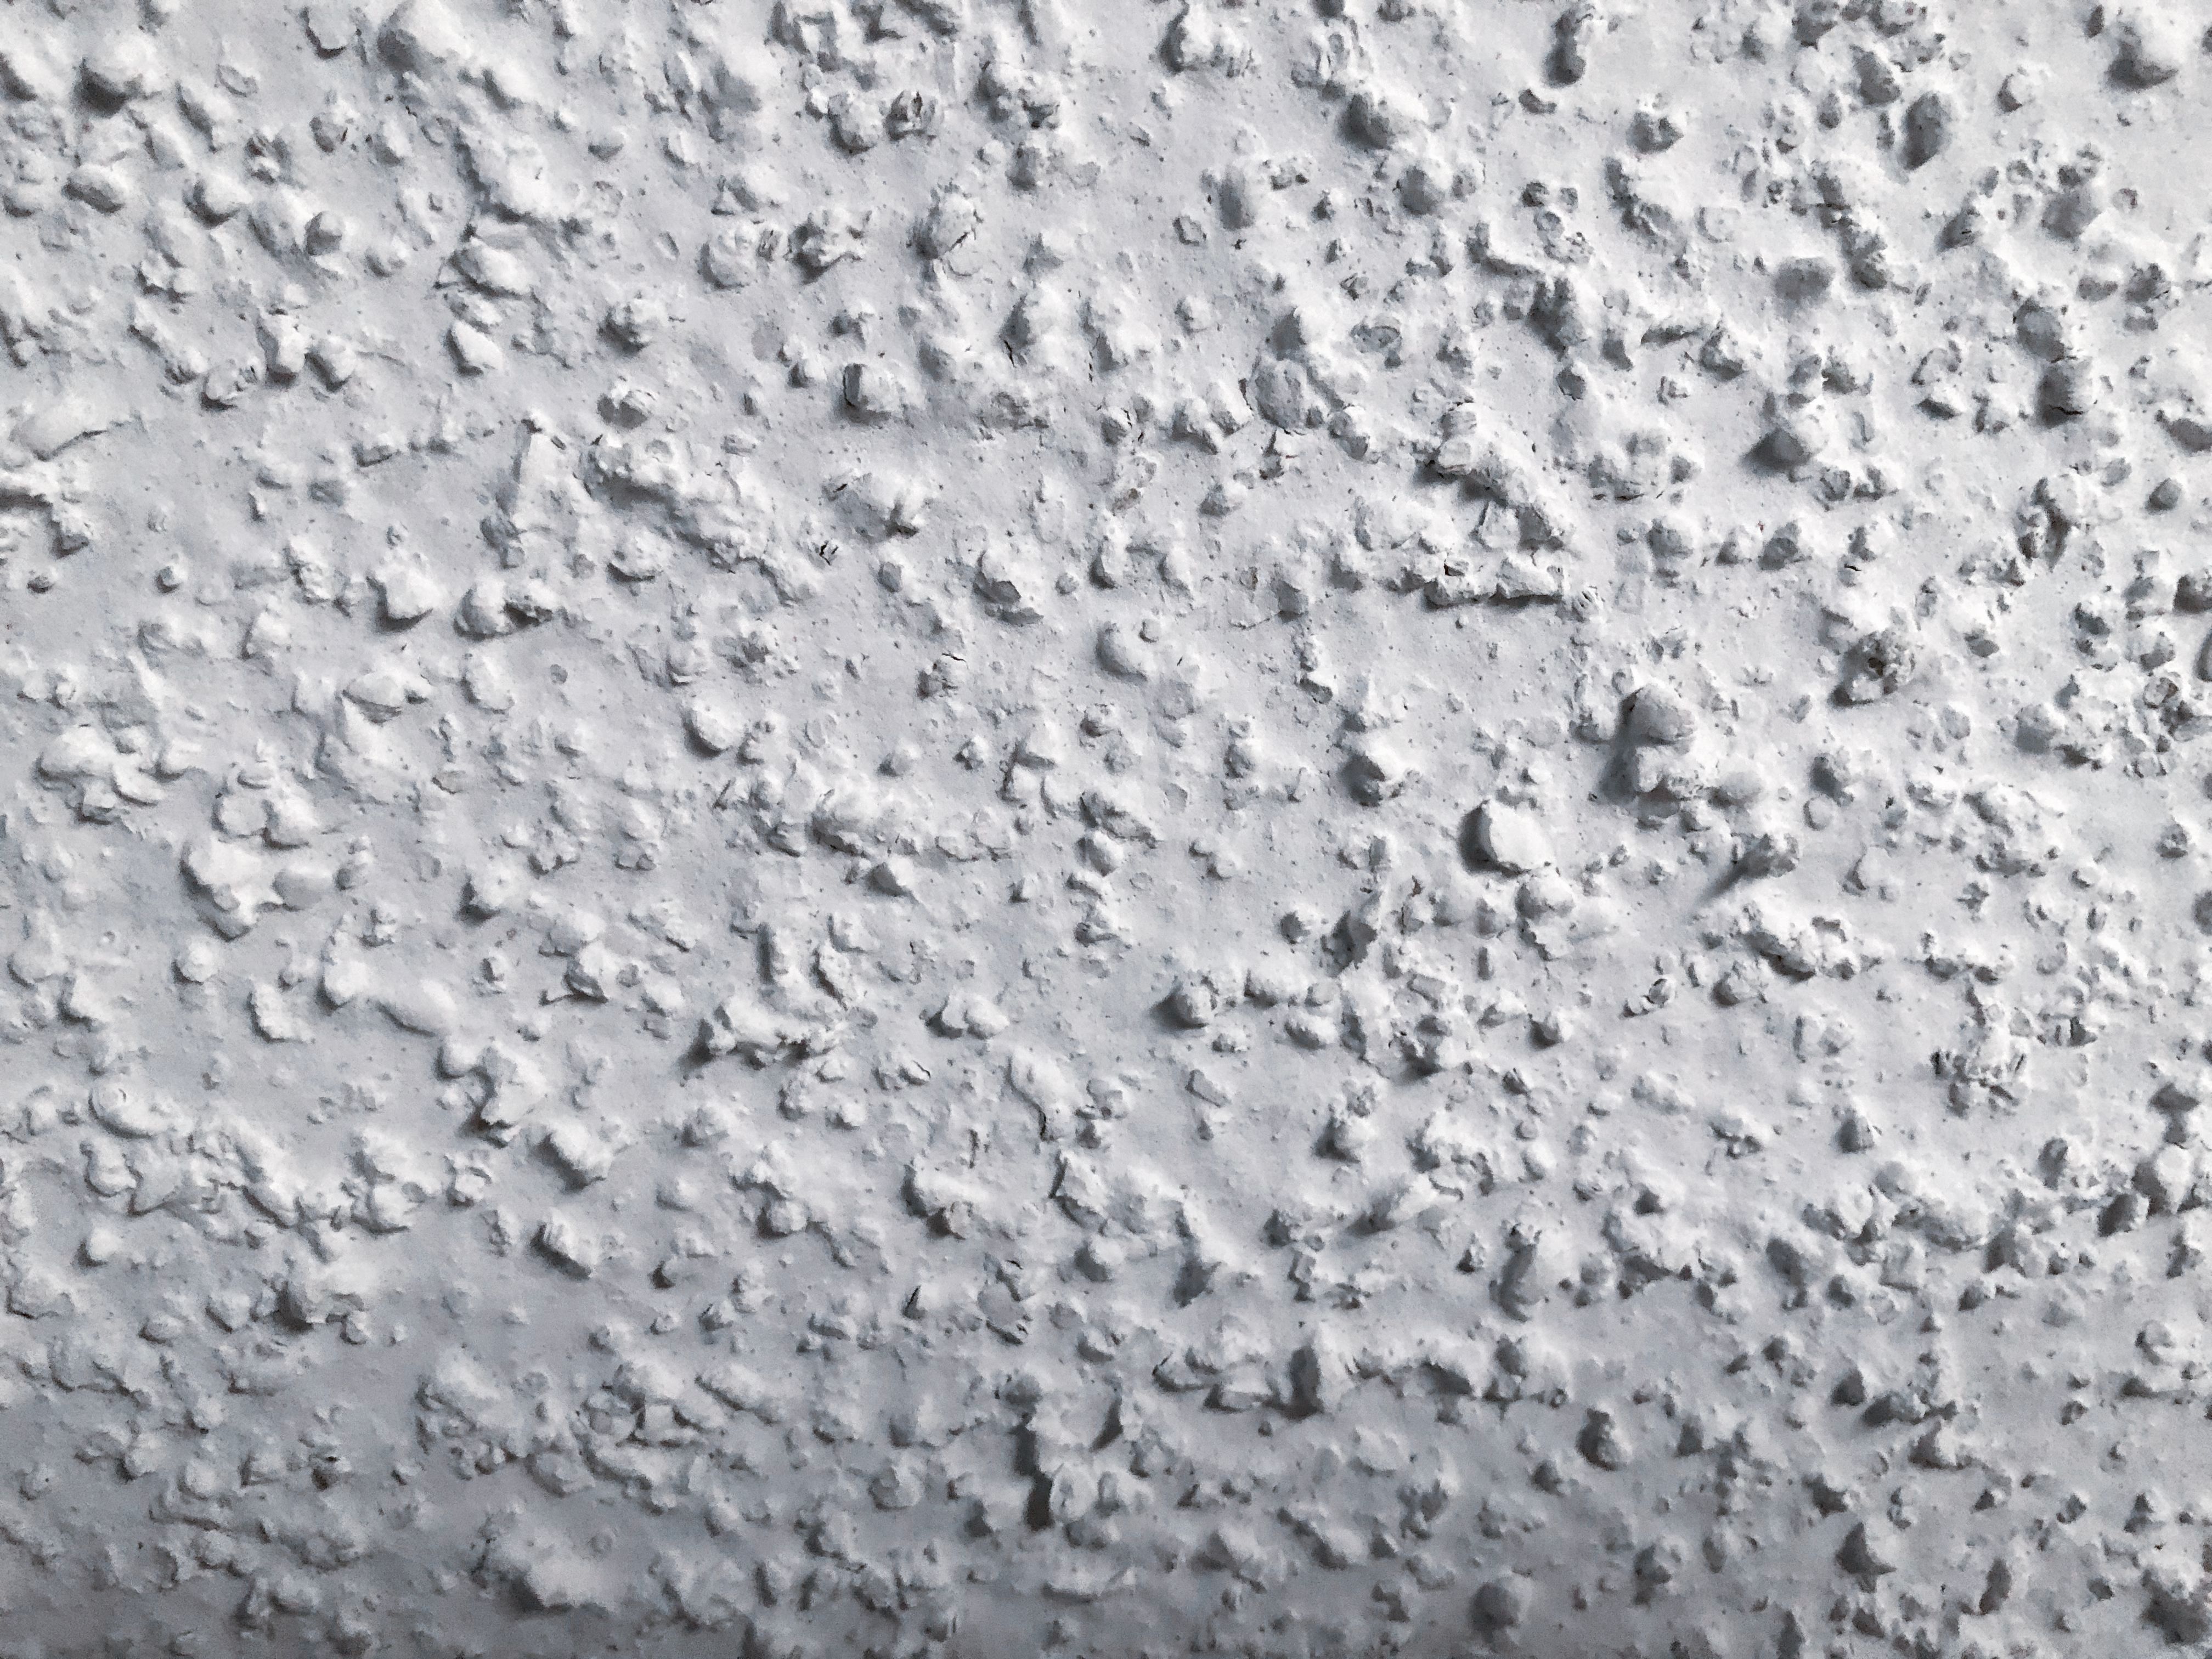
Not Preparing the Ceiling Surface
Another common oversight is neglecting to prepare the ceiling surface before texture removal. This includes cleaning off any dirt or cobwebs and loosening the texture with water or a suitable solution. A well-prepared surface makes the scraping process easier and prevents gouges or damage to the underlying drywall.
Scraping Too Aggressively
Patience is key when removing ceiling texture. Many homeowners make the mistake of scraping too aggressively, which can damage the drywall beneath. Use gentle pressure and let the water do much of the work in loosening the texture. If you encounter stubborn areas, apply more water and allow it to soak in before attempting to scrape again.
Tackling Repairs and Finishing Touches
Once the texture is removed, it's crucial to address any imperfections on the ceiling surface. Inspect for any dents or gouges that may need patching. Applying a thin layer of joint compound can smooth out these areas before painting. Skipping this step can result in an uneven finish that detracts from the overall appearance of your newly smooth ceiling.
Choosing the Right Paint
After successfully removing the texture and repairing any damage, selecting the right paint is essential for achieving a polished look. Opt for a primer specifically designed for ceilings, followed by a quality ceiling paint that offers good coverage and durability. This will ensure that your hard work results in a beautiful, long-lasting finish.
By avoiding these common mistakes, you can achieve professional results when removing ceiling texture in your Minnesota home. Proper preparation and attention to detail will not only enhance the aesthetic appeal of your space but also increase its value. Whether you decide to tackle this project yourself or hire a professional, understanding these crucial steps can make all the difference.